
Orange garlands are trending hard this year (surprising because they’ve been around for a long time!). These are such sustainable, affordable, and simple decor to make, that there’s no excuse not to!

you’ll need:
materials:
- Twine
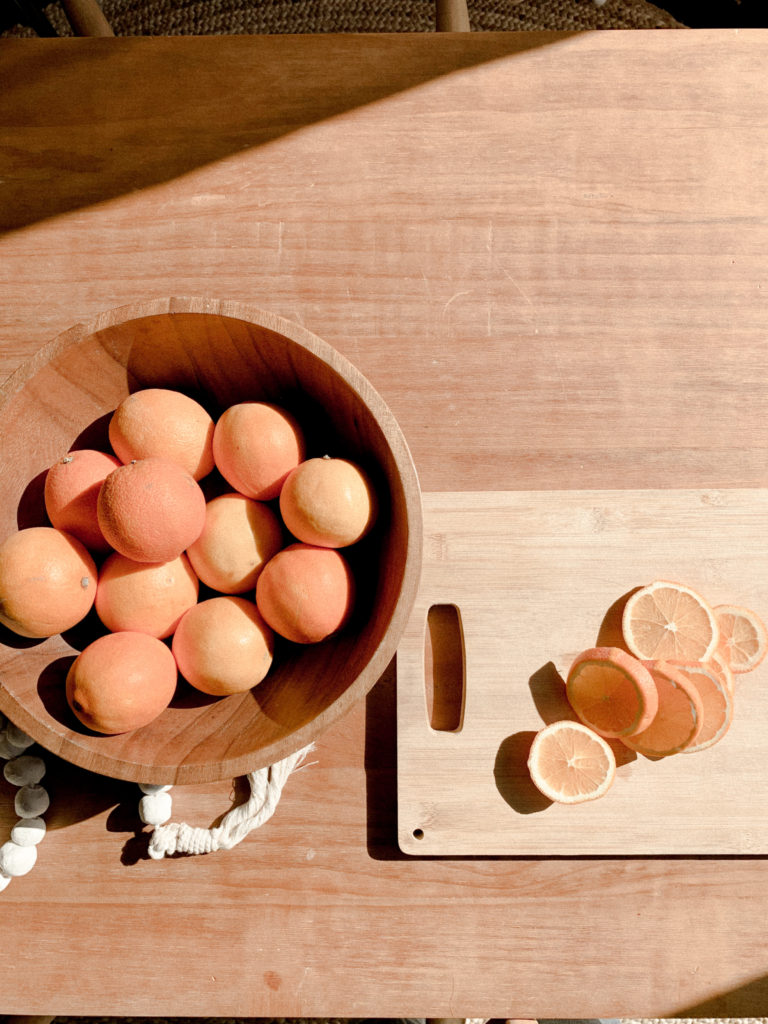
- Oranges (as many as you want –– one regular-sized orange will get you anywhere between 5-7 slices)
- Paper towels
- About 3 hours of time (and 2.5 of those hours are just baking time!)
tools:
- Scissors/dowel (something to poke holes in each orange slice)
- Knife
- Cutting board
- Baking sheet
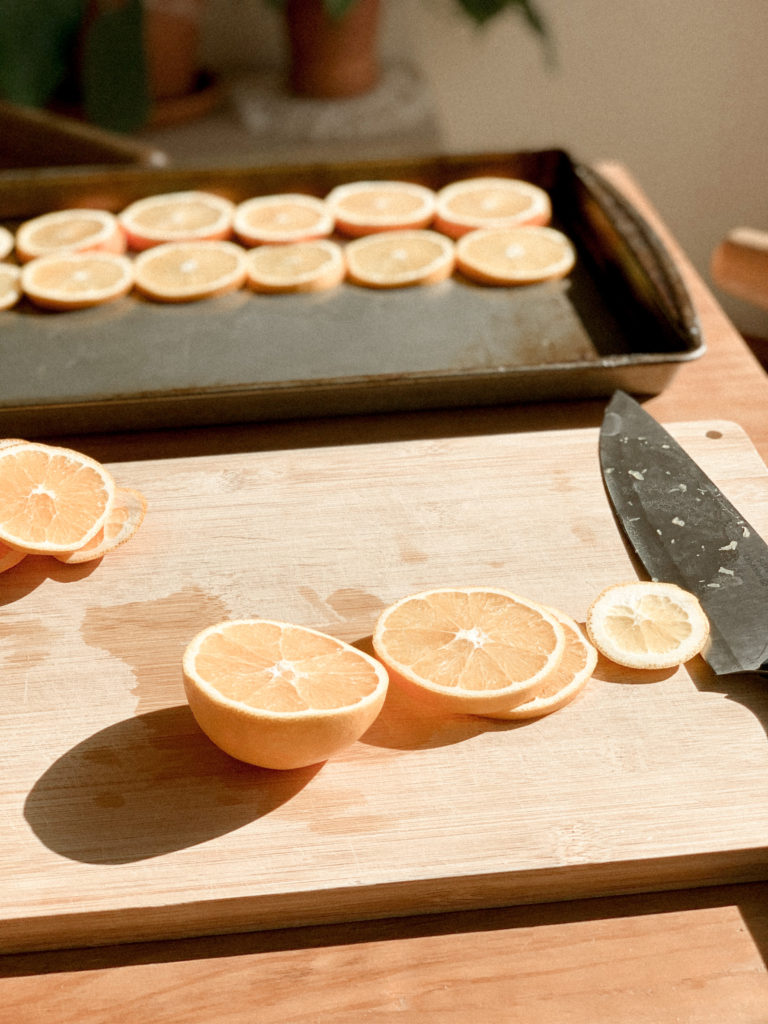
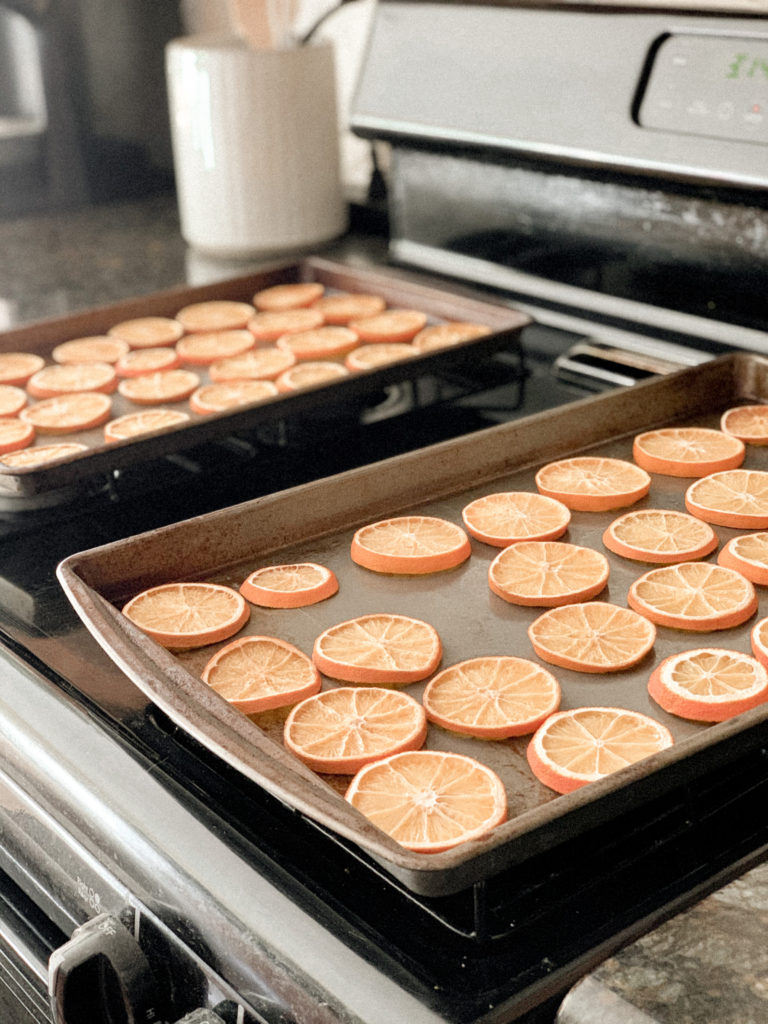
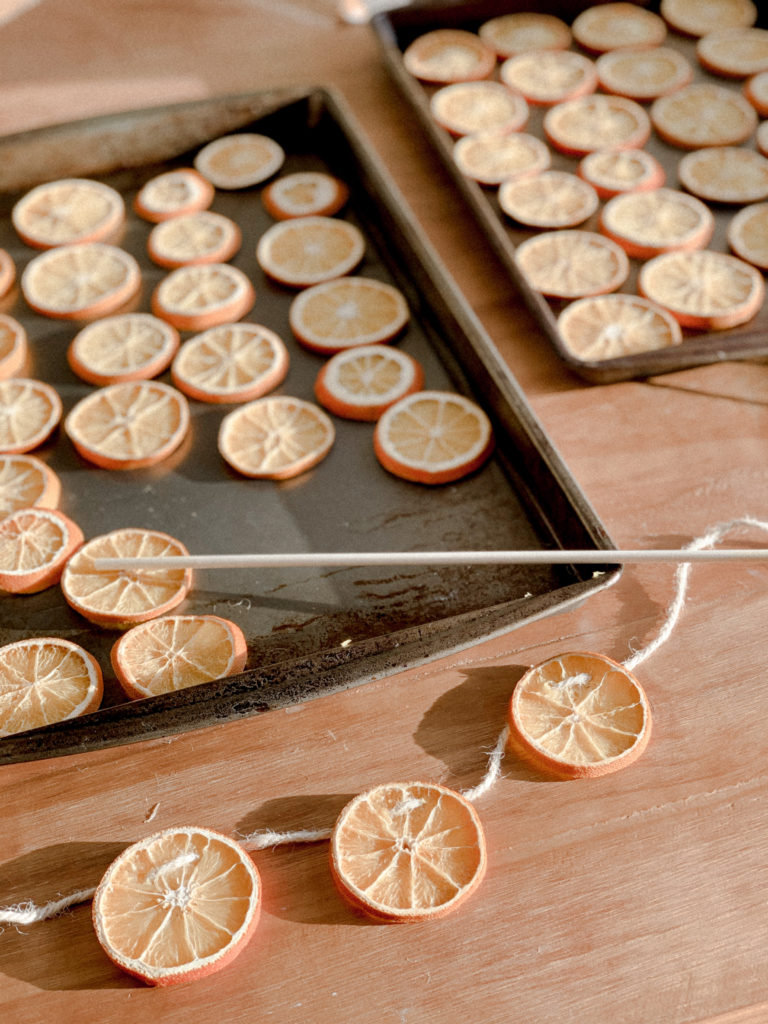
1. Start your orange garlands with thinly sliced, fresh oranges (and preheat your oven to 200 degrees).

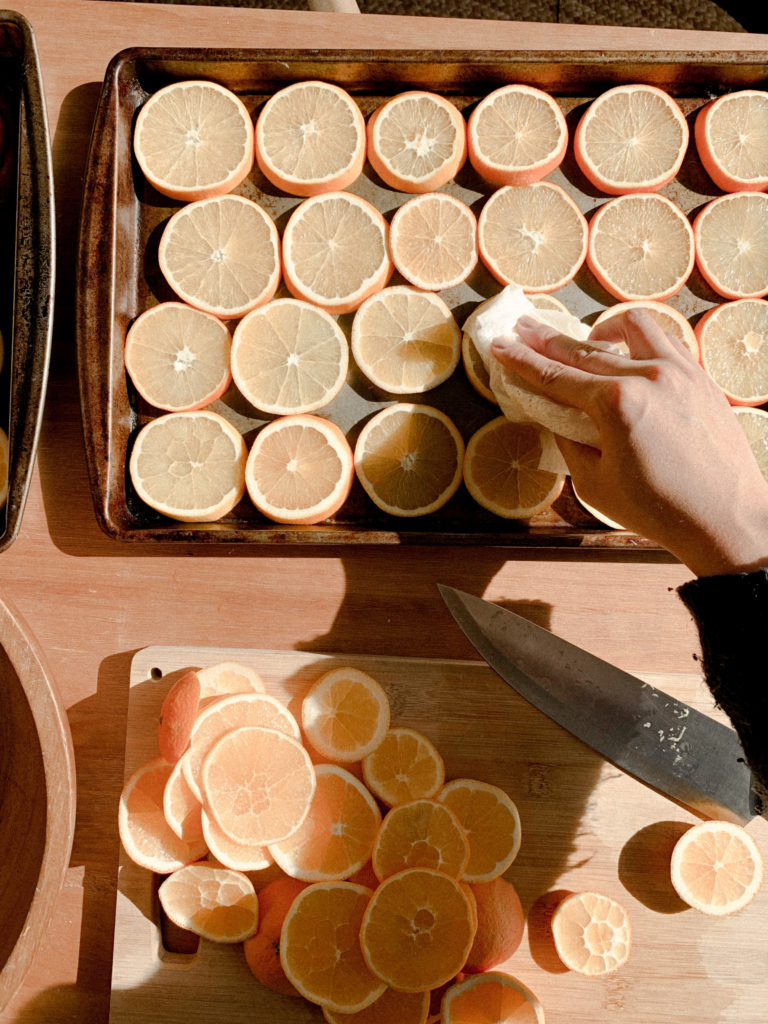
2. Place your slices on a baking sheet and pat them dry with a paper towel.
You want to absorb as much of the moisture as possible to speed up and aid the dehydration process in the oven.
3. Place the baking sheet in the oven and bake for 2–2.5 hours, flipping the slices over halfway through bake time.
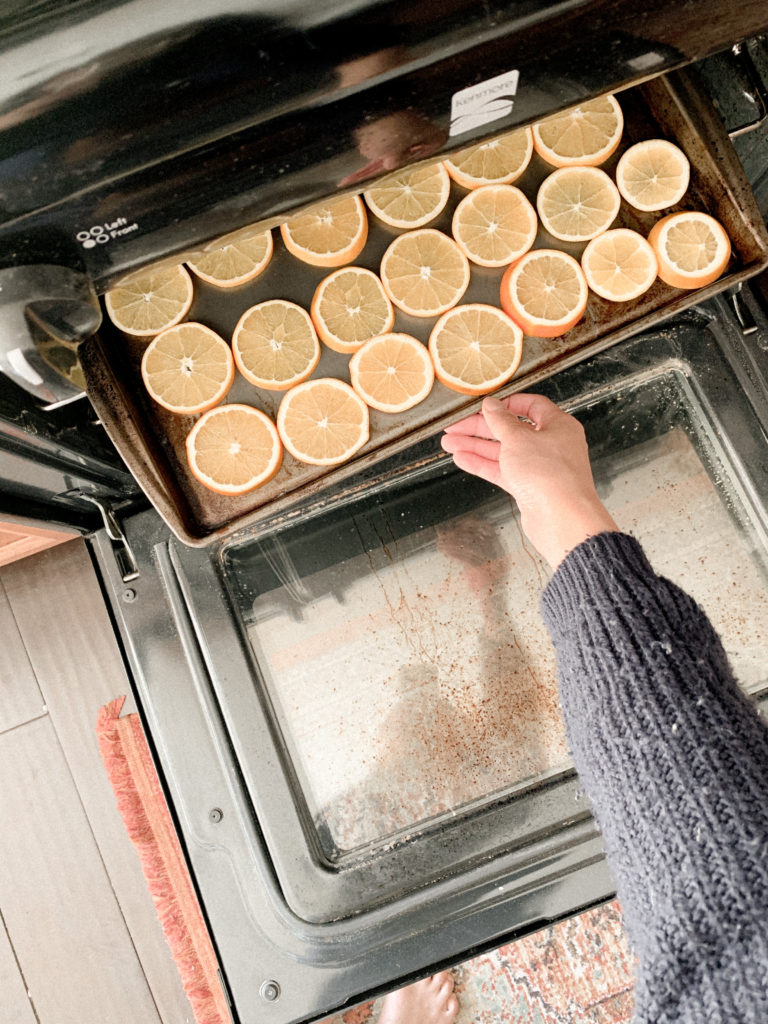
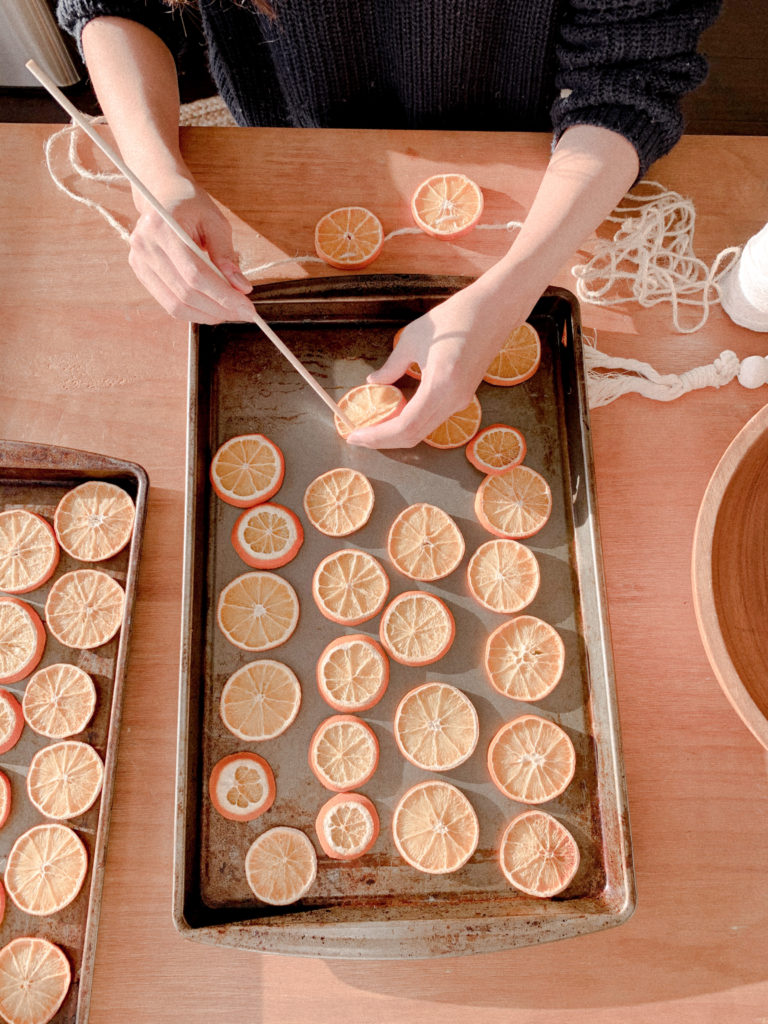
4. Remove the slices when they are dry to the touch, and begin assembling your orange garland!
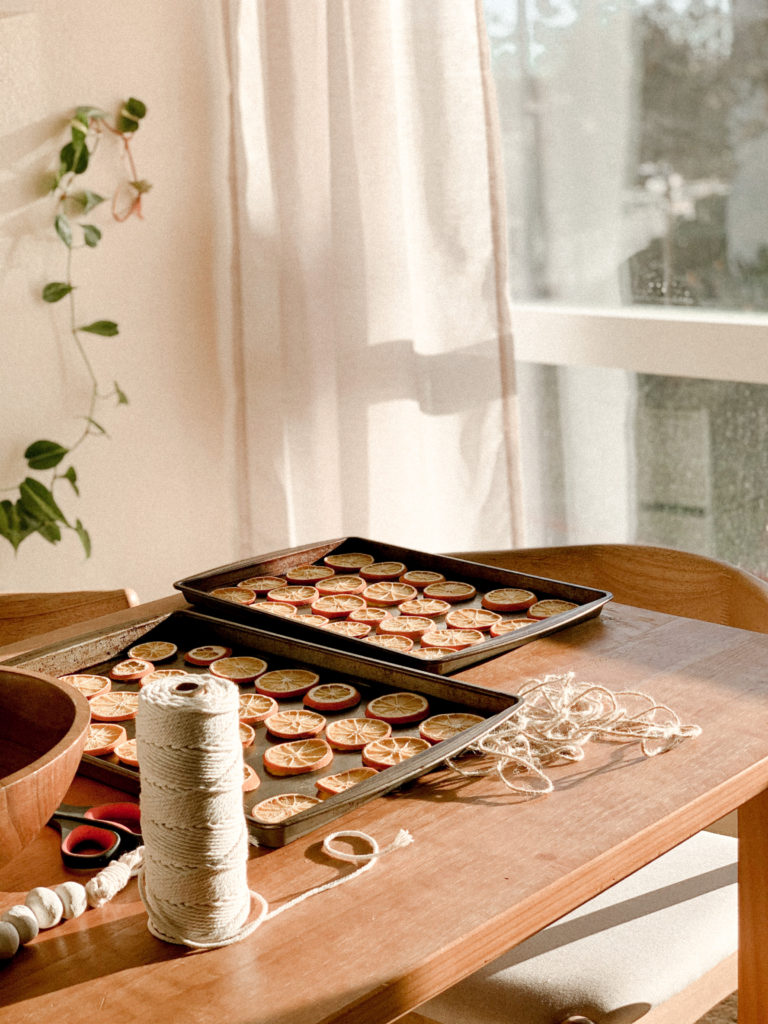
5. Poke holes through each slice (use scissors or a wood dowel), and string the twine through the holes to connect your orange garlands.
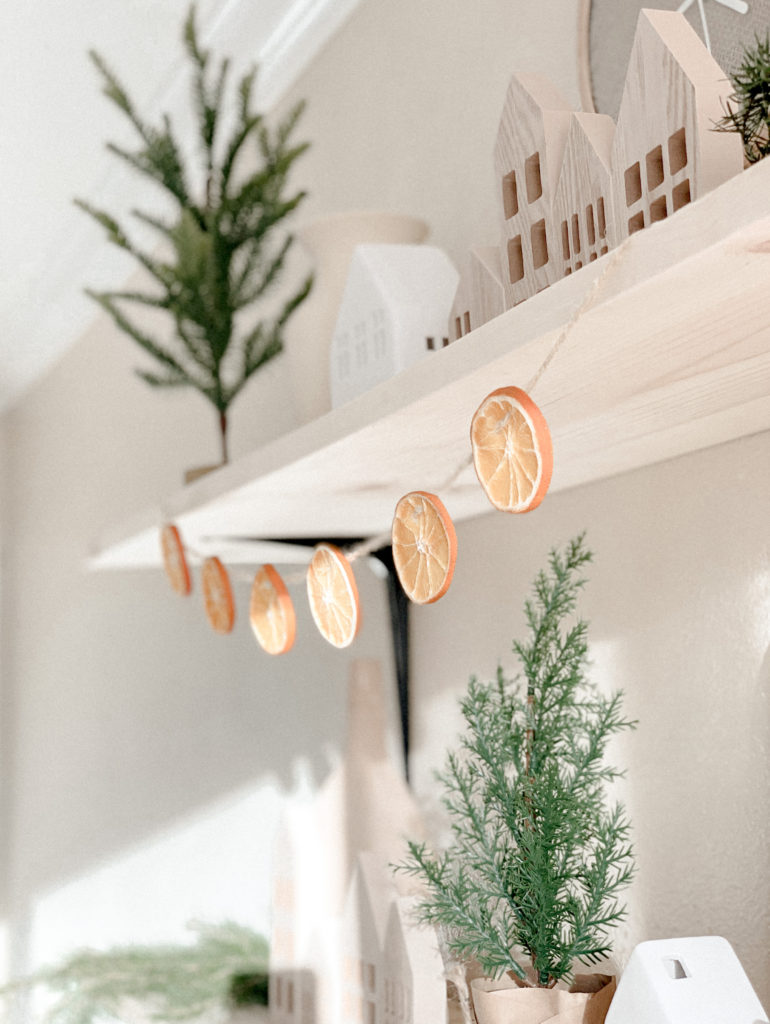
6. Hang your orange garlands, and enjoy the fresh holiday scent and the pop of color!
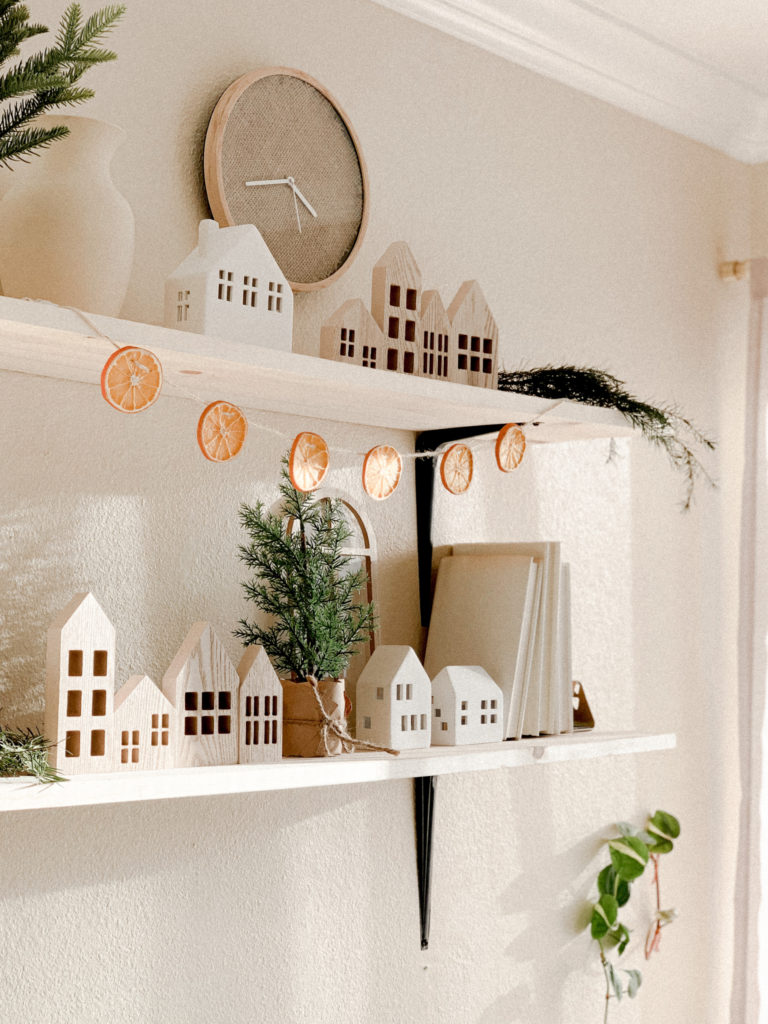
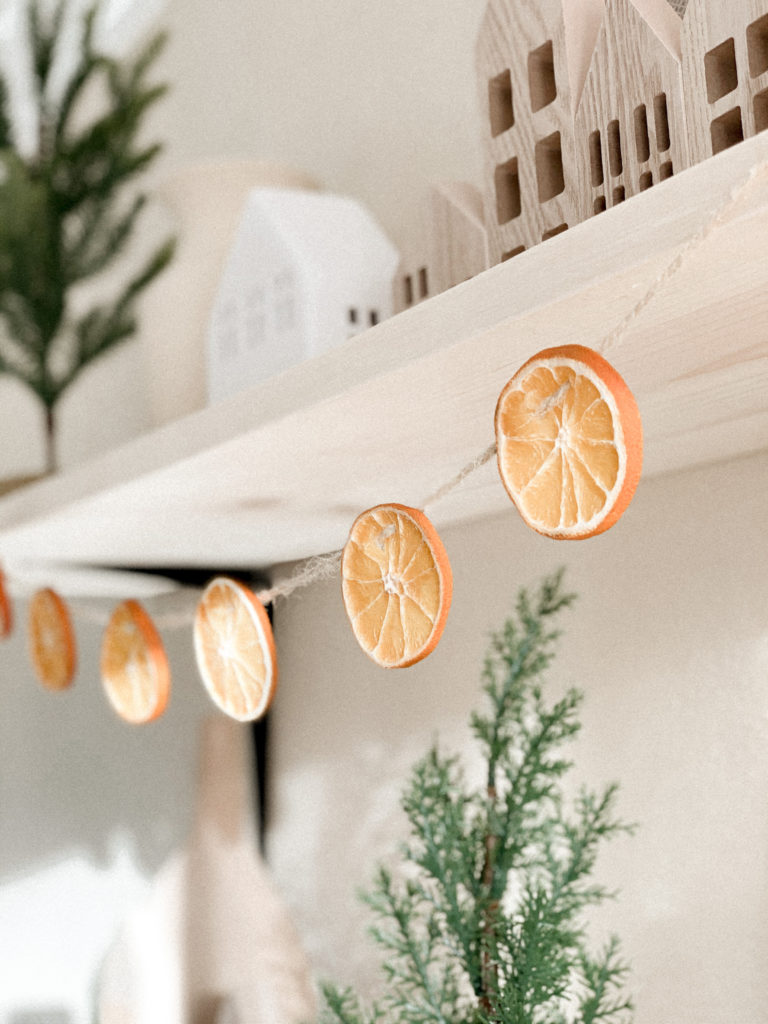
An easy, affordable, and relaxing Christmas decor piece is on all our wishlists this year! Let me know if you make your own too!
xo, rachlv.
p.s. click here for more DIYs!