Stick and peel tiles –– a renter’s best friend.
This post may contain affiliate links, which means I’ll receive a commission if you purchase through my link, at no extra cost to you!
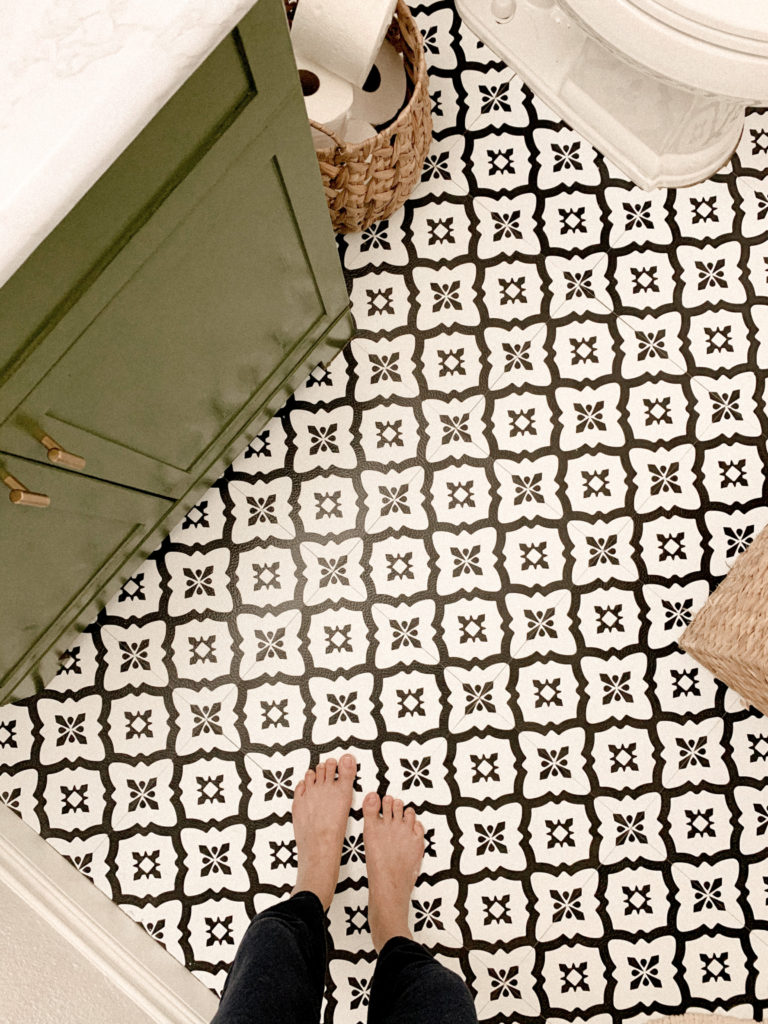
“How to install stick and peel tiles” was one of my first Google searches when we moved into our first apartment. Rental-friendly methods usually don’t include ripping up undesirable bathroom floors, so I was on the hunt for an alternative.
Enter stick and peel tiles from WallPop. Wallpop primarily sells removable wallpaper and backsplash, but they have expanded their products to include removable floor products as well.
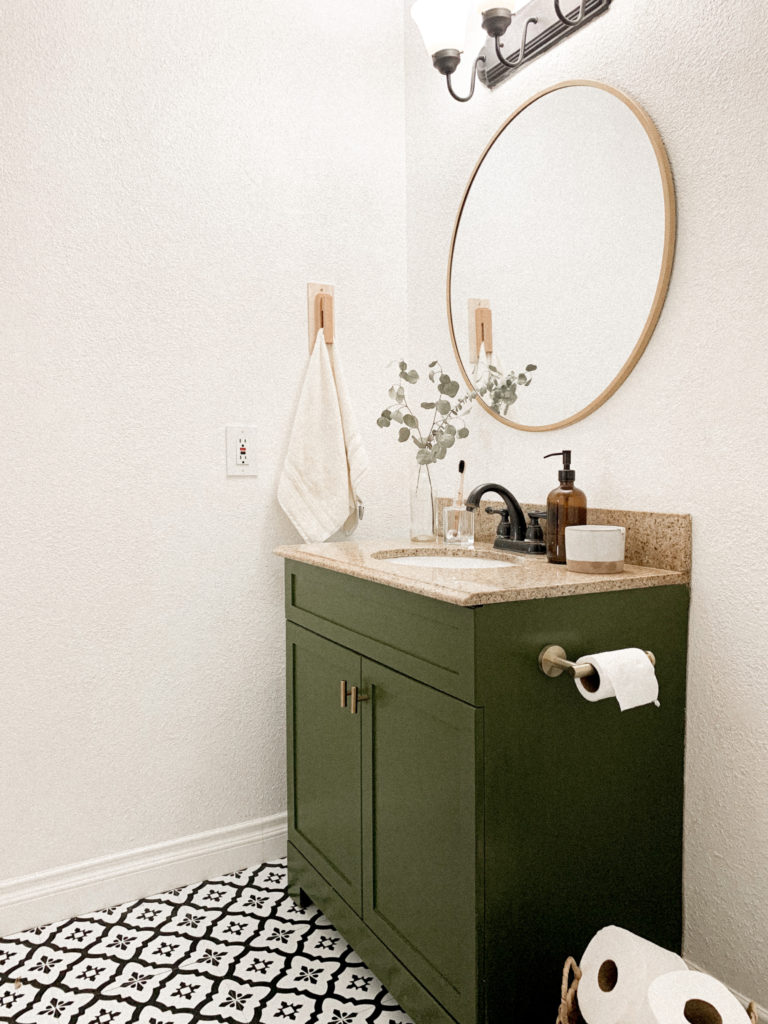
Having used these for a couple weeks now (and having gotten through about half a season of Friends while installing these), I have some feedback, tips, and tricks to share that I hope will be helpful if you’re considering these too!
Let’s start with the pros:
Stick and peel tiles are rental (and budget) friendly.
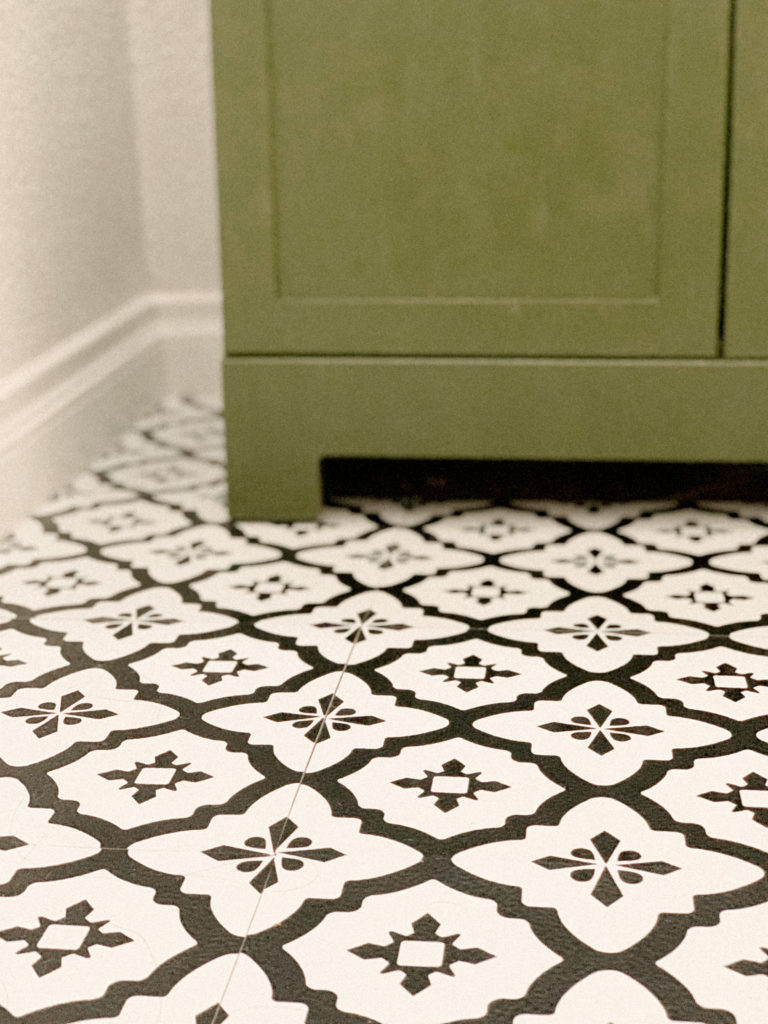
The FloorPops say they can be used long-term, or even permanently, but that does involve filling grout lines if there are any on the existing flooring, plus using a stronger bonding adhesive and caulking to finish.
However, our floors underneath had relatively shallow grout lines, and we haven’t felt that it’s compromised the adhesive of the tiles. A great option for us as renters since we only need to peel everything up and use a little GooGone afterwards.
Stick and peel tiles are easy to install.
For the most part (but we’ll get into the eh part later). From a practical and financial standpoint, these stick and peel tiles are easy to apply without any other tools, besides a box cutter/precision knife and a pair of scissors.
There are no extra steps like glue (unless you prefer a more permanent bond). It really is just stick, peel, and done.
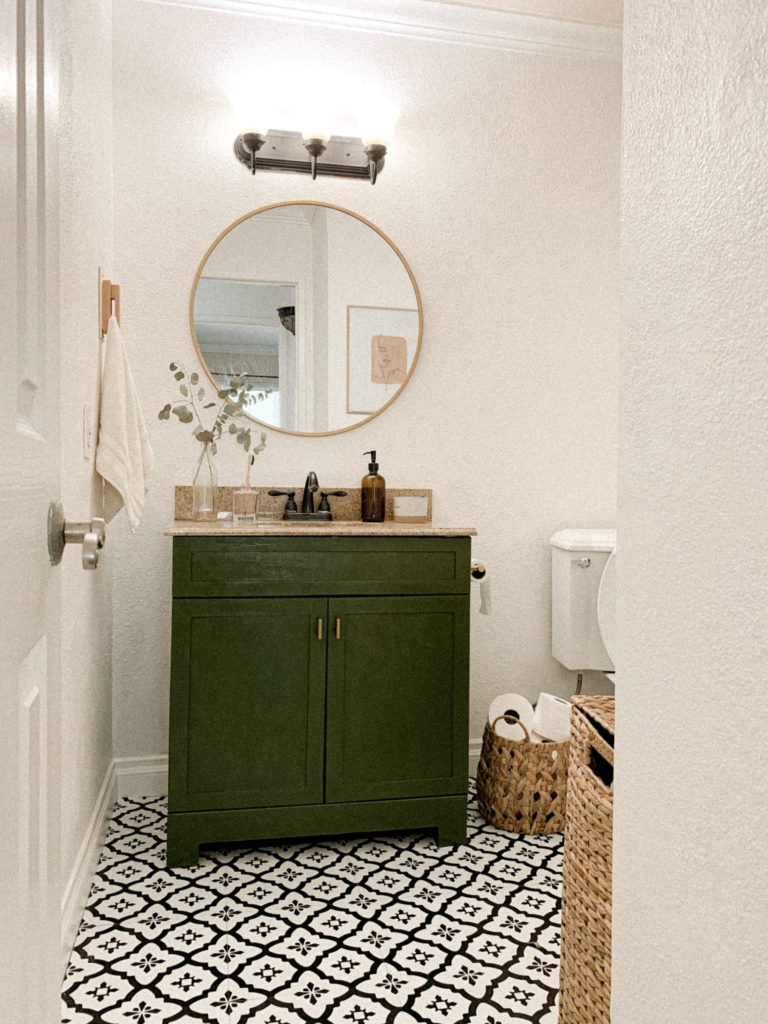
It makes a HUGE difference.
The walls, mirrors, and floors are the main areas that light reflect off in a space. Add a fresh color or pop of character to any of these, and you have a much more lively space. For us, adding something bright and interesting to the floors in a windowless room was made possible by stick and peel tiles.
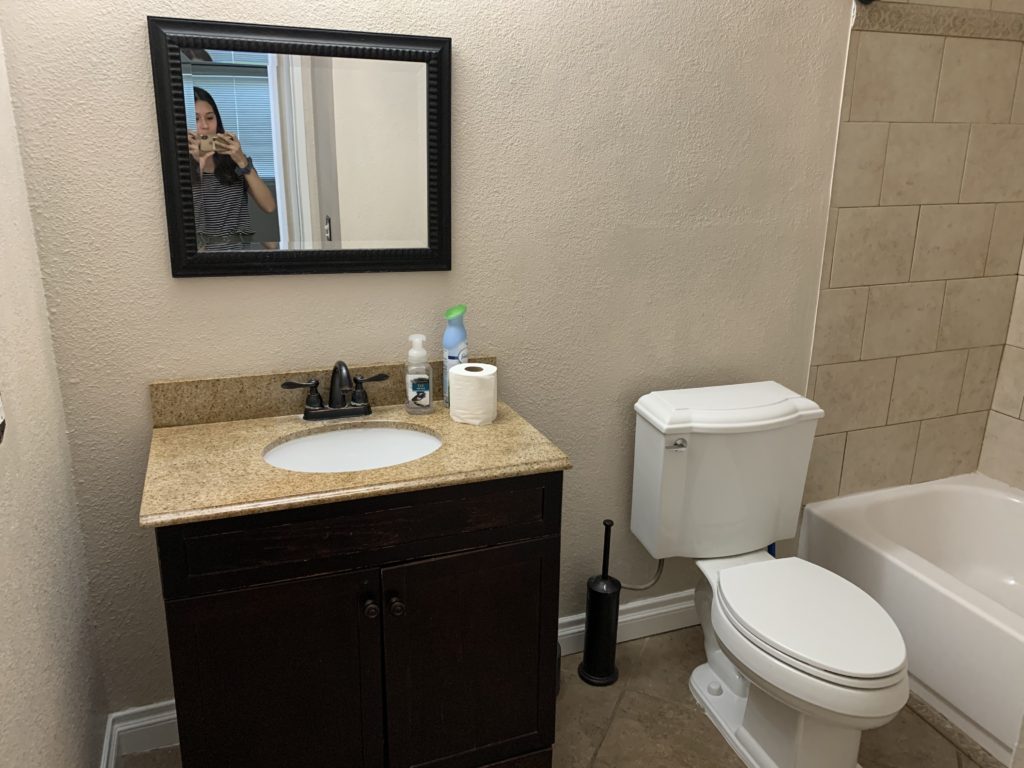
Alright, now the cons.
Stick and peel tiles aren’t perfect.
I really am grateful that I’ve become more OK with things looking less than perfect, because that often happens when you’re DIYing in a temporary space!
That being said, these stick and peel tiles aren’t, in any way, meant to replace actual floor tiles. They have a different feel (they’re made of a hard, durable laminate) and they’re not going to line up perfectly to each tile next to them (more on this in the Tips and Tricks section of this post).
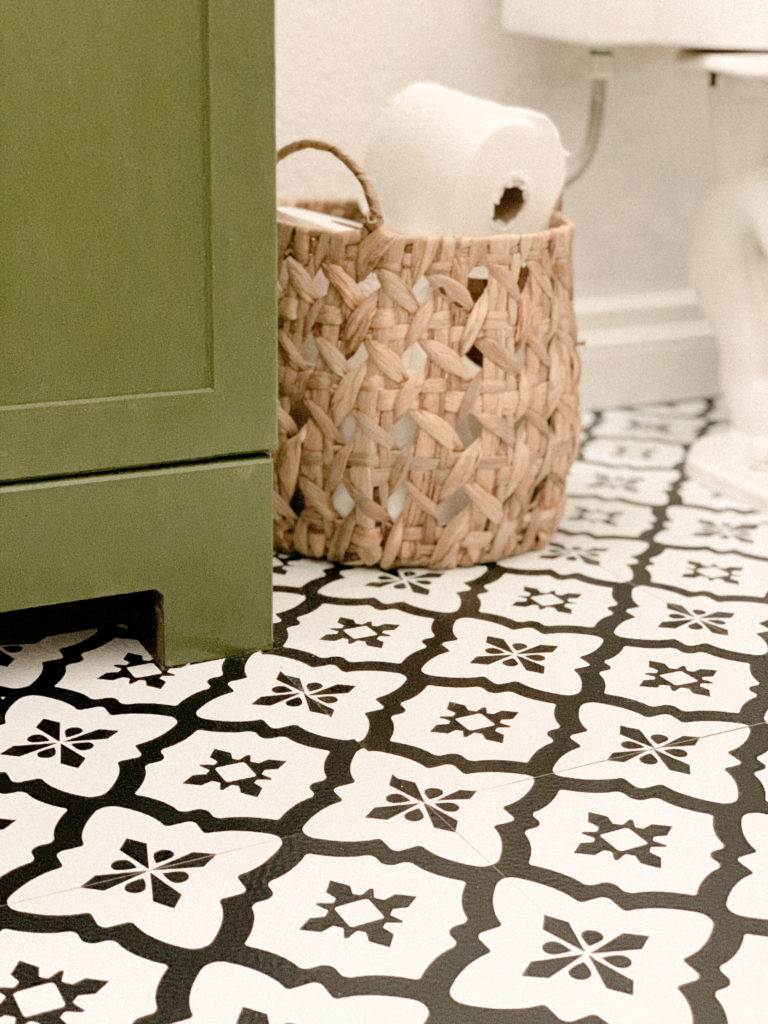
If you think you’re going to be endlessly bothered about a few patterns here and there not lining up perfectly, I wouldn’t advise going with these. Personally, I haven’t noticed because unless I’m scrutinizing the tiles up close, you can barely tell!
You may need a lot more than you think.
I recommend purchasing as needed so you don’t end up with an oversupply, but definitely budget and prepare for needing more than you think. The reason? There will be some mistakes, some unusable tiles, and also some small odd corners and spaces you’ll need to fill that will use an entire tile.
All in all, not many cons to this product! So far, we haven’t had any issues with tiles lifting or becoming dirty. They’re easy to clean and so far, an amazing asset to our space!
Now, some tips and tricks.
If you want the quick version, go watch my Tik Tok where I cover it in under 60 seconds!
Wipe and clean down the floors really well before you start.
Also, if you have long hair that tends to shed, tie it up so that you avoid getting anything on the floor that could catch in the tile adhesive. You want your surface to be as dust and dirt free as possible.
Plan out your tiles before you start.
Some sides will inevitably line up better than others –– arrange your tiles on the ground before you start so that you know exactly how to lay them. They’re easy to pull up if you make a mistake, but you’ll wear down the adhesion each time you do that, so better to work smarter, not harder!
Extra tip: although the packaging says to mark the center of your room and go out from there, if you have an irregular-sized space, I would recommend laying your first tiles in the place you’ll see the most. For us, it was right in front of our vanity, so I made sure that was the place the tiles were laid the nicest, working outwards from that point.
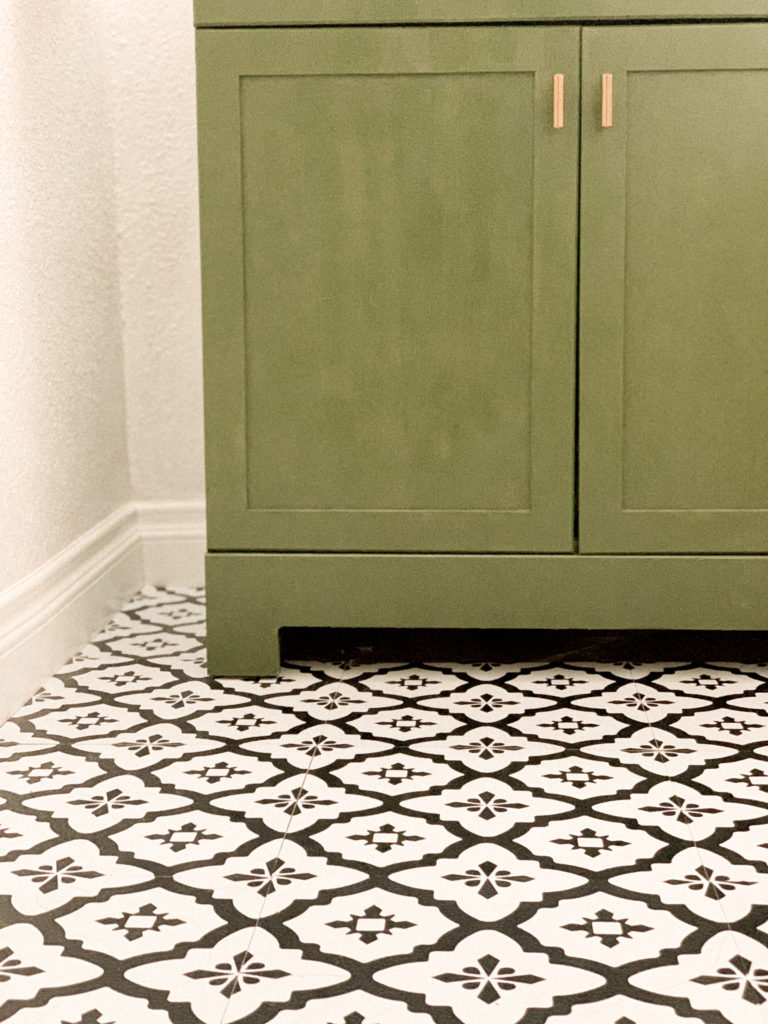
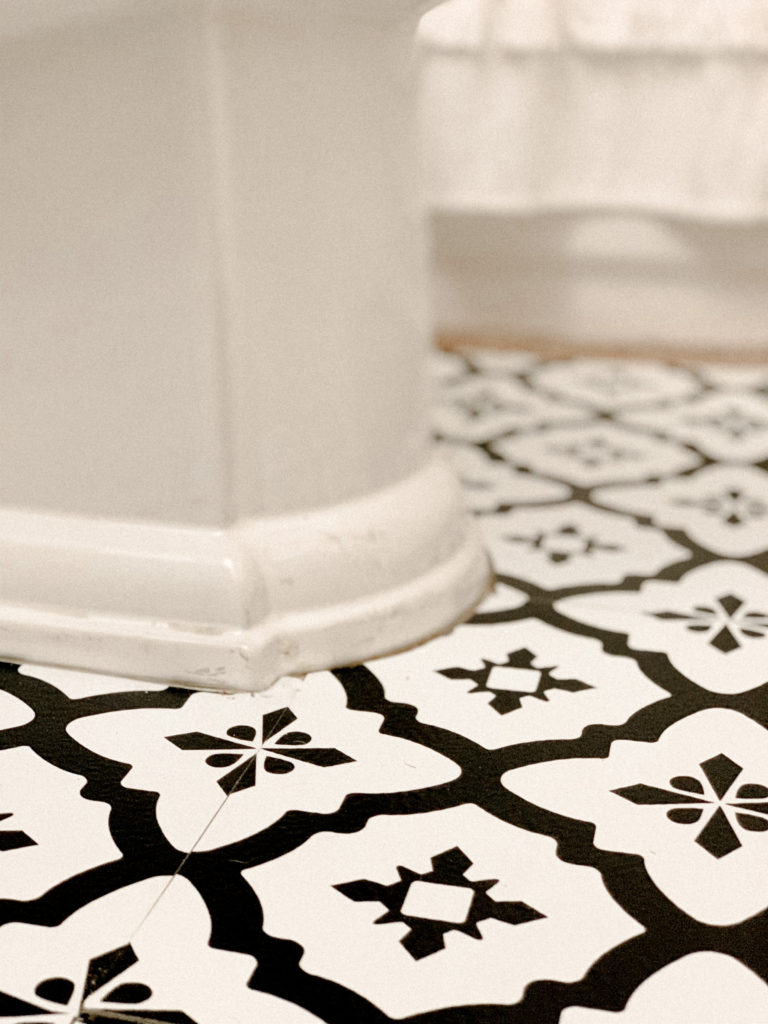
For round edges or awkward angles, like around the toilet, use a butcher paper template.
This is the best hack I can offer you. Works so much better than just eyeballing it and hoping for the best! Trace a tile out onto butcher paper, cut it out, and use that as a flexible template for scoring and cutting the shape you need.

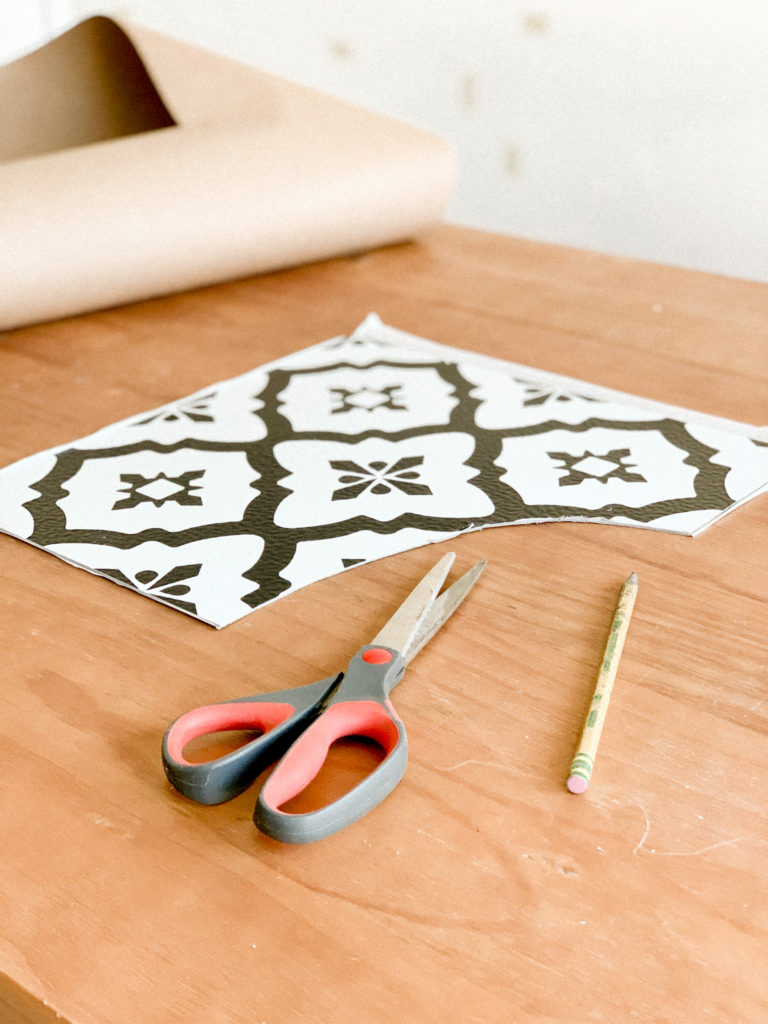
Need a simple, clean cut? Toss the scissors, get a box cutter.
I wish I had learned this hack earlier. I kept thinking that since the tiles were relatively thick, a box cutter wouldn’t possibly be able to cut through it. WRONG. It can score a line so effectively and give you the clean cut of your dreams!
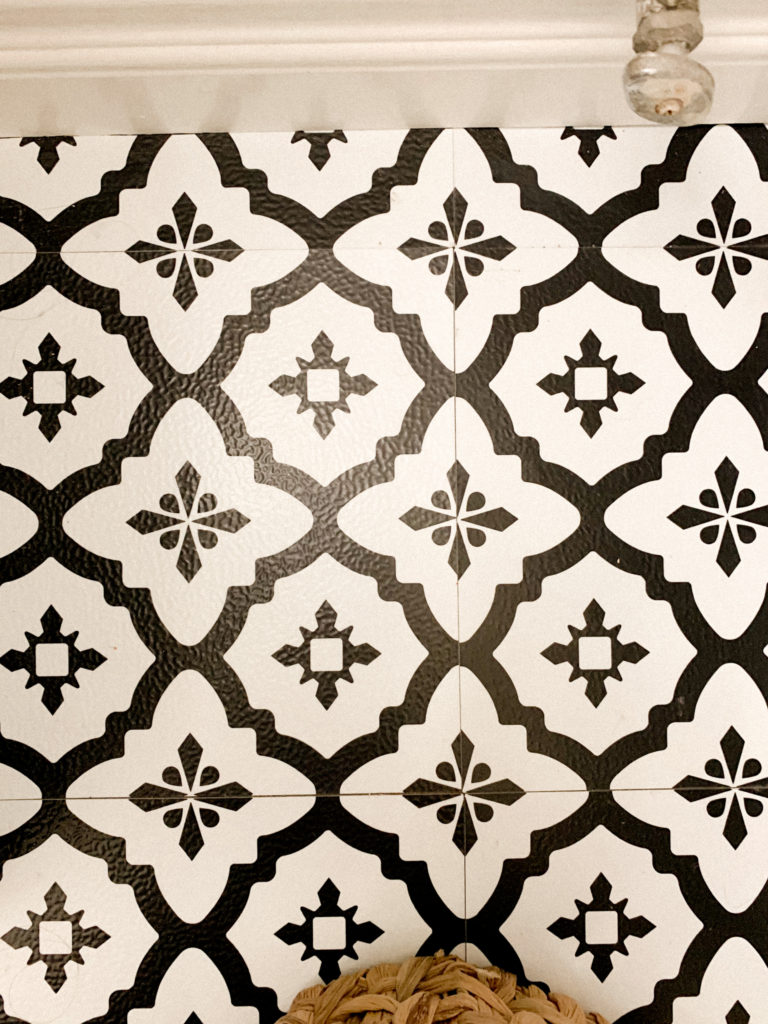
It’s perfect when there are smaller pieces you need for edges to the wall, like this.
Go slow. And use your brain.
I didn’t use my brain for a few of these. Everyone in the product reviews said “you’ll need more than you think because you’ll make mistakes”, and for some reason, I thought I was the exception (I wasn’t).
Make sure when you’re cutting, you’re cutting the correct side so that your pieces still line up. Make sure you cut less when making sizing adjustments, so that you don’t end up with an unusable tile. Go slow. Be careful. And as my dad would say, “You can always go one way, but you can’t always go the other way.” Don’t make any quick, hasty, irreversible decisions.
In the end, these stick and peel tiles are an amazing investment for the renter who wants a temporary, safe, and reliable solution for flooring. These tiles have seriously changed the brightness and the character of our space –– and we think we’ll “stick” with it for a while!
xo, rachlv.
p.s. see more renter design tips here!

