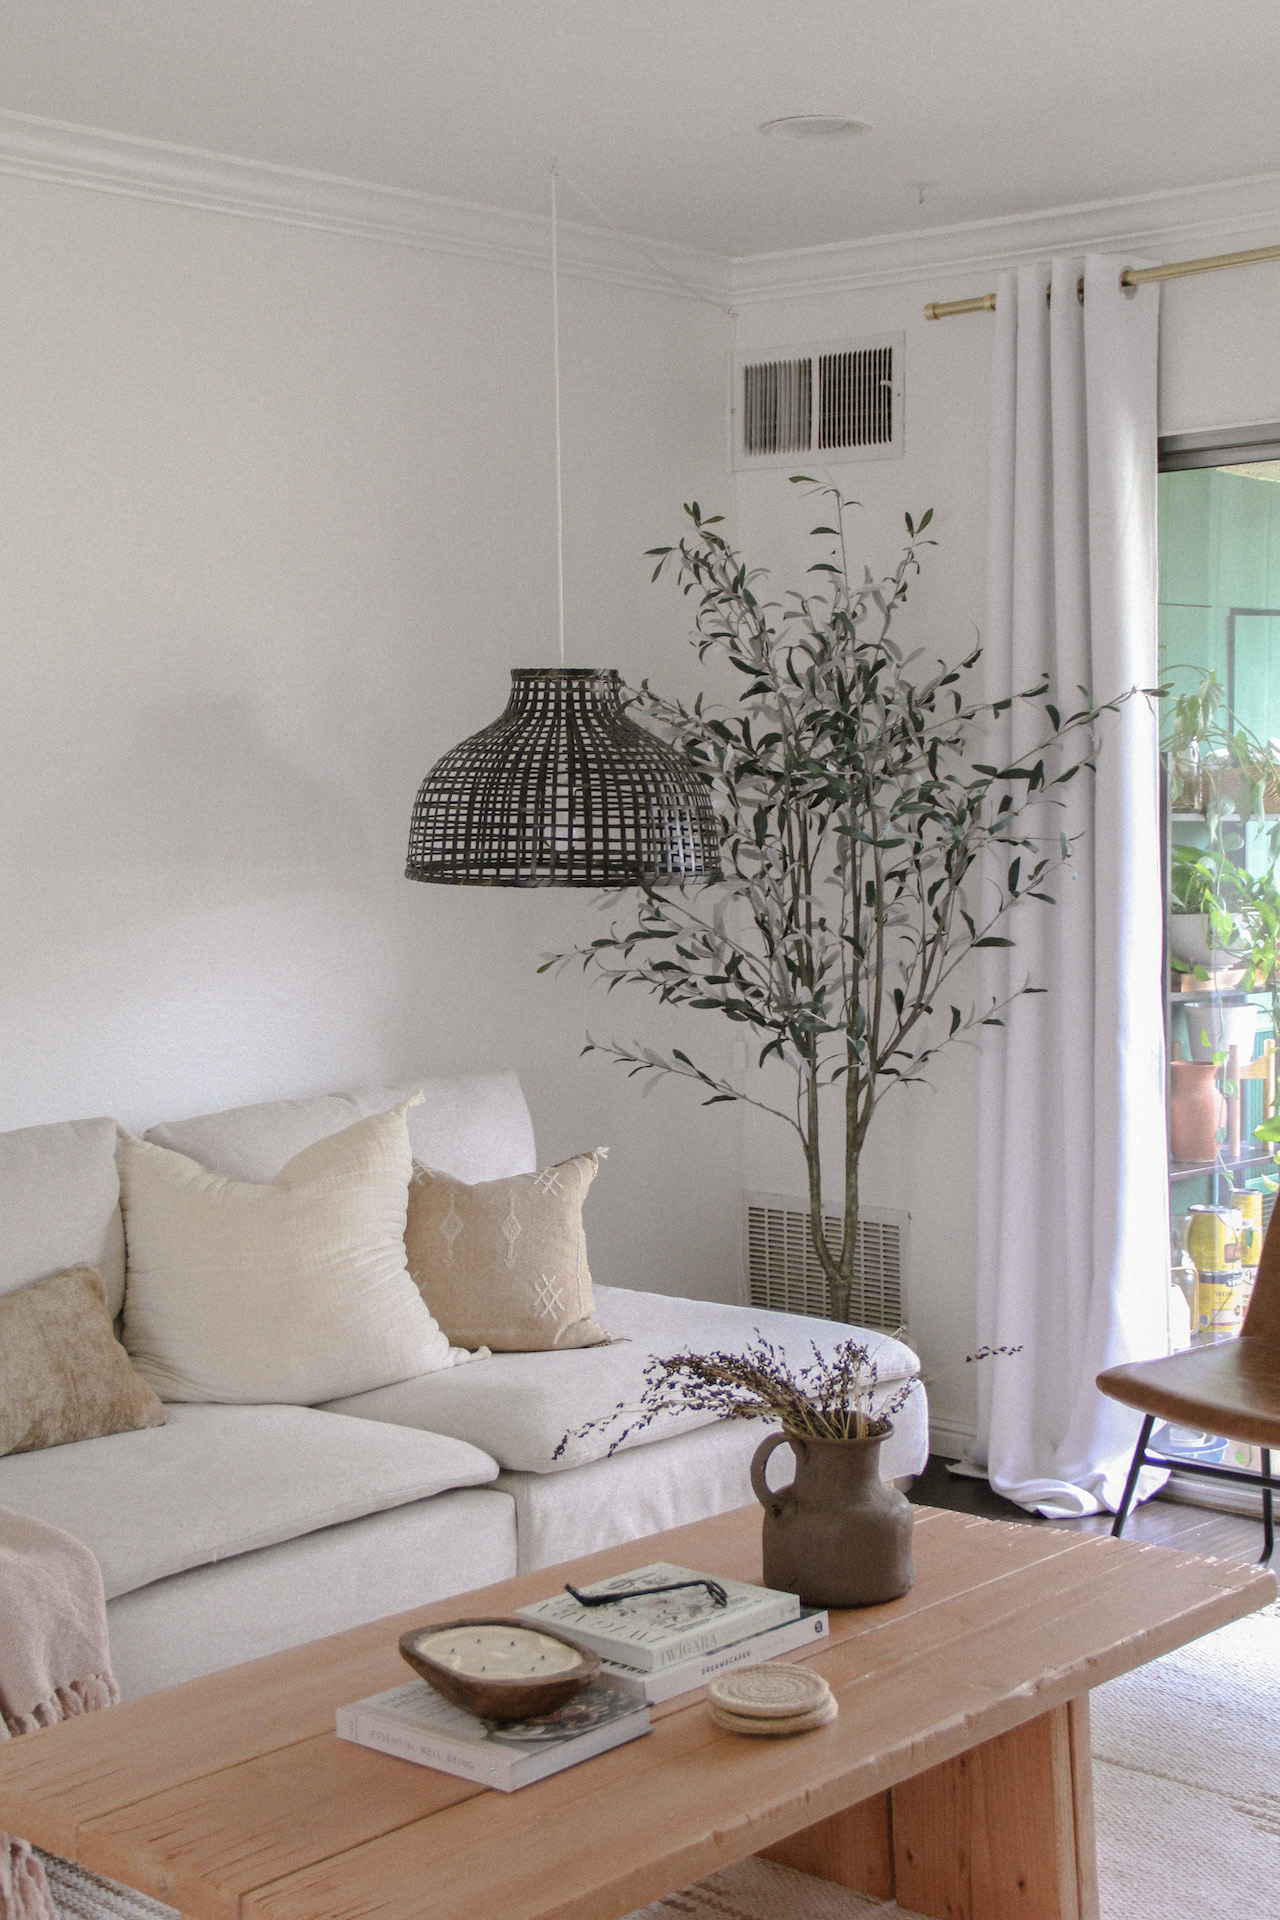
I decided paying $50 for a wood shelf at Target was a steep buy and also not as fun as doing it myself! This DIY wood shelf was the main addition to our living room and it did not disappoint.
Here’s how you can do it too!
You’ll need:
MATERIALS:
- A wood piece, cut to your desired length
- Sandpaper (and a face mask)
- Pre-stain wood conditioner
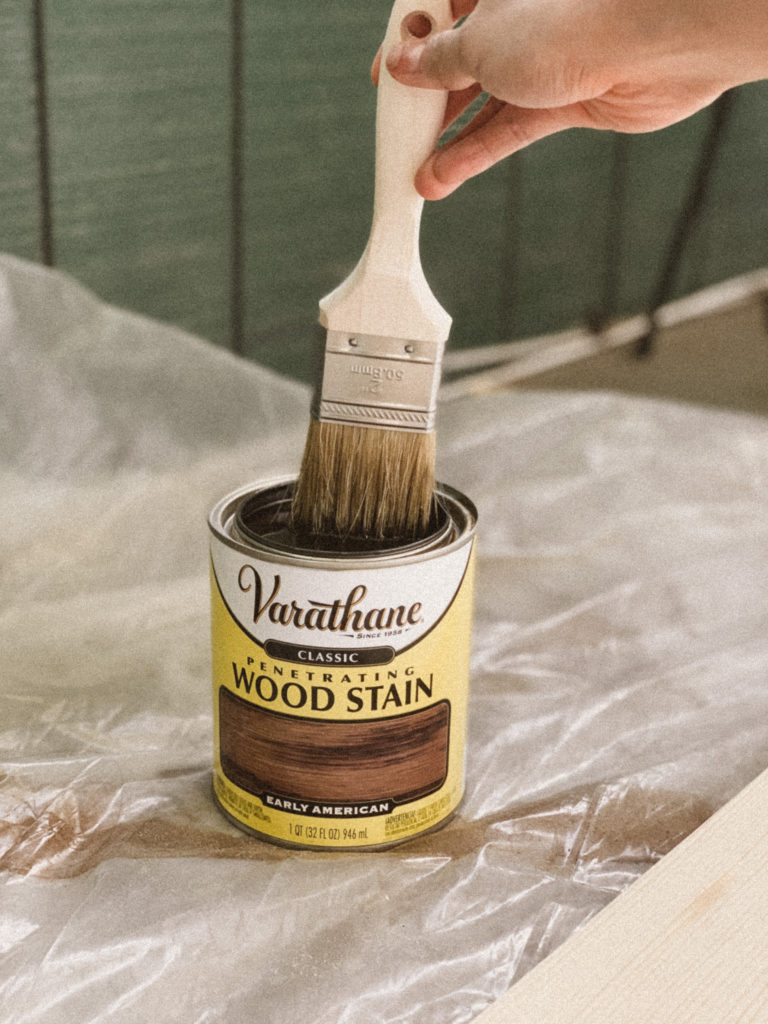
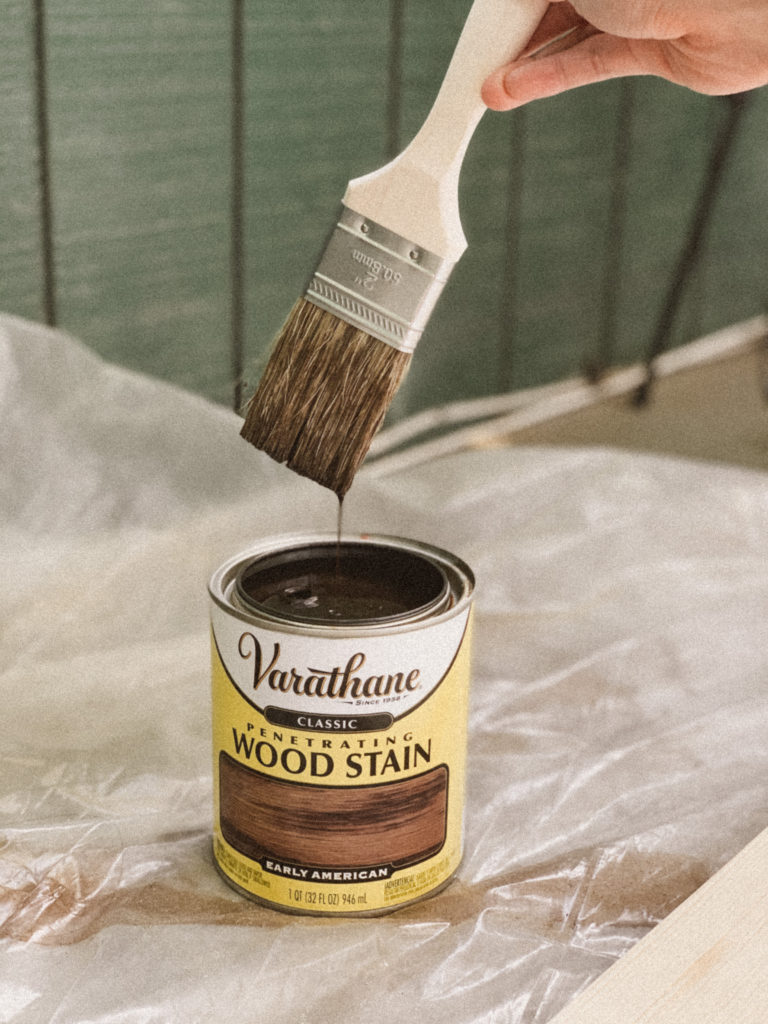
- Wood stain (your desired shade)
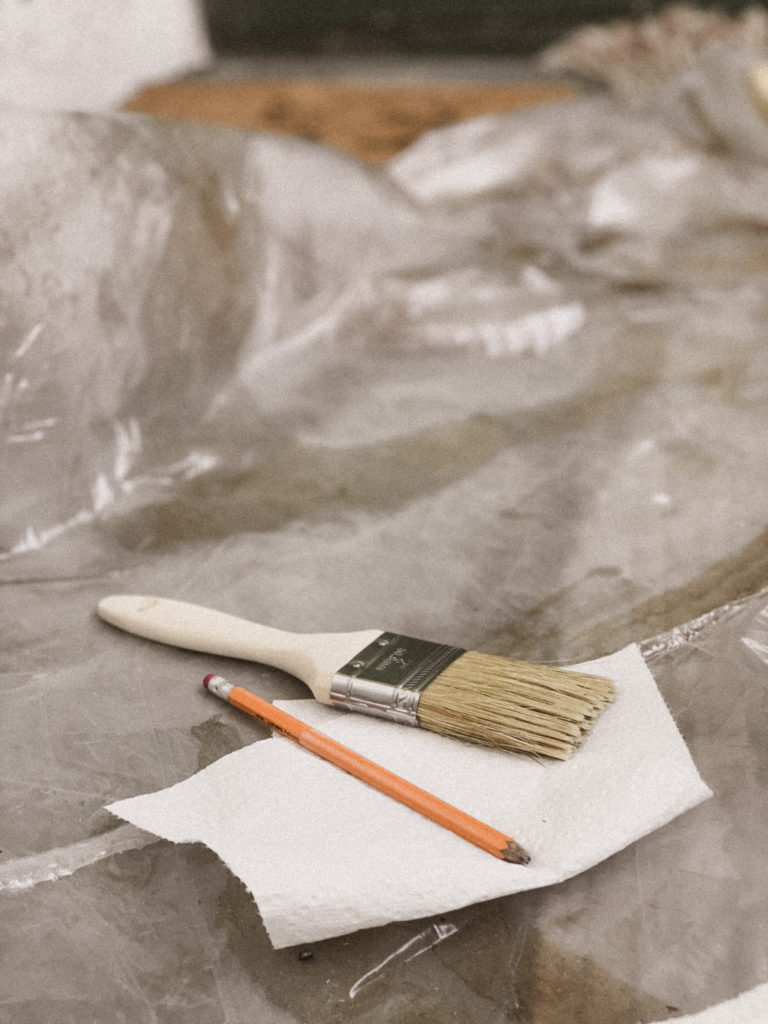
- Staining brush or cloth
- Paper towels
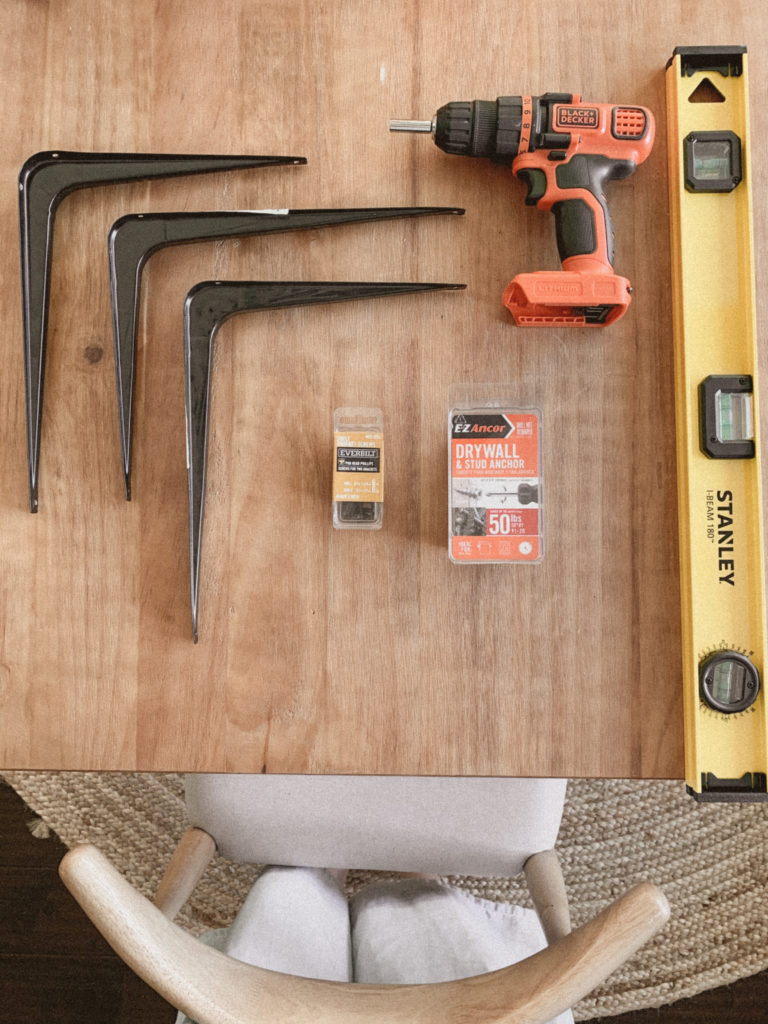
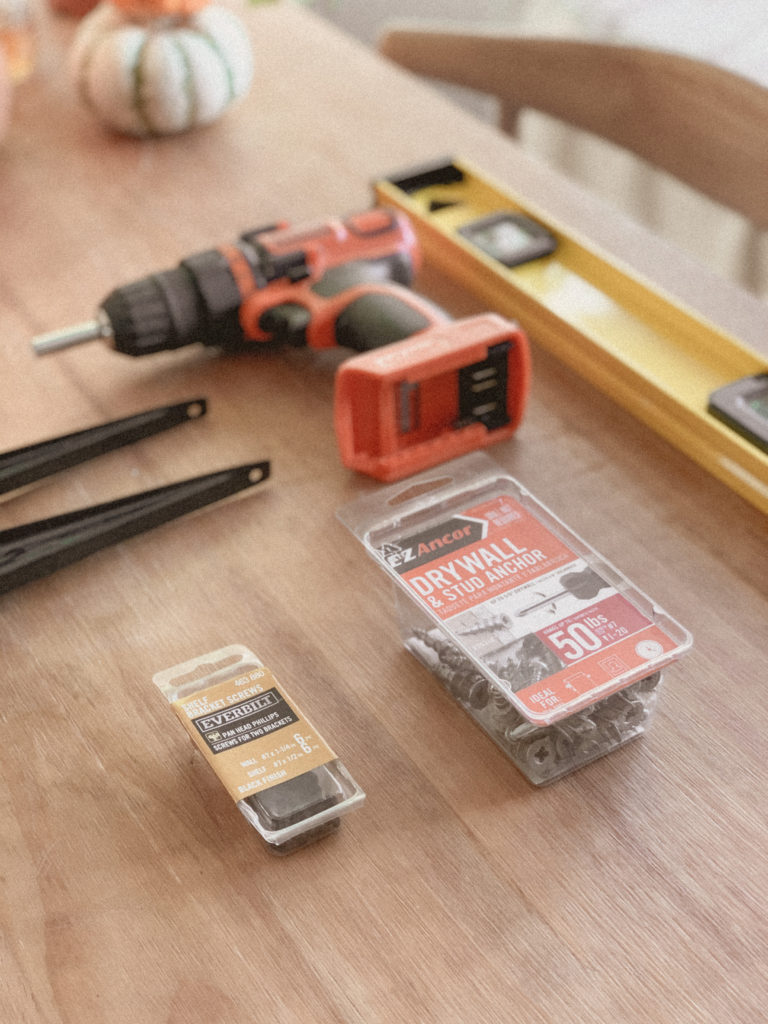
- Screws
- Drywall anchors (if you’re not drilling into wall studs)
- Wall brackets
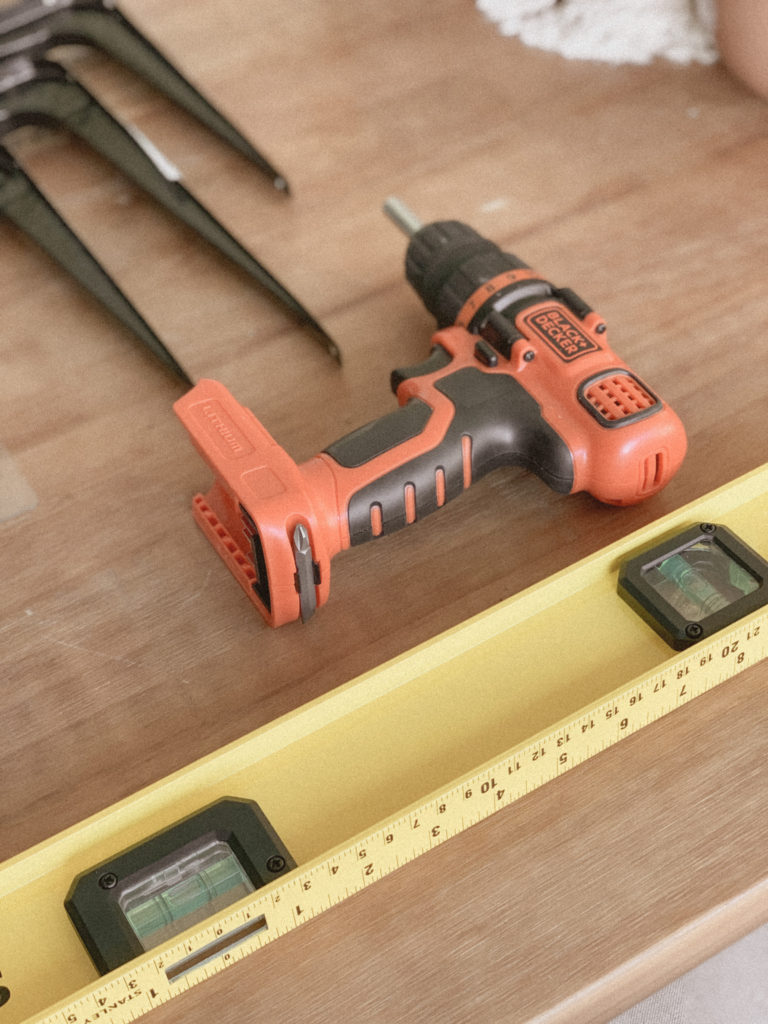
TOOLS:
- Measuring tape
- Power drill
- Leveler
- A husband ◡̈ (or just a friend to help!)
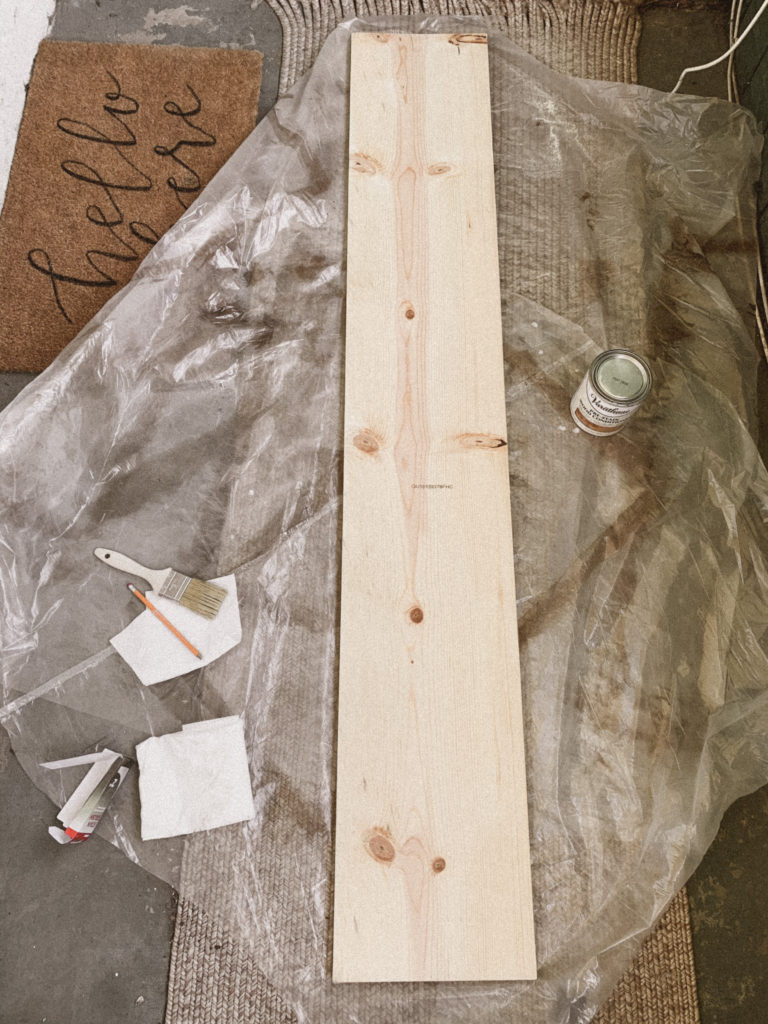
1. Purchase a piece of wood from your local hardware store.
We’ve made these same shelves for our dining area before, and had a good experience using pine. Decide the length you want, the thickness (we get 0.75″ thickness and I recommend at least that much for the sake of sturdiness) and the width (how deep you want your shelf to be).
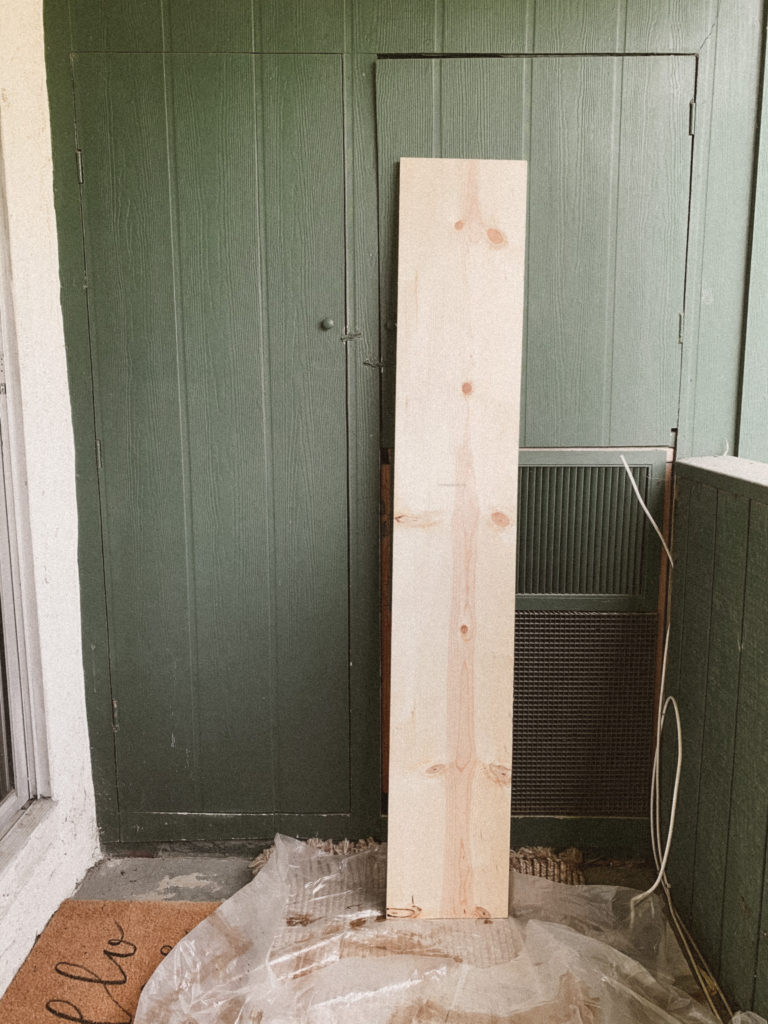
For this DIY wood shelf in particular, we picked up a pine piece that was 0.75″ thick, 11.5″ deep, and cut to 69″ long. Home Depot does simple cuts for you for free, so you can customize your length there!
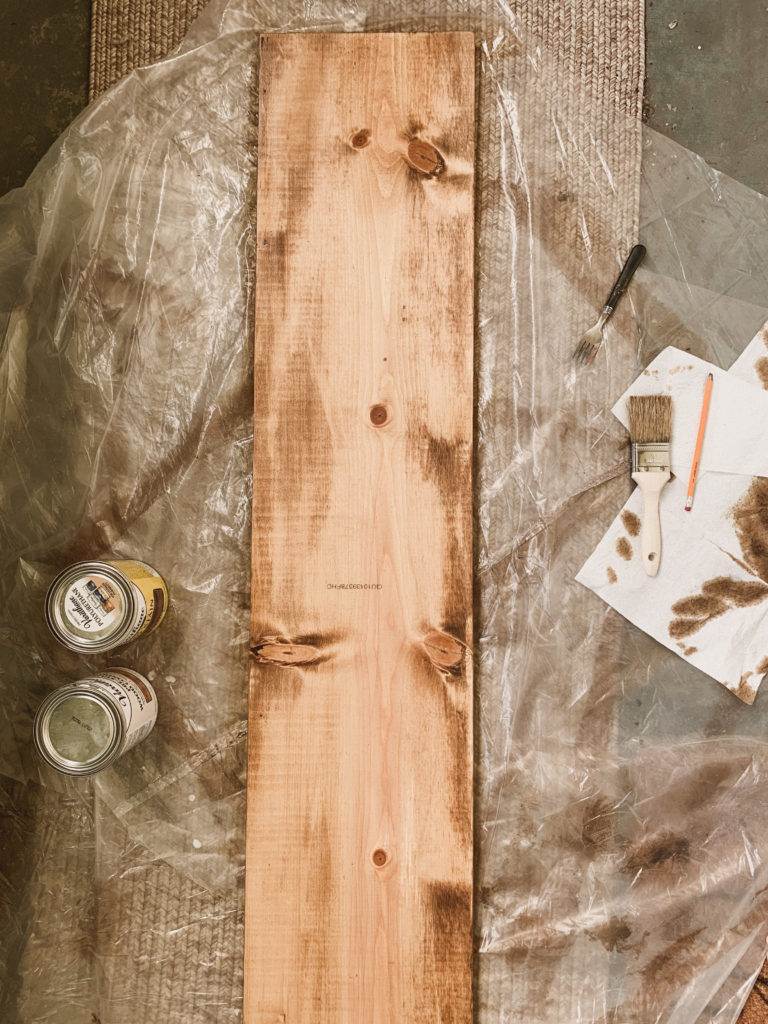
2. Sand the wood piece.
3. Condition your wood with pre-stain.
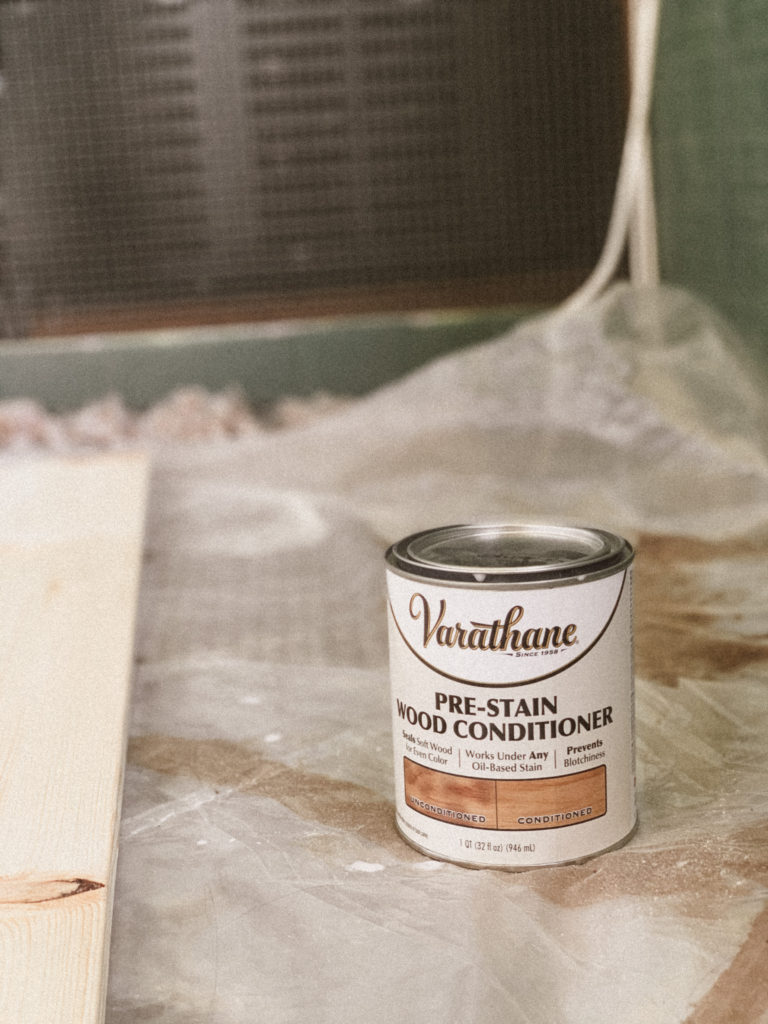
Use a brush to apply pre-stain. Adding pre-stain will condition the wood to take on the stain properly and more evenly.
Allow the pre-stain to dry (about 30 minutes) before moving to the next step.
4. Use a brush or staining cloth to stain your DIY wood shelf.
Move in the direction of the grain (again, never go side to side, only up and down). Use a paper towel to really press the stain into the wood and absorb any excess stain.
If you want a deeper, richer stain, allow the first layer to dry overnight and then go in with a second coat.
5. Mark your wall and where you want the wood shelf to go.
This is where the math (gross) part comes in. We used three industrial brackets as we felt this was our sturdiest option. And we spaced each bracket 16″ apart to align with the studs in our wall. That being said, we didn’t need wall anchors –– but if you aren’t aligning with your wall studs, definitely get some anchors!
We marked the spots for the brackets on the wall and then drilled in the bottom of the brackets into the wall first. We didn’t attach first into the wood piece itself because it’s harder to make sure everything is level if you do it that way.
Adding the brackets to the wall first, and then positioning the wood piece on top to make sure it’s level is the easiest method we’ve found.
6. Check that your DIY wood shelf is level on your brackets, and then drill the wood piece into place.
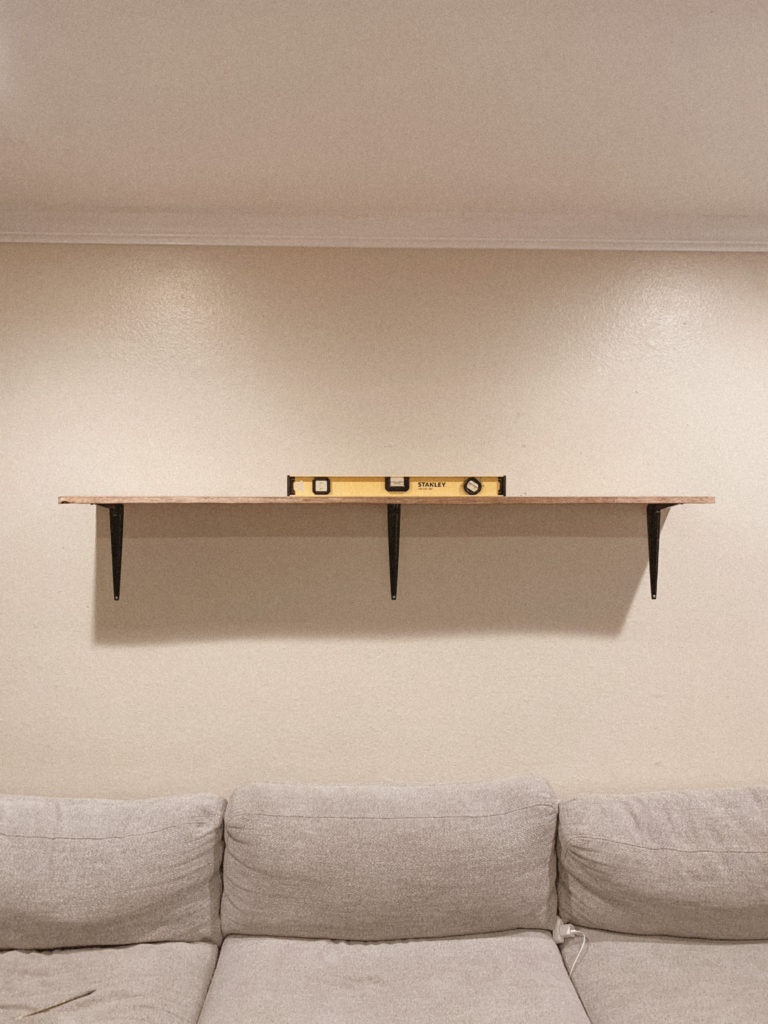
Place the wood piece on top, make sure it’s level, and then attach the brackets to the wood.
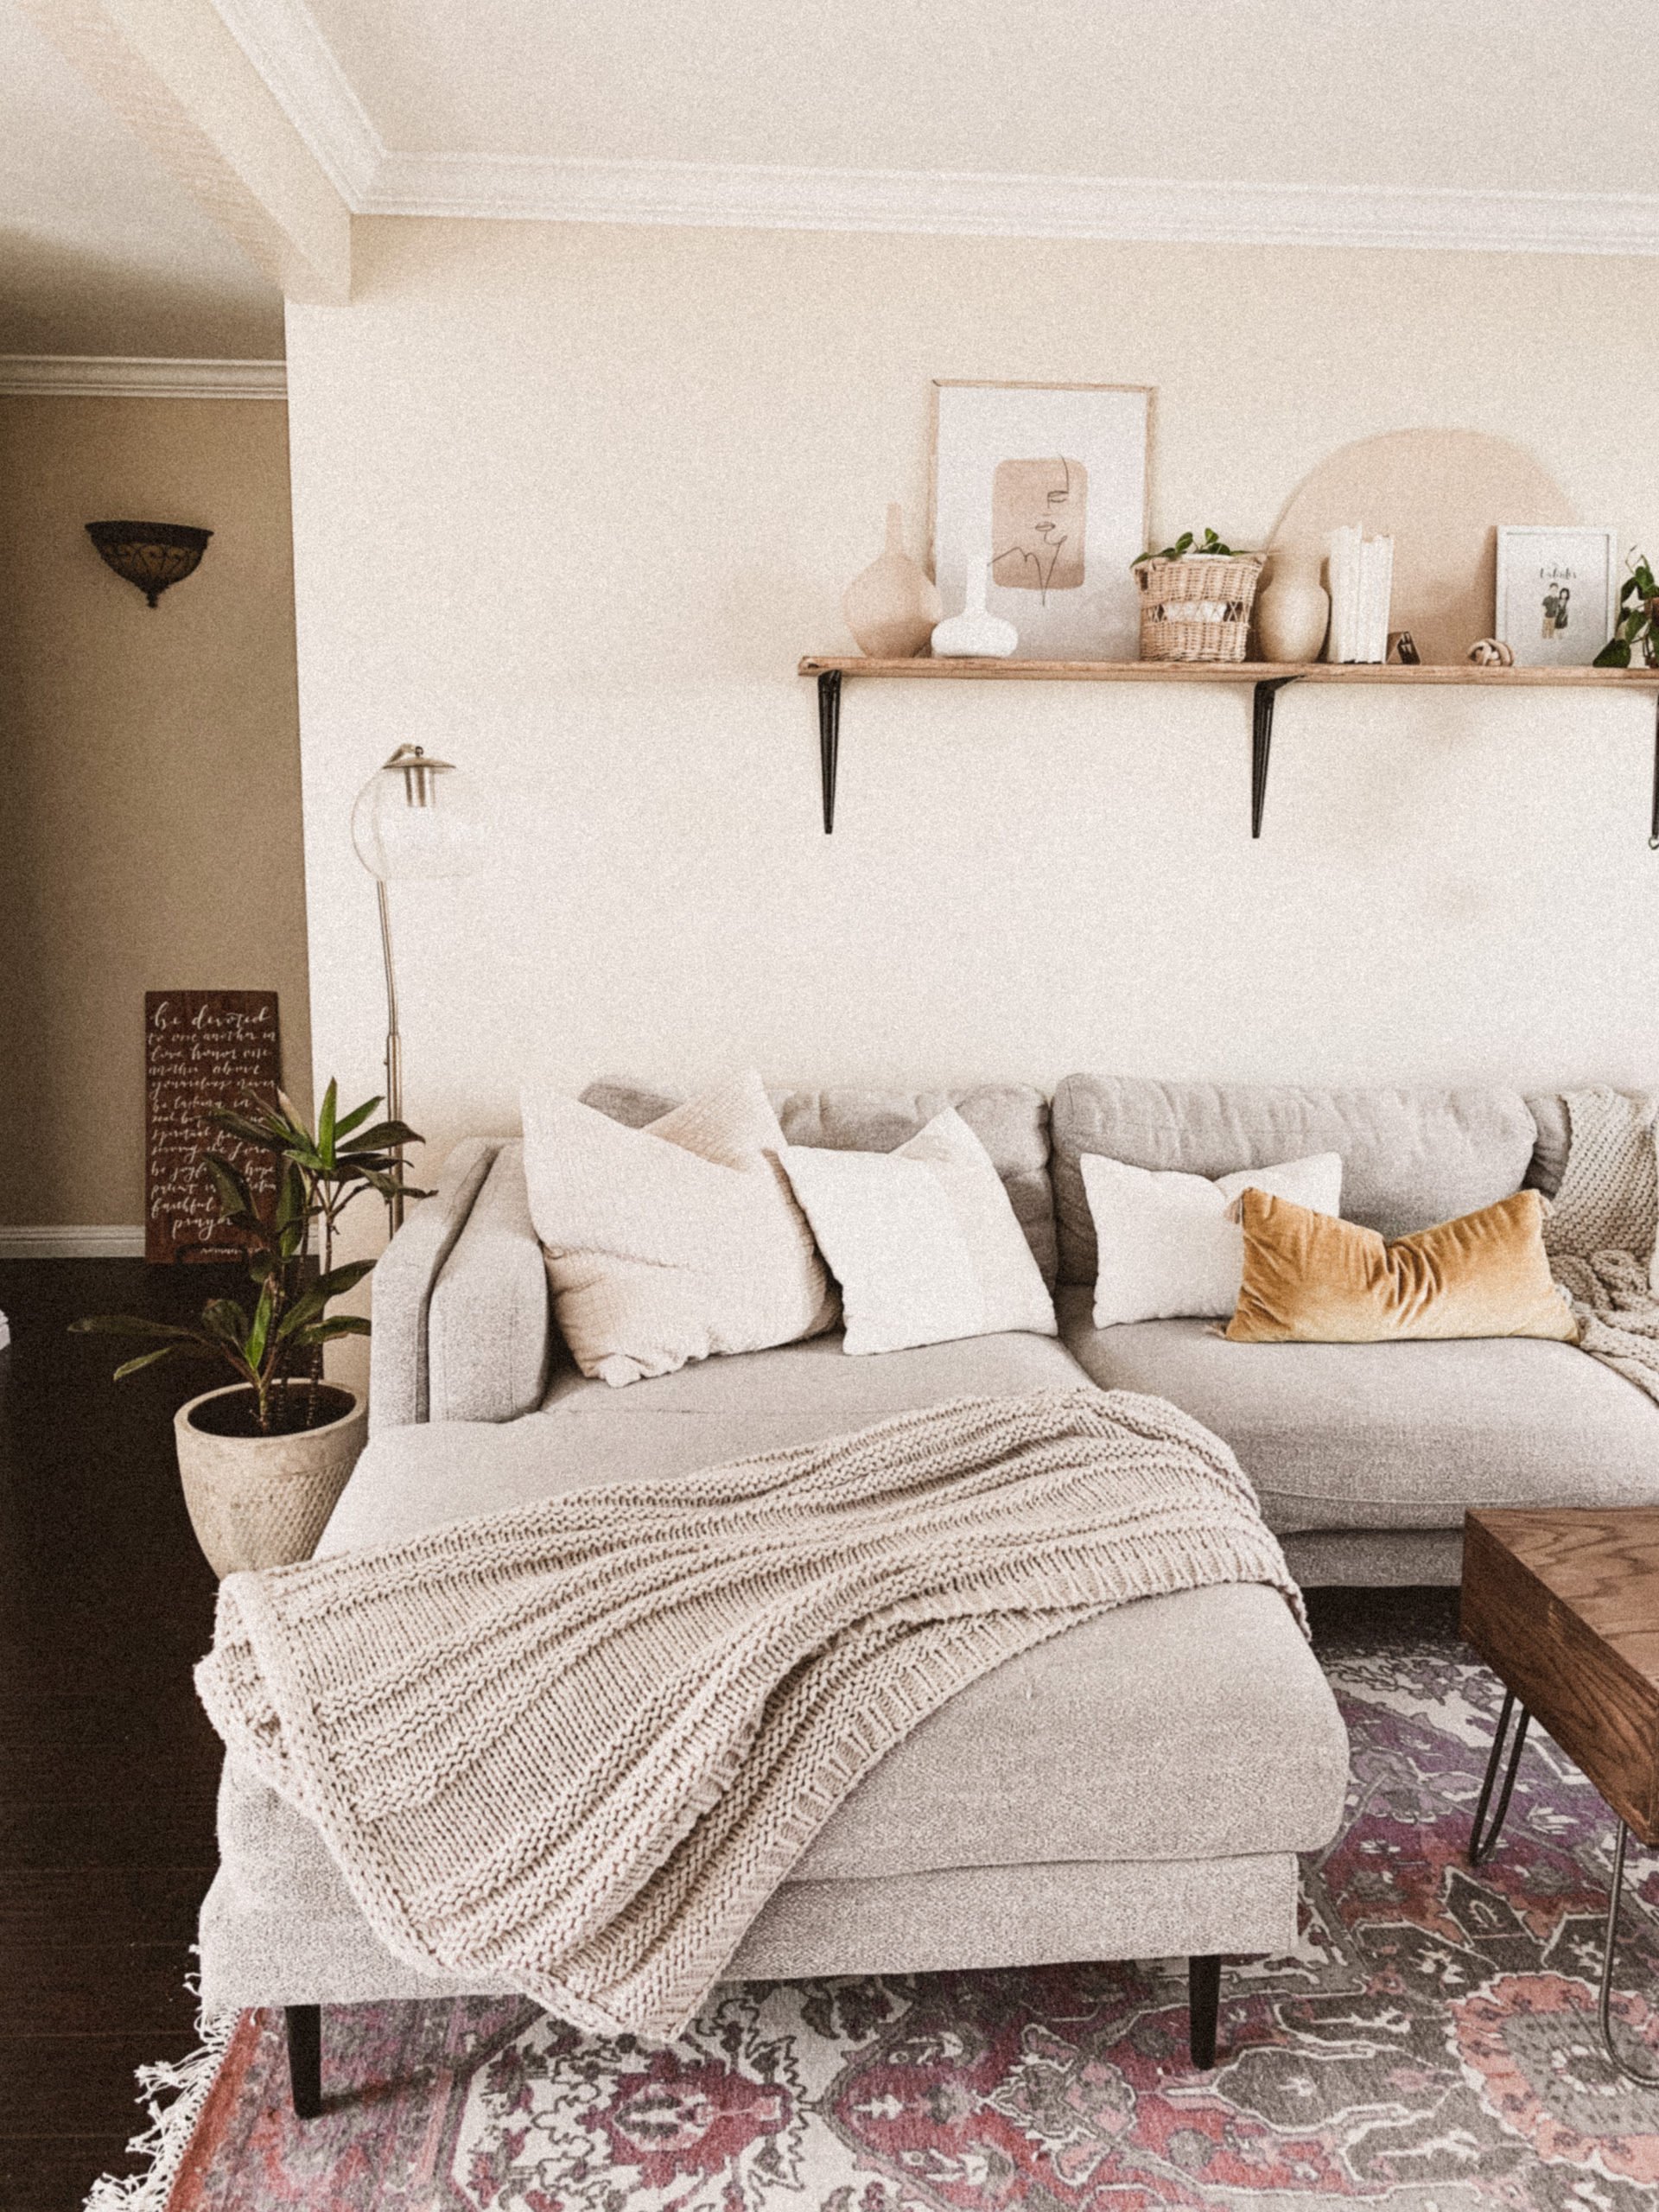
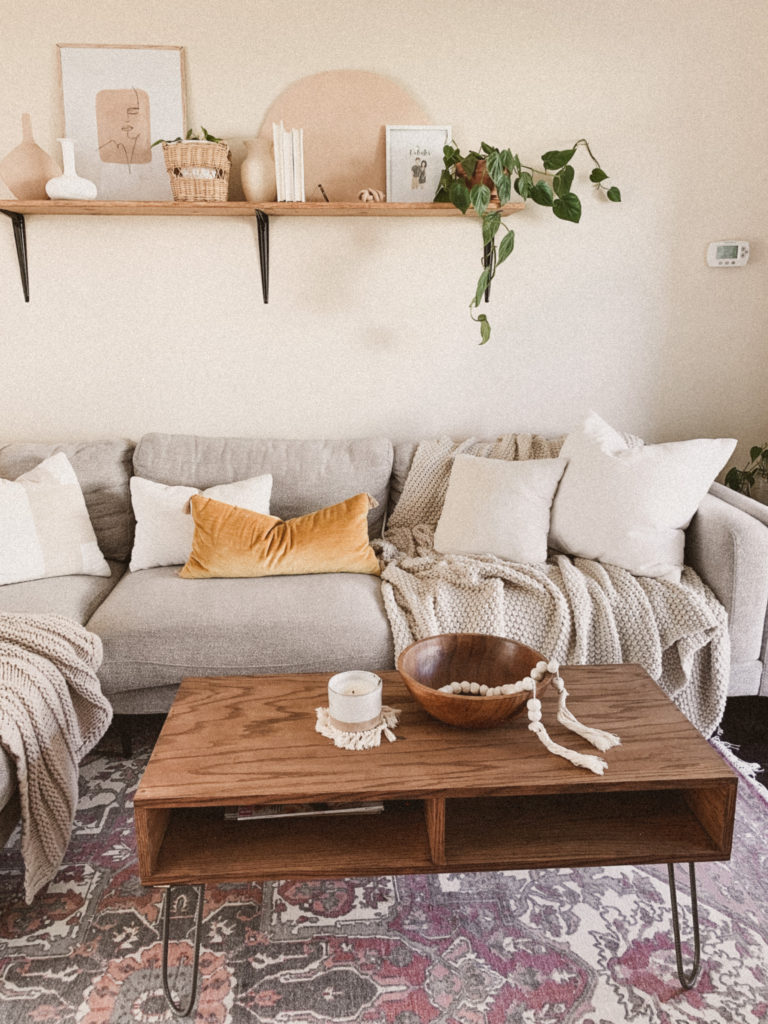
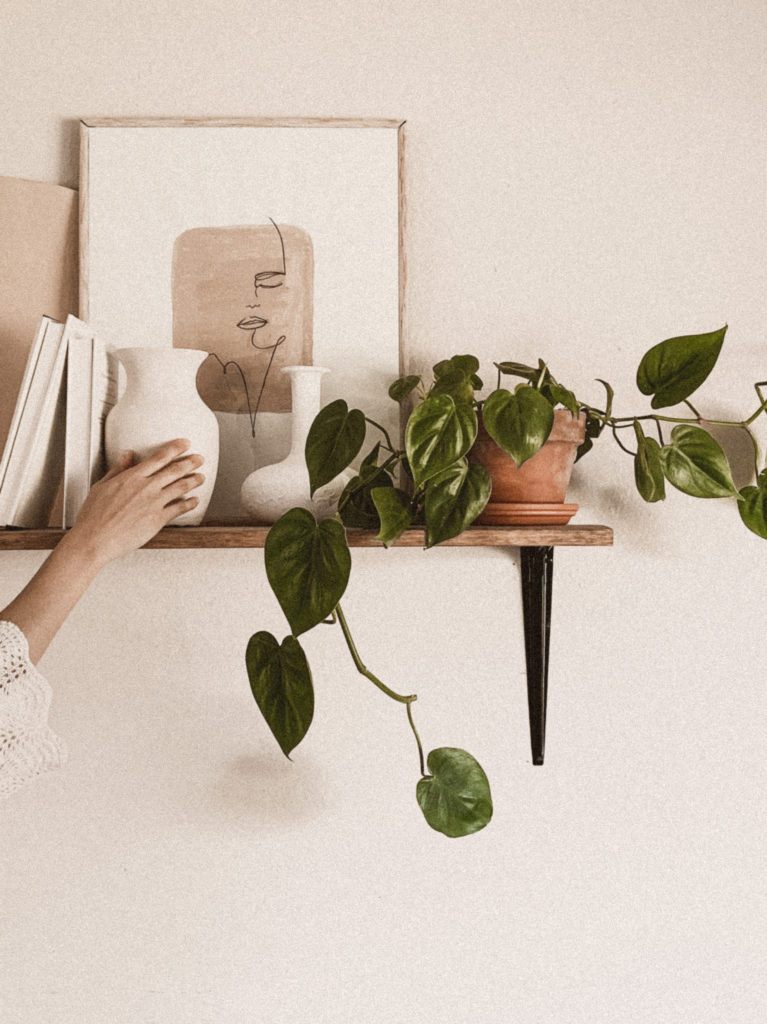

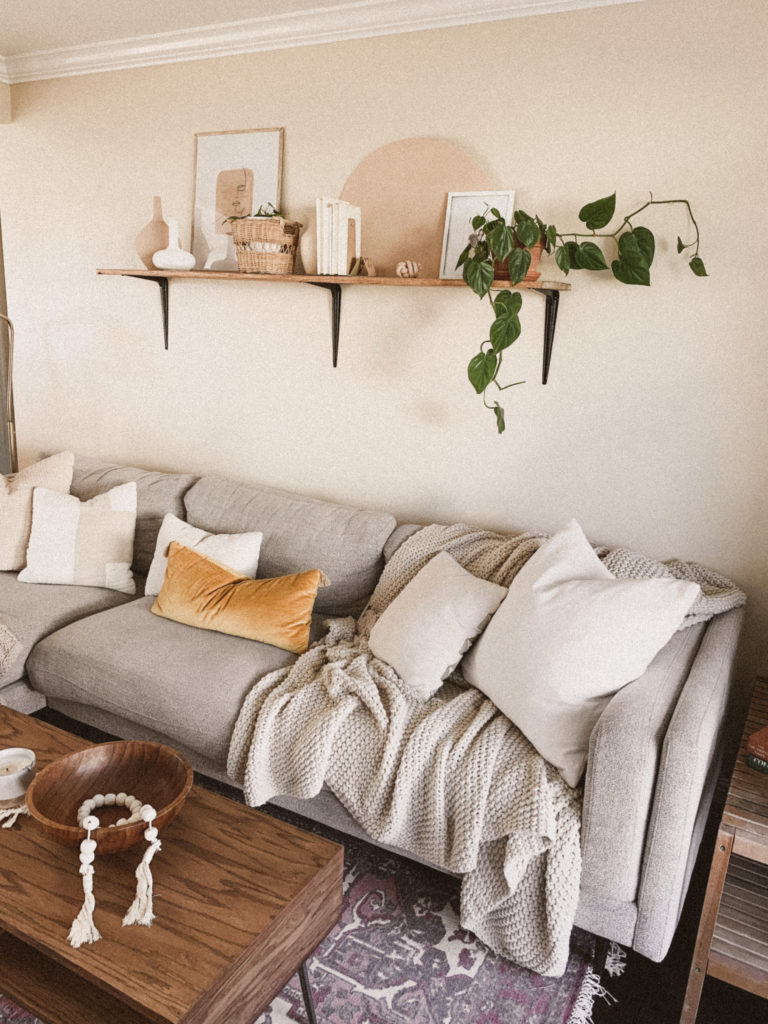
And there you have it: a simple, easy, and affordable DIY wood shelf! We love this addition to our space and can’t wait to watch it evolve over time.
Before I go, here are a couple things I wish I did differently:
- This time around, I used a staining brush instead of a cloth like I did on my previous shelves. I wish I had stuck to the cloth. Something about the brush made some of my stain come out more uneven than I would have liked. It’s also more challenging to stain the edges with a brush.
- I wish the shelf was lower on the wall. We put it higher up because we were afraid we’d feel like it was encroaching on our heads. Wrong. It feels too far away now!
- I would’ve made the shelf less deep. Since I didn’t do enough research to know that most living room shelves like these are a lot thinner, it feels like there is a bit too much excess depth on ours.
I hope you love this DIY wood shelf! We will probably never buy store-bought ever, and I’m totally ok with that ◡̈
You can do this, too! Plus a bunch of other DIYs, which you can check out here.
xo, rachlv.