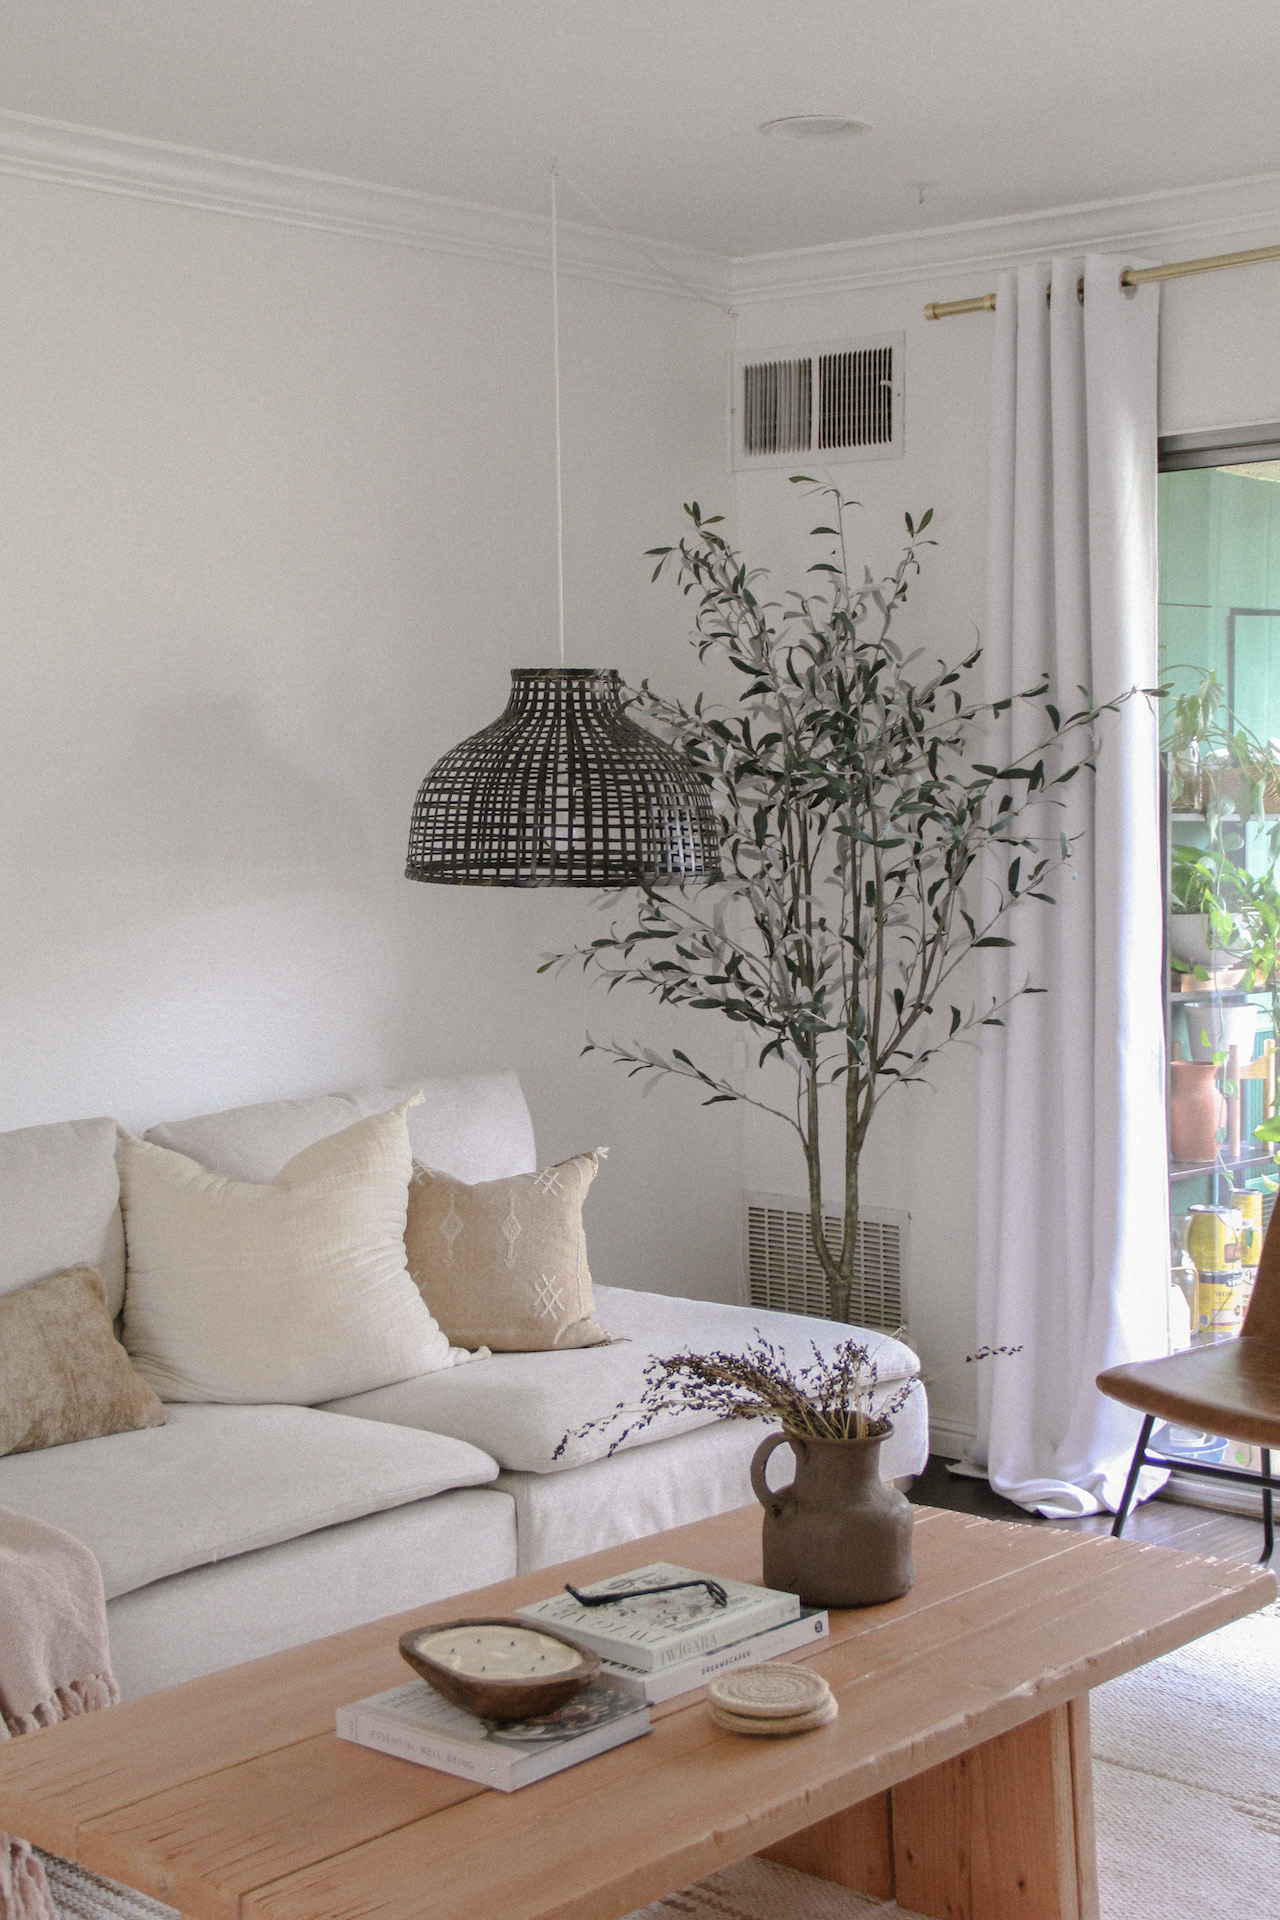
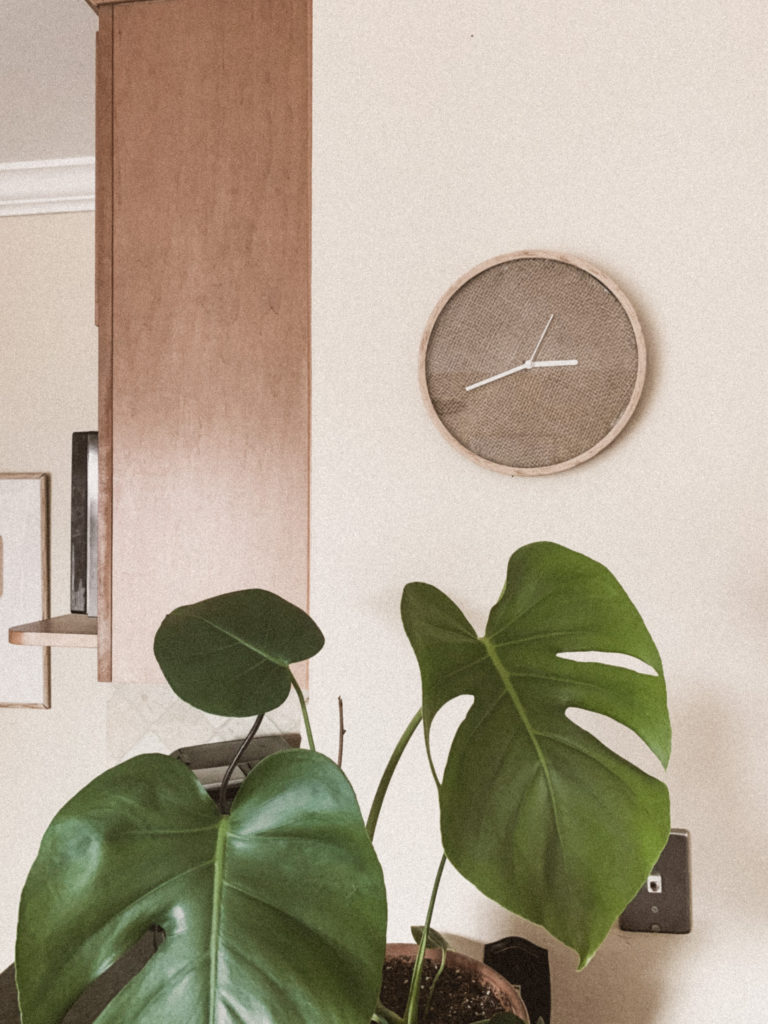
I am SO excited about this easy and affordable DIY modern burlap clock! I fell in love with this one from Society6, but noticed how easy it would be to do it myself –– so I did.

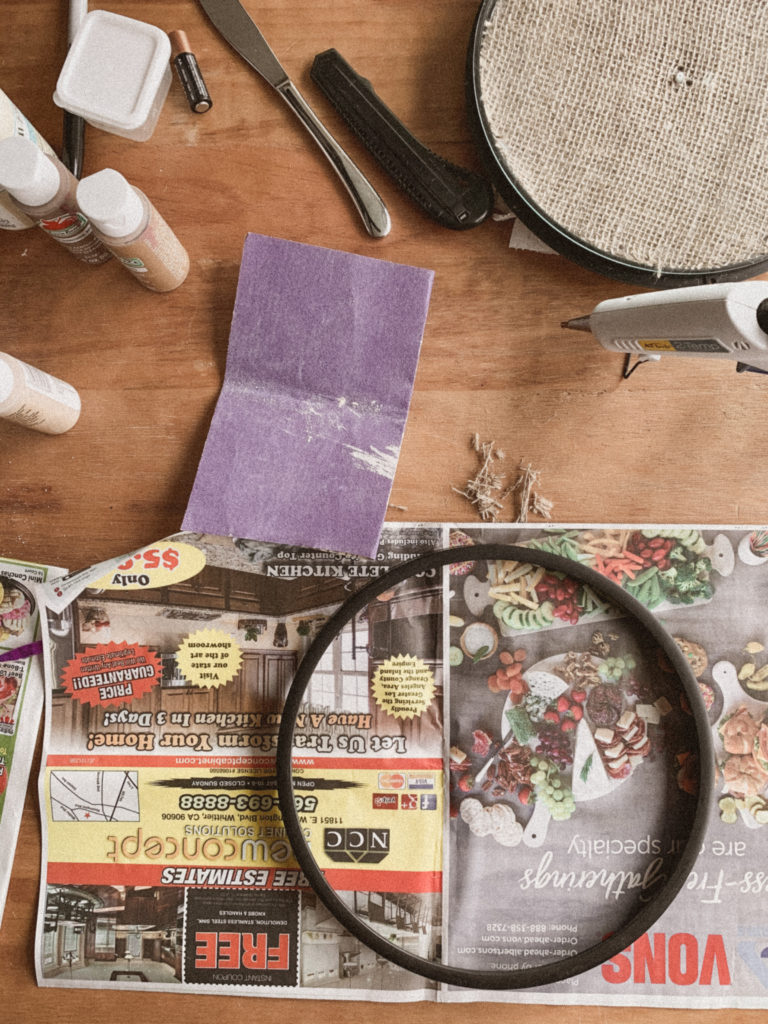
1. Thrift a round clock/frame and buy some burlap.
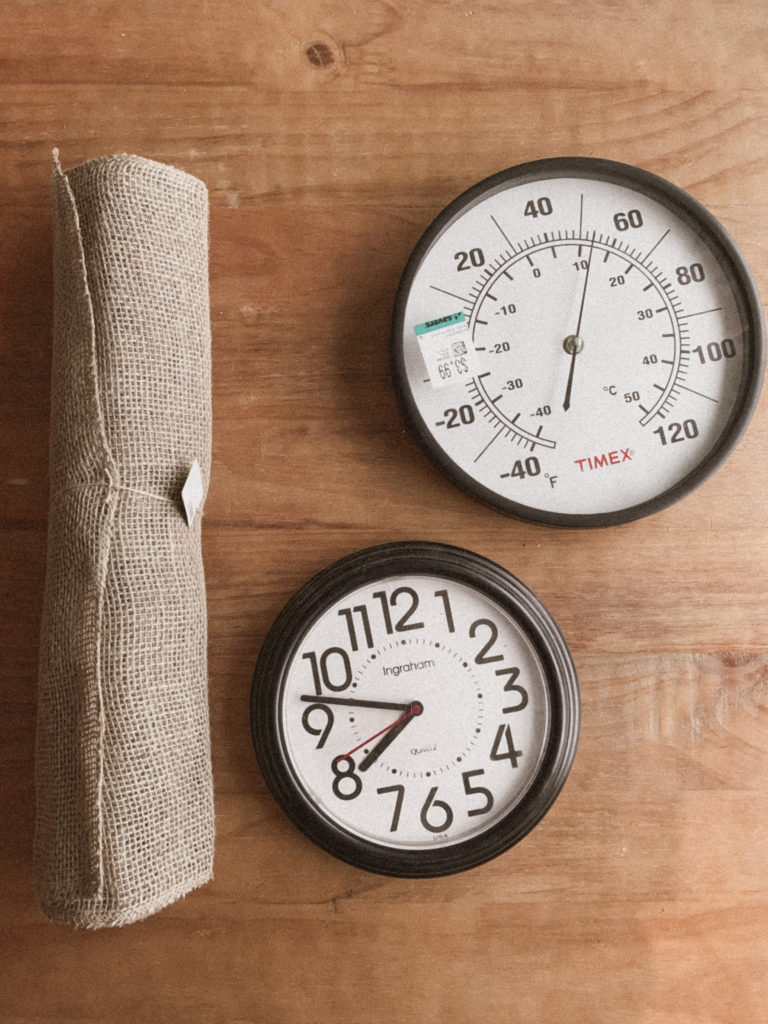
A few yards of burlap cost me no more than $5 at my local Walmart, and I thrifted a thermometer with my desired frame thickness and style: for only $4!
Because I purchased a thermometer to get the frame I wanted, I had to use the functioning hands and parts from a clock we already had (also thrifted way back when haha) to add to the new DIY burlap clock. If you thrift or already have a clock with functioning parts, you don’t need to do this.
2. Next, take apart the clock, safekeeping all screws and parts.

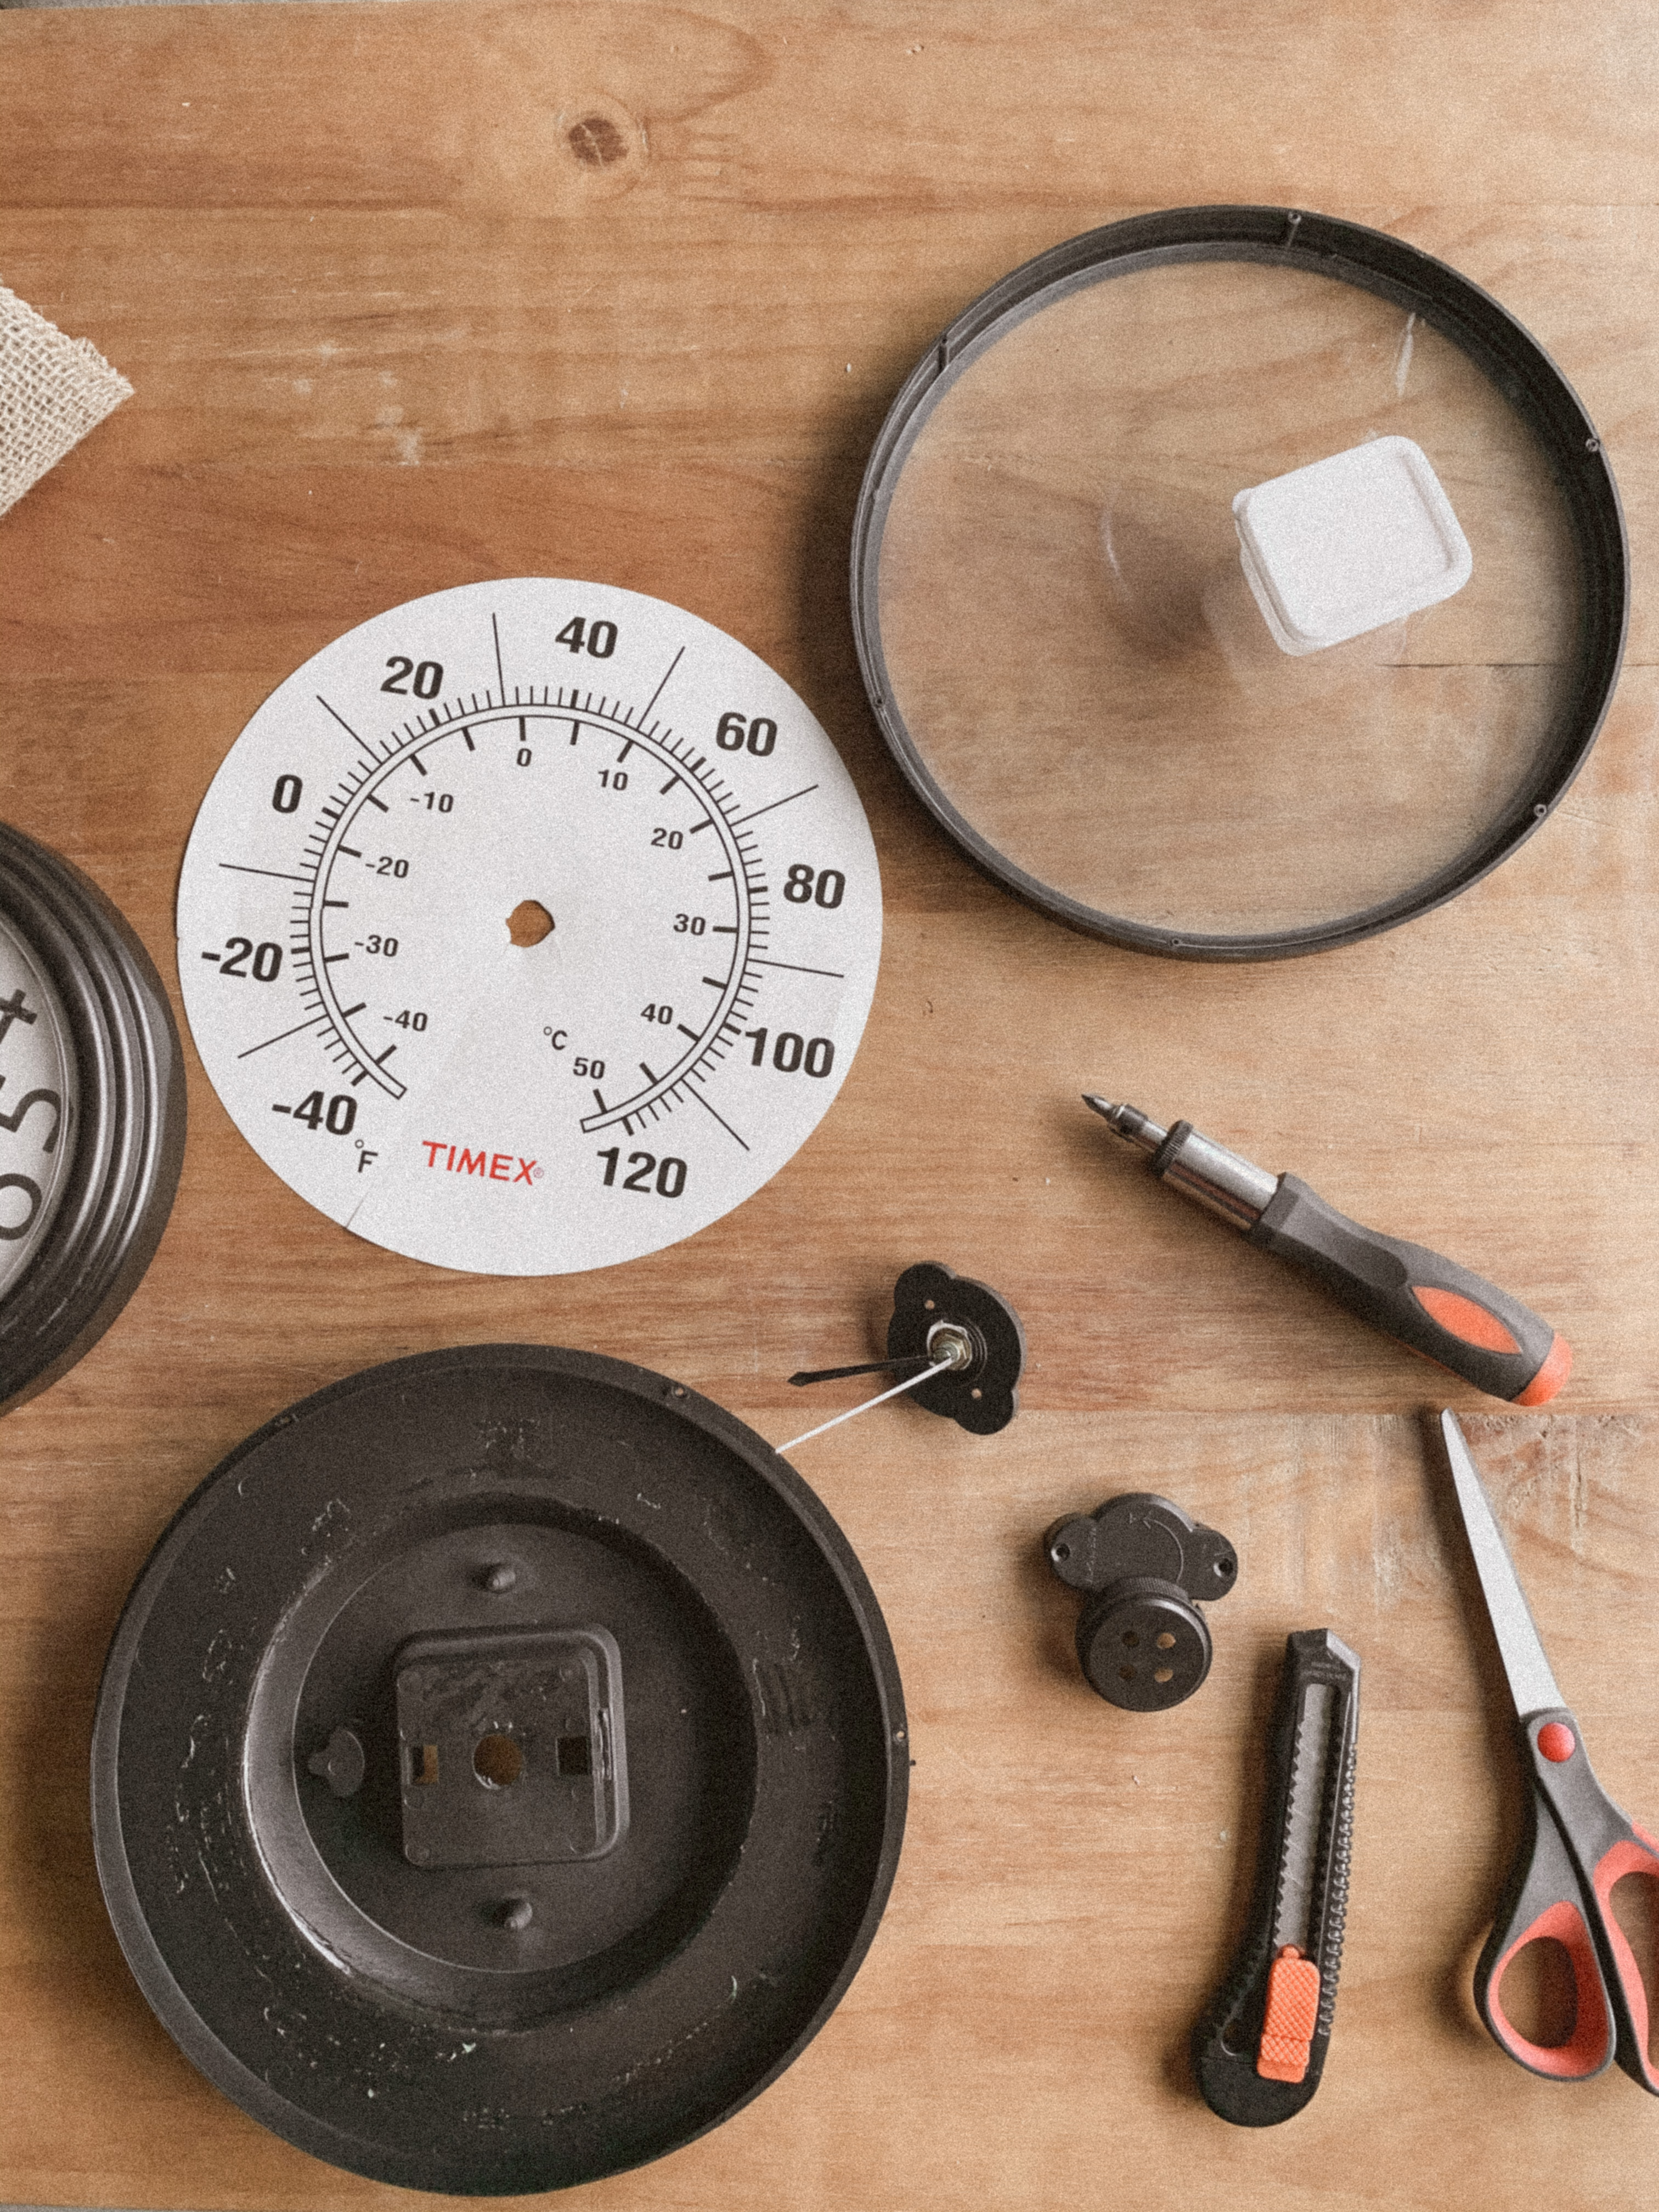
I removed the parts from the thermometer and clock so that I could replace the thermometer parts with the clock parts. Again, if you thrift a preexisting clock, you can skip the step of exchanging the parts.
3. Trace and cut out the burlap to the new clock size. Cut two identical pieces to layer.
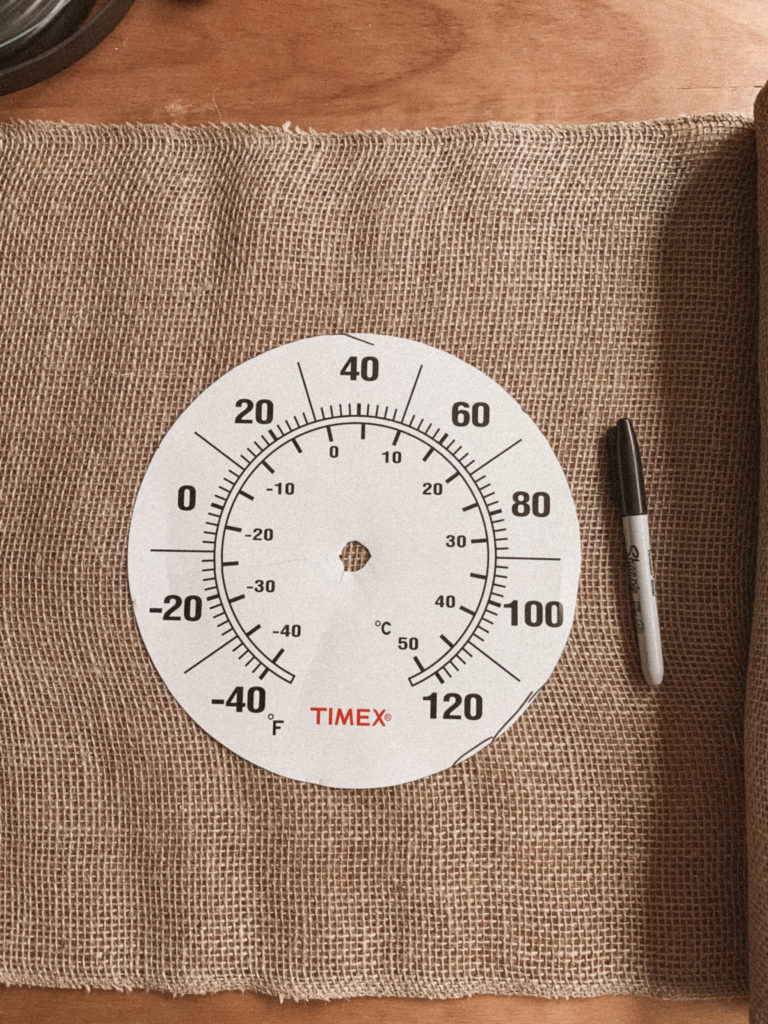
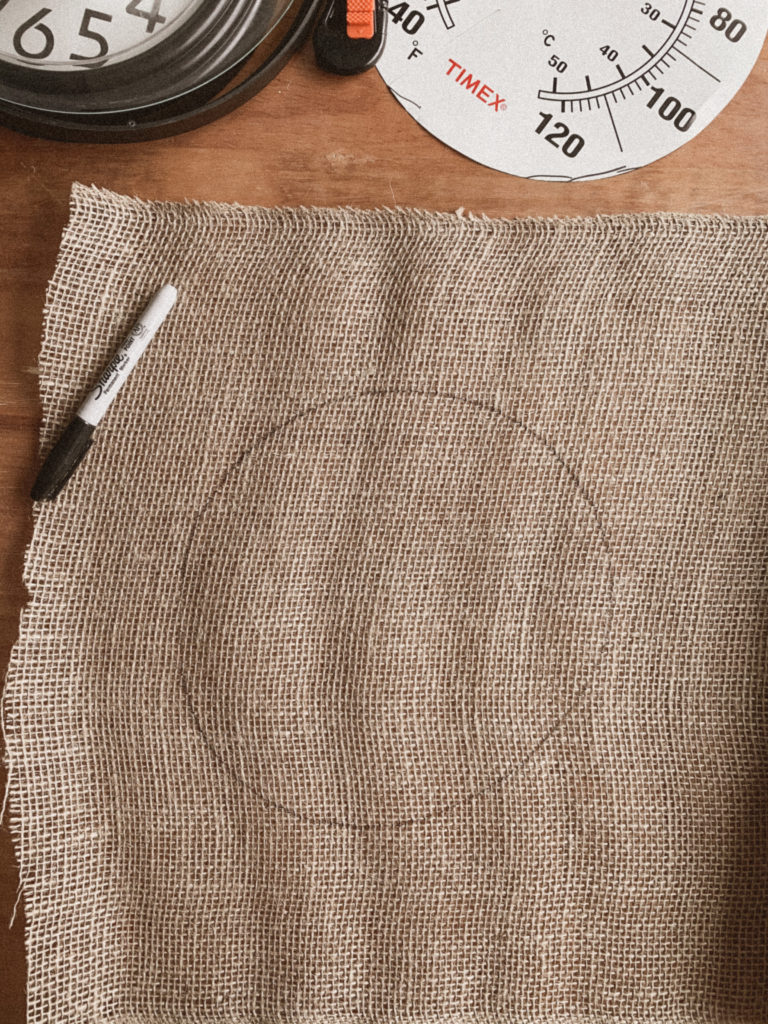
I used the face of the thermometer to act as a template for my burlap clock cutout. In hindsight, I wish I would’ve cut the burlap a teeny bit bigger than the template so that it would fit inside more snugly.
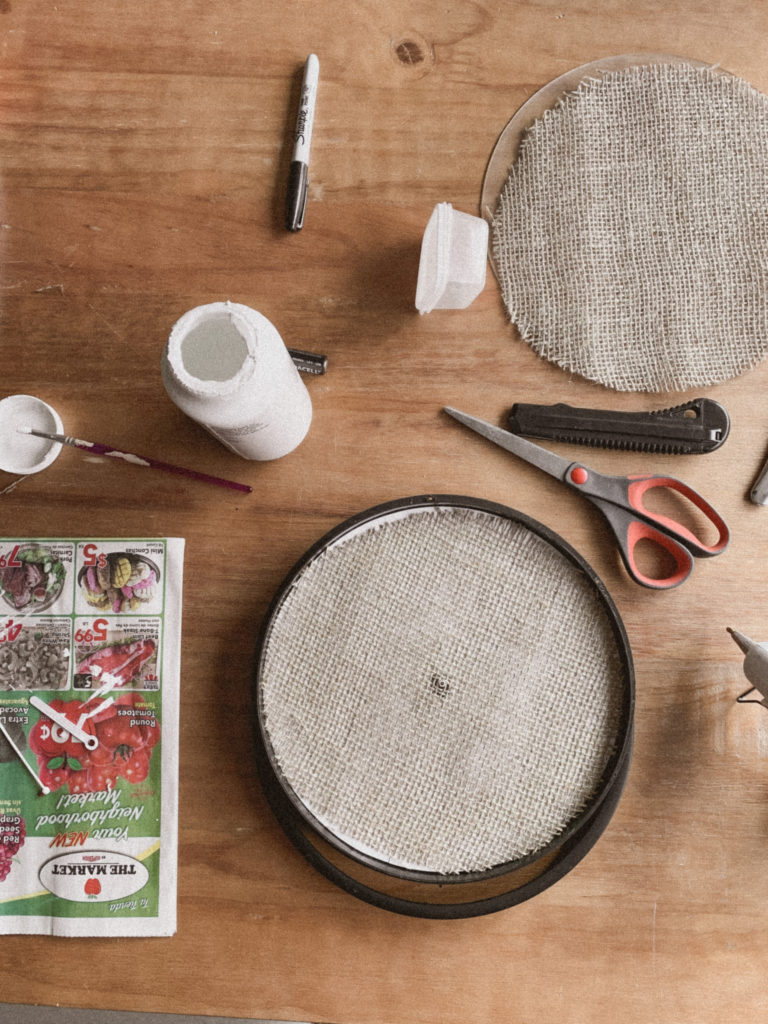
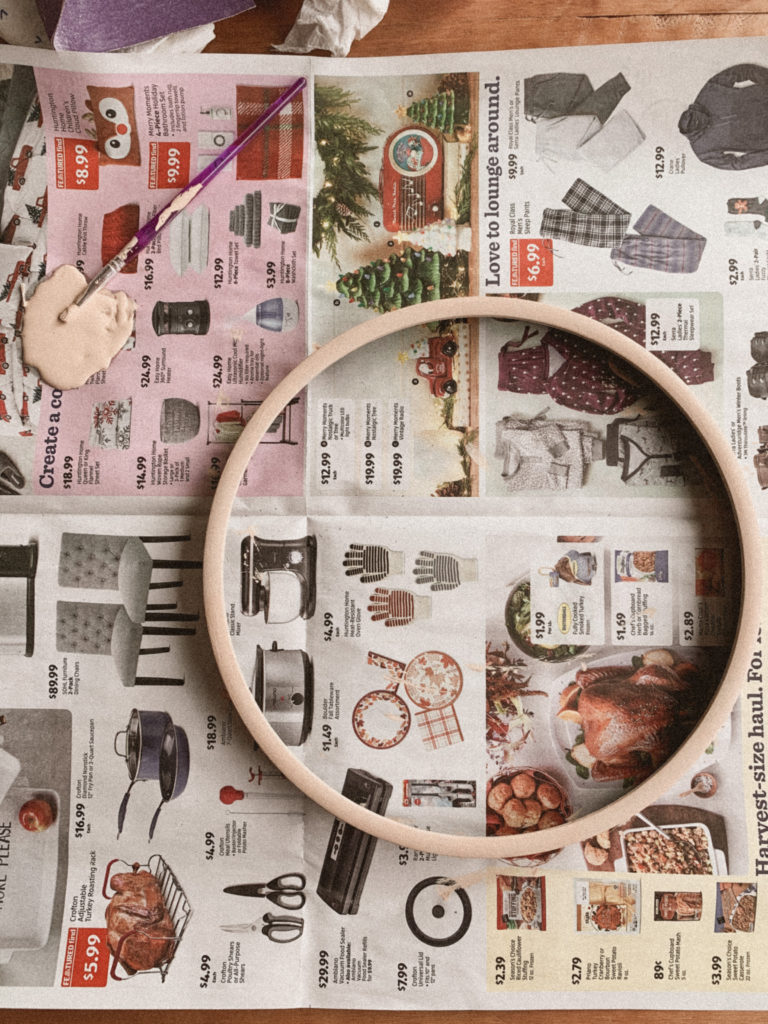
4. Hot glue the burlap pieces into the new clock frame.
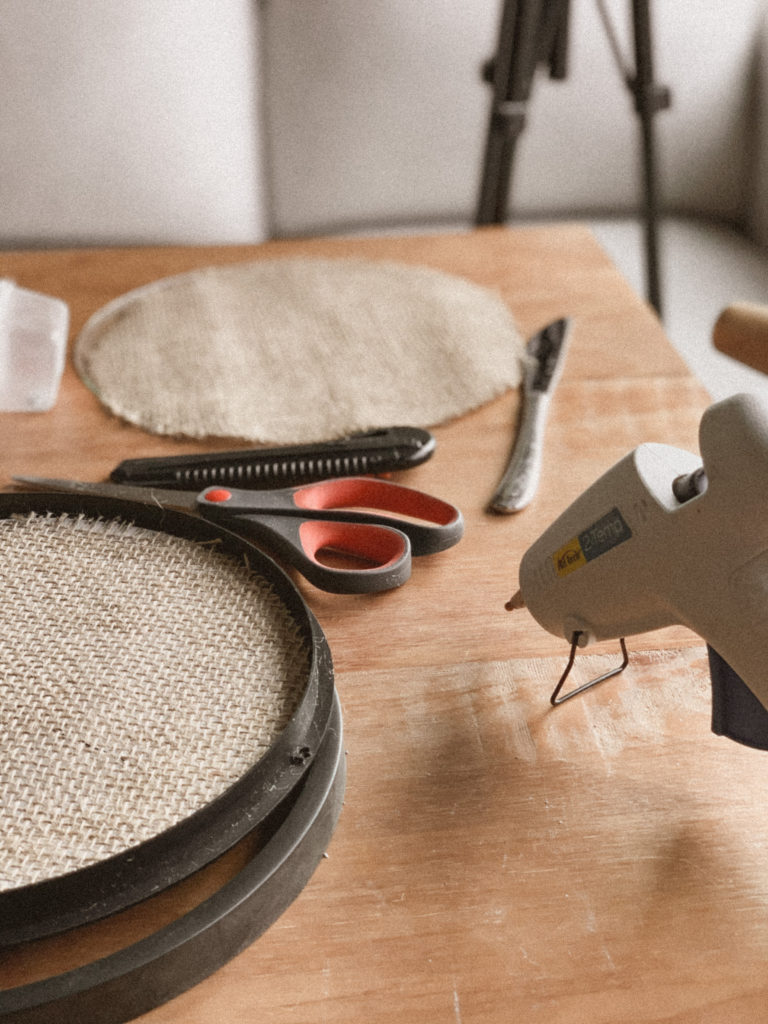
At this point, your DIY burlap clock is looking more like a real clock! Hot glue the edges of the burlap to the clock frame. I wouldn’t recommend hot gluing directly onto the back of the burlap as this may create some unwanted bumps in the material.
Pull taut and glue the burlap down to the edges.
5. Paint the clock hands.
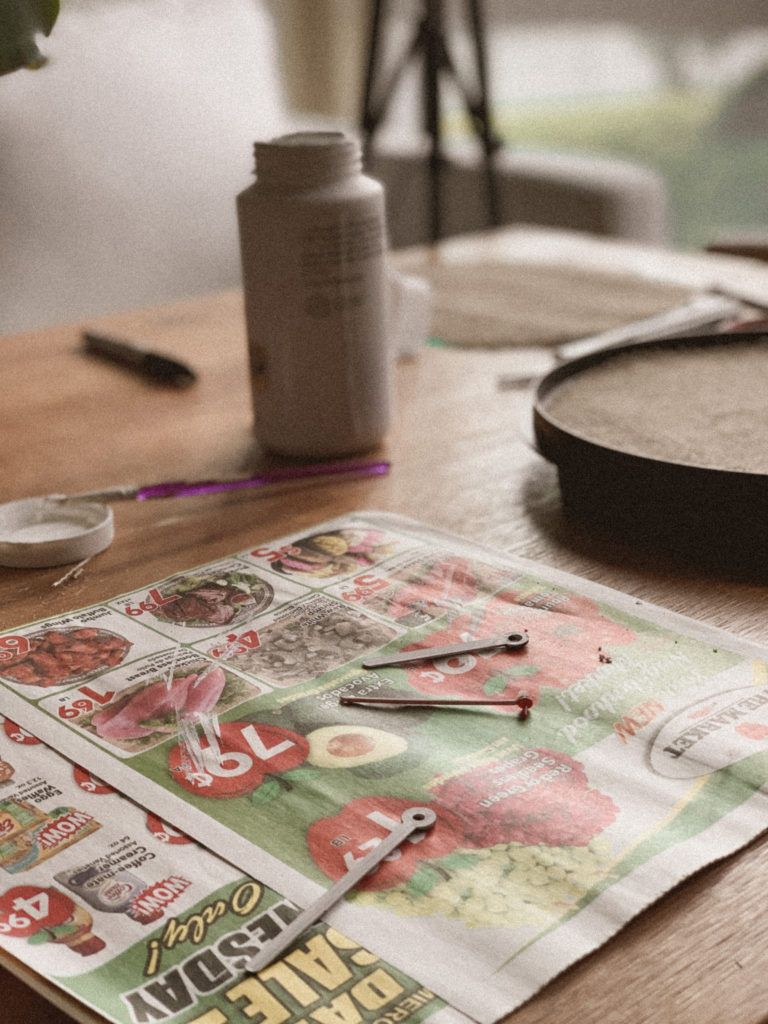
If your clock hands aren’t white, give them a thin, smooth coat of white paint (or whatever color you’d like!). Allow to dry.
6. Sand and paint the frame of your clock. DIY faux-wood effect.
Sand to give the frame a nice matte, paint-ready finish, and then paint 2-3 layers of your desired shade.
Finish by adding long strokes with a darker shade to imitate a wood grain. You can find my Reel tutorial here on how I’ve done this with picture frames!
After paint is dried, assemble your clock back together.
And done! Your DIY burlap clock is complete.
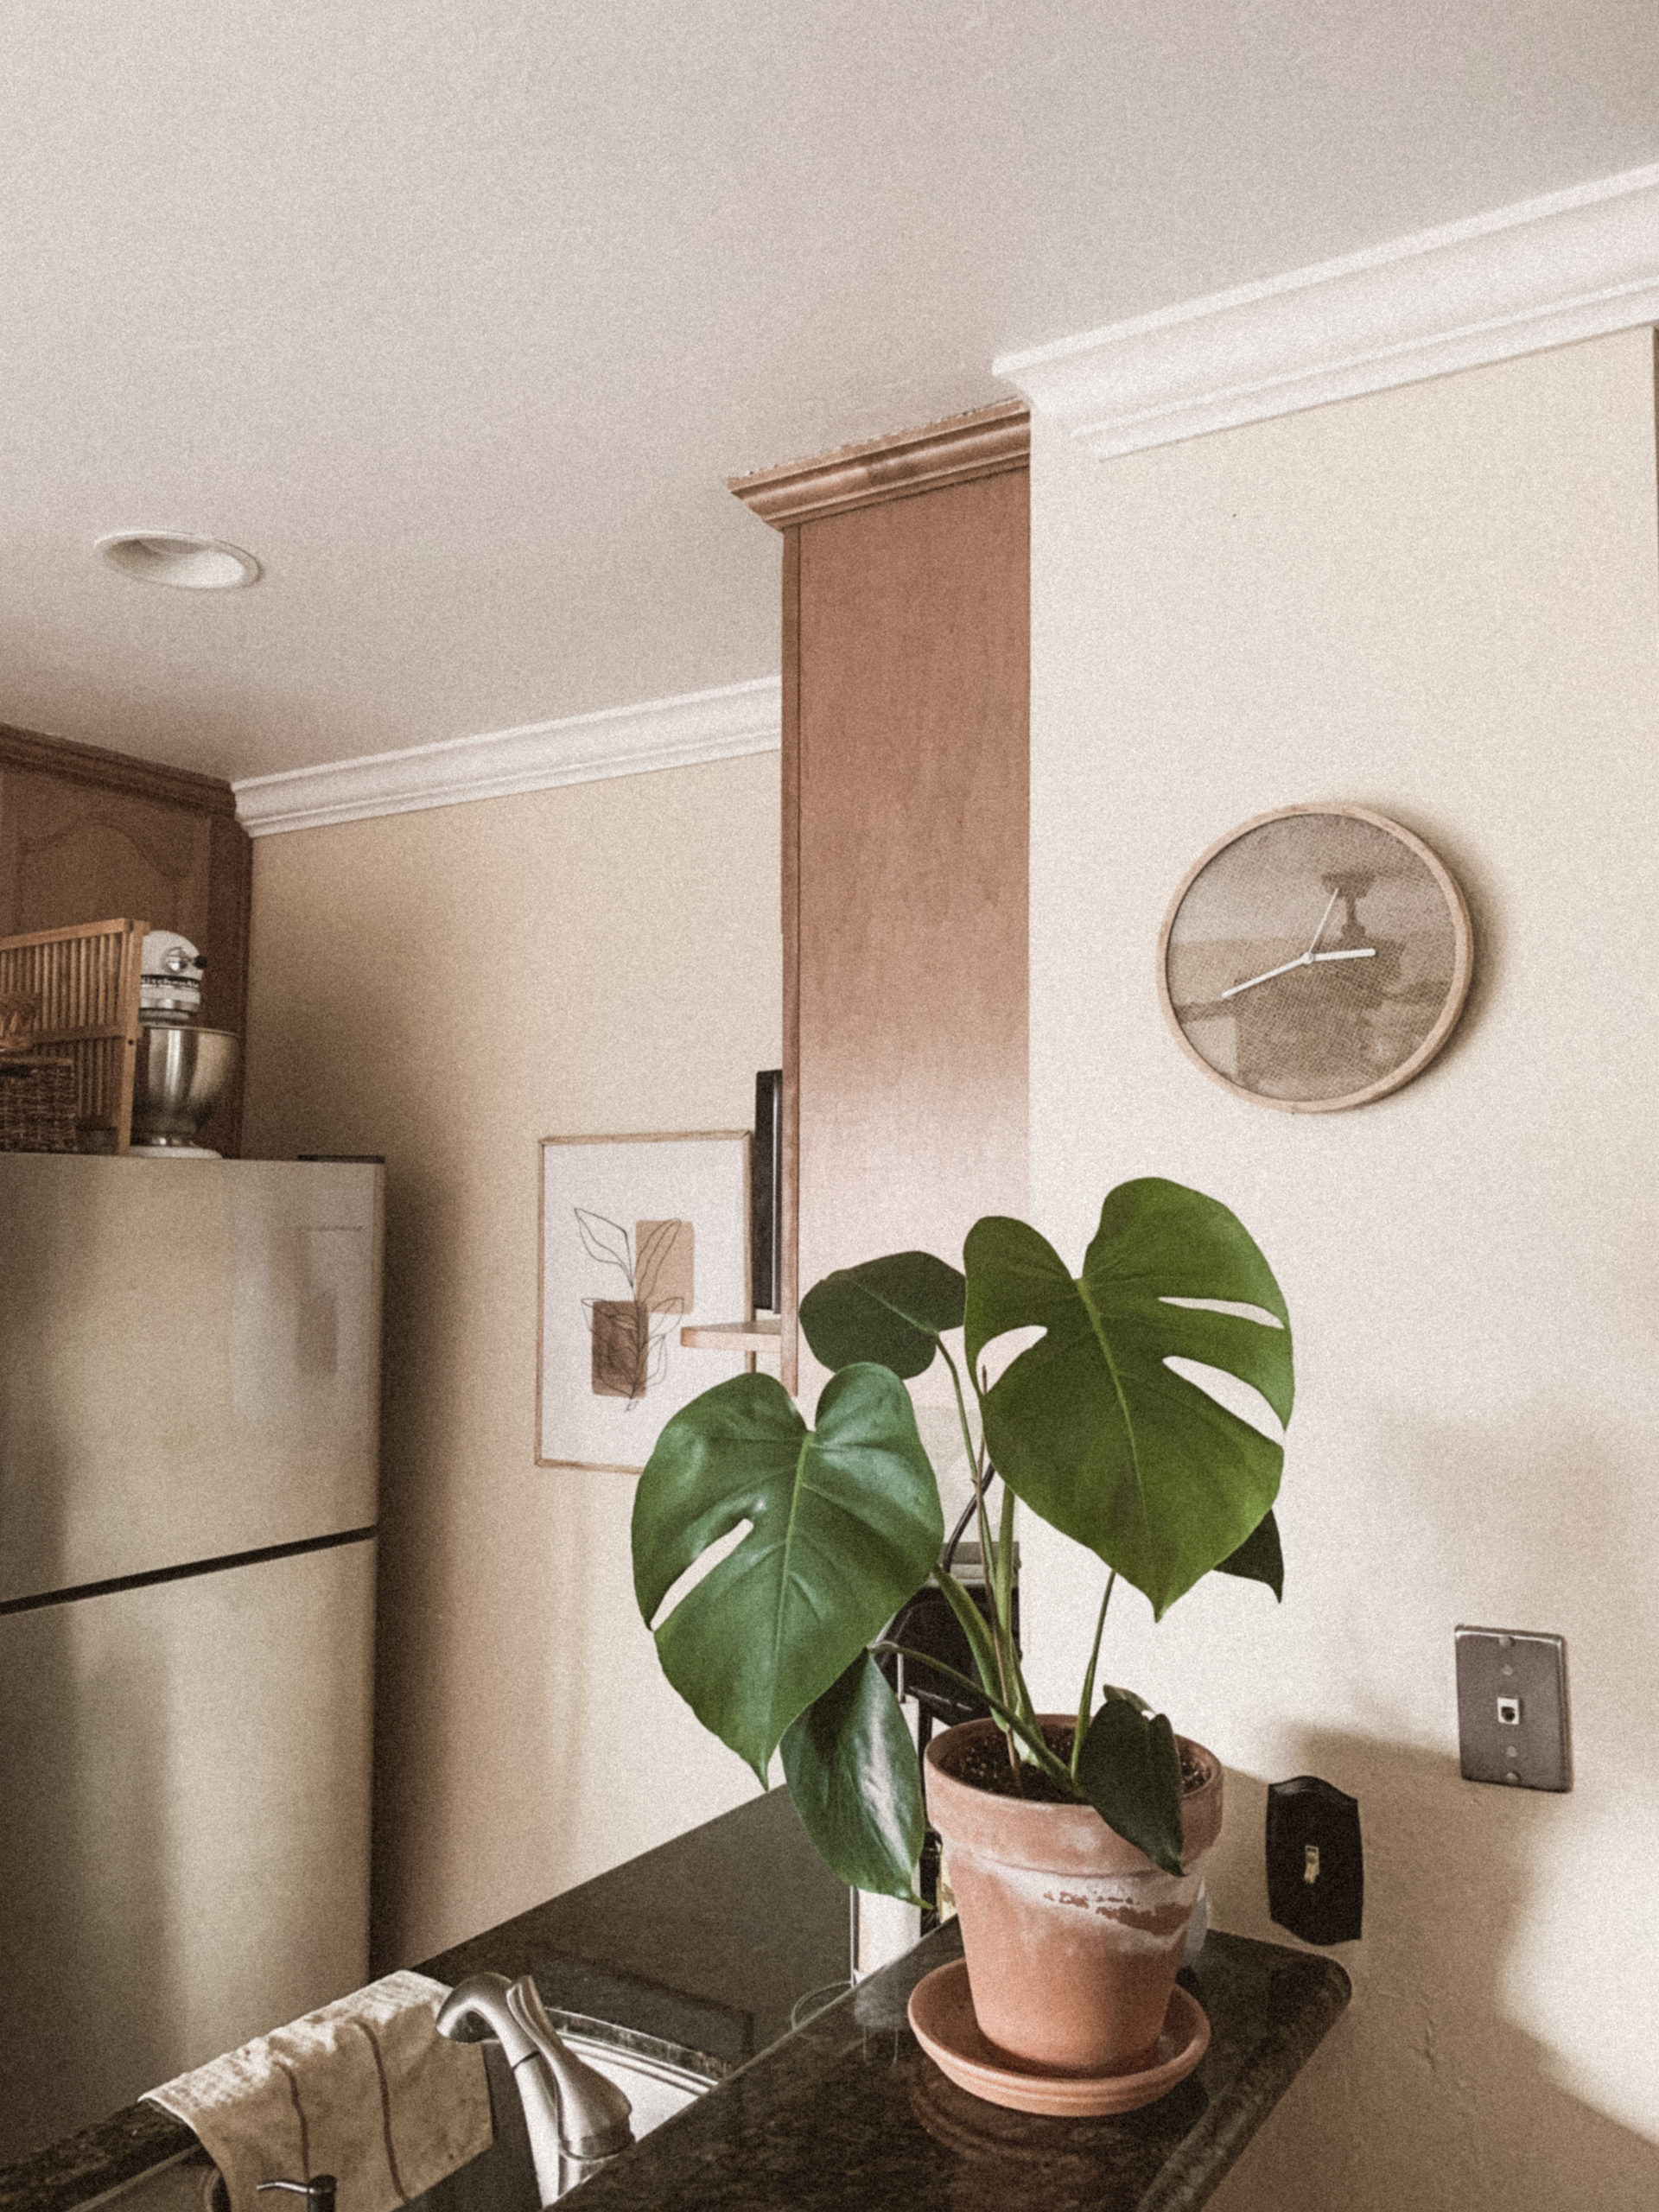

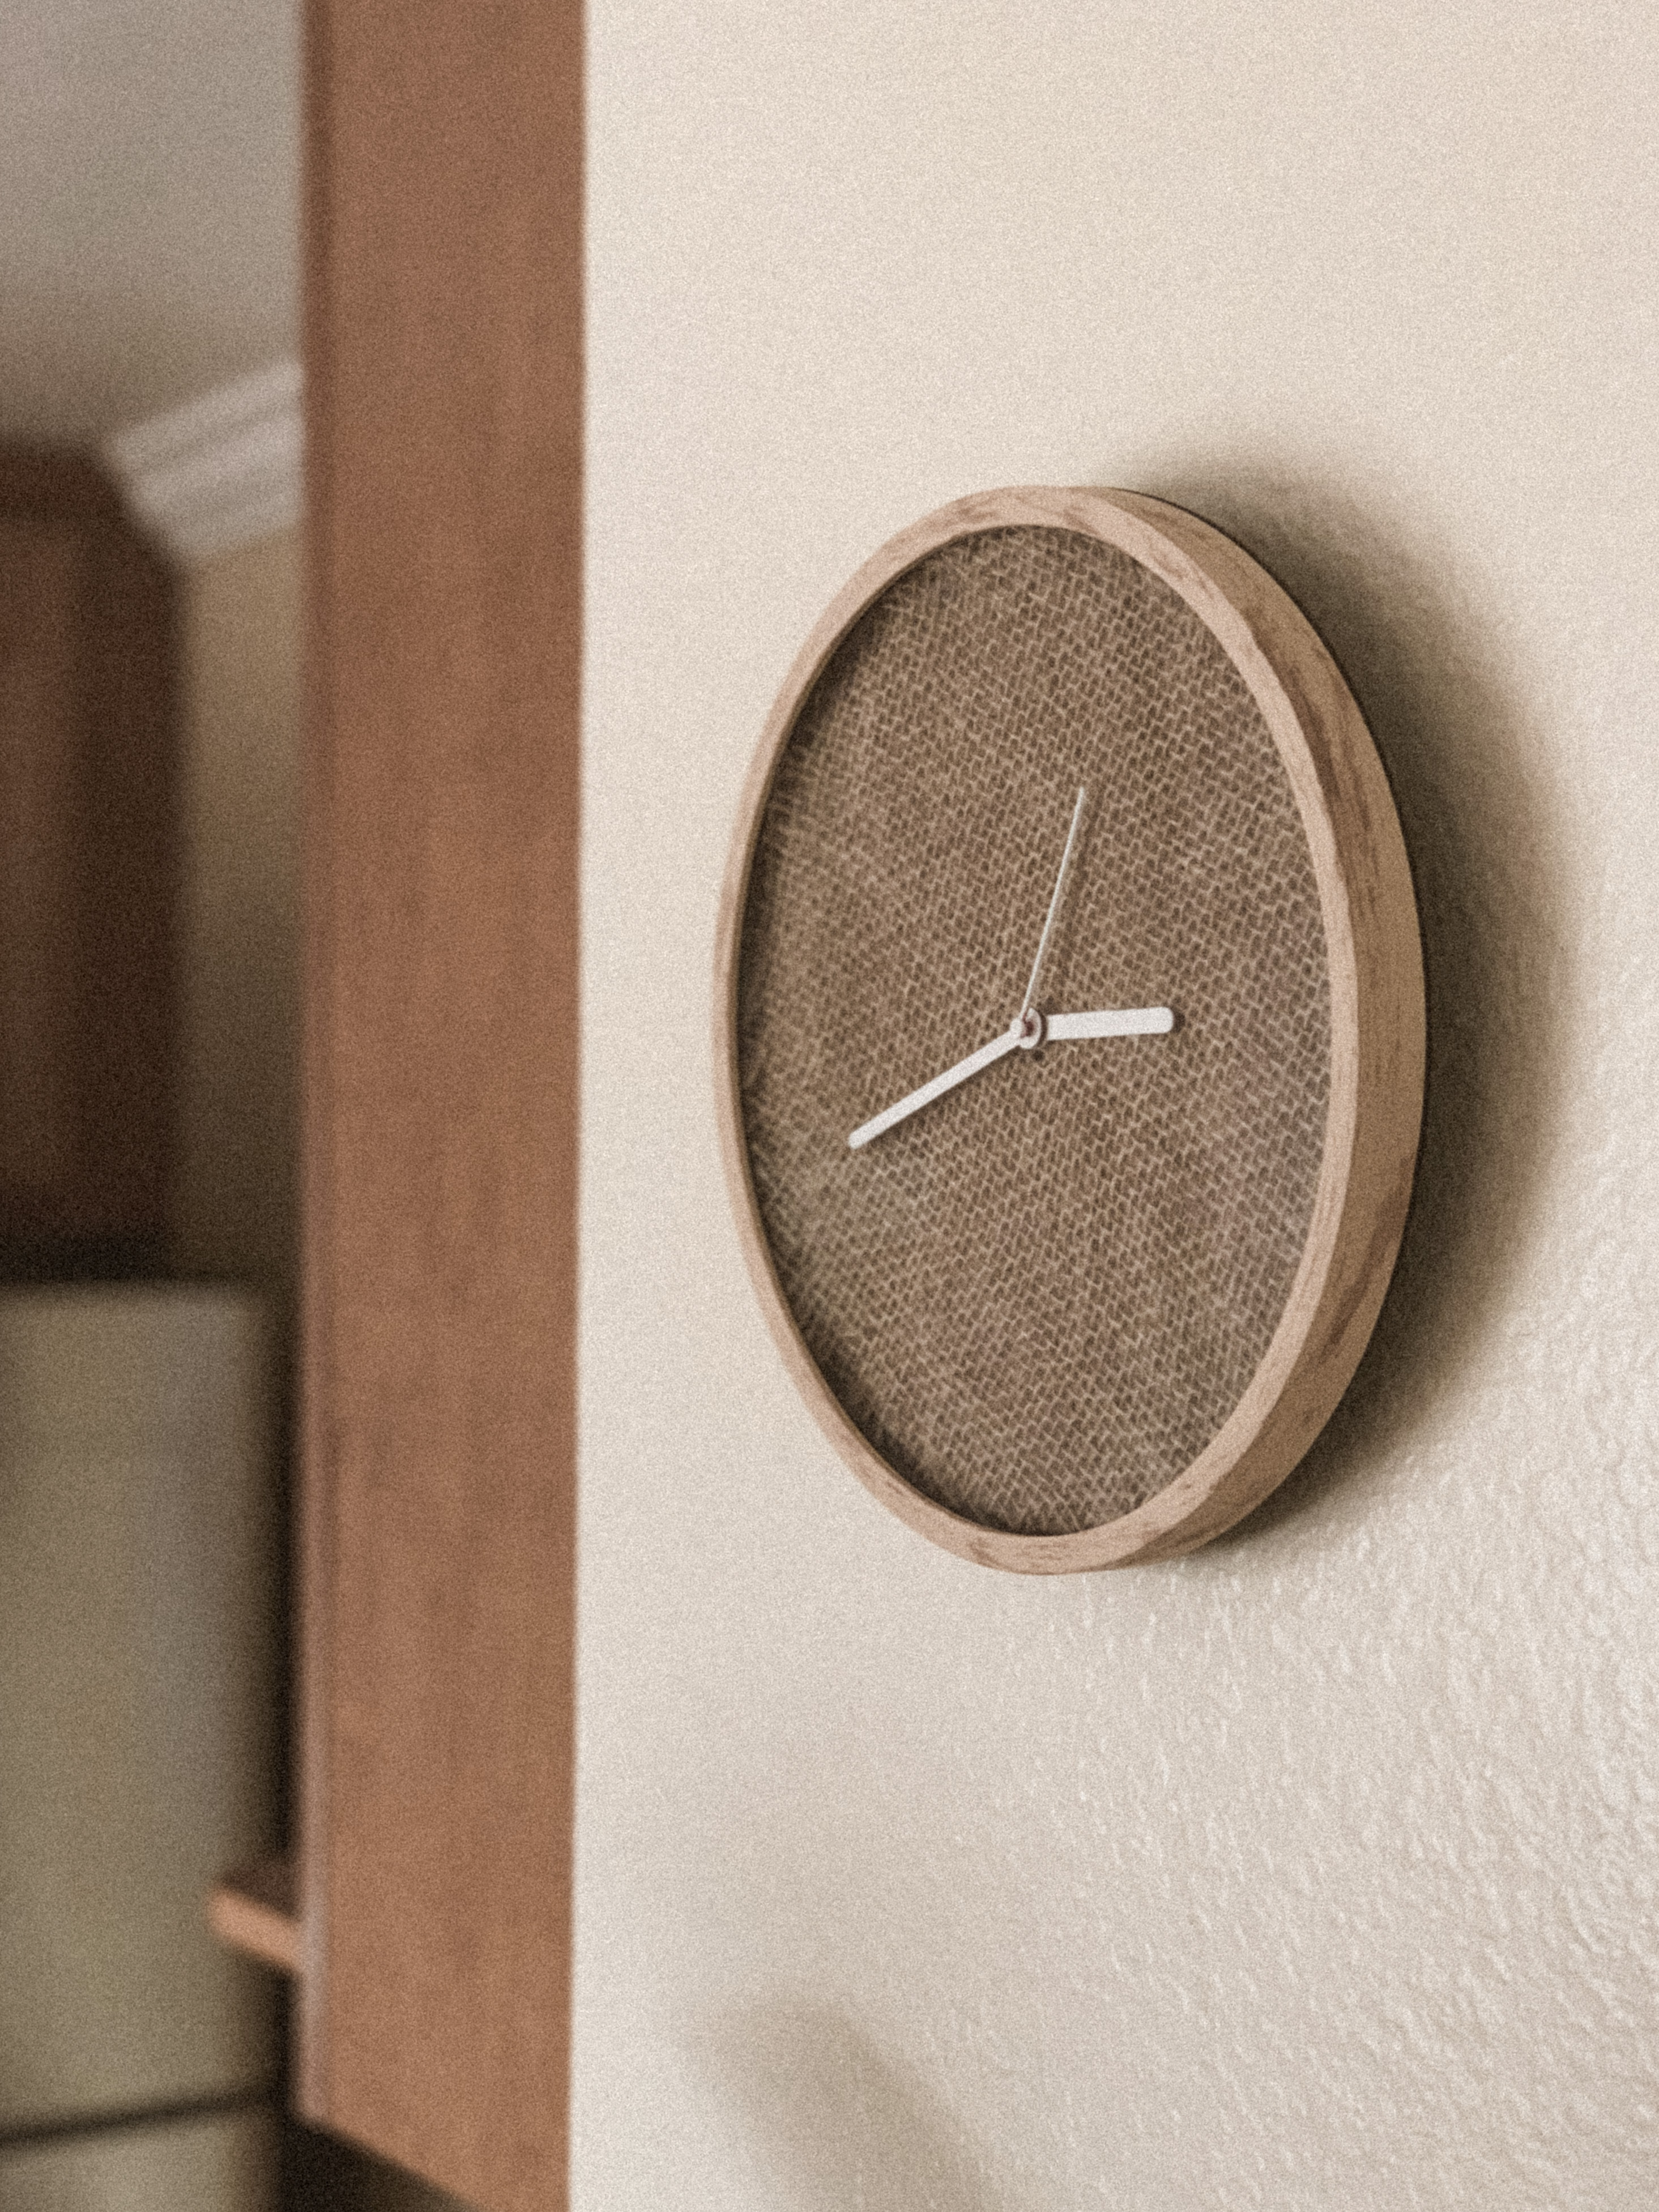

A stunning, easy, and affordable DIY burlap clock –– for under $12 and under an hour to make! I hope you love it as much as I do, and I hope you see how small, seemingly-minor decor additions can make such a difference!
xo, rachlv.
P.S. It’s time to do it yourself! Check out more DIYs here.