
I wanted to keep Christmas simple and elegant this year, and DIY ornaments are the way to go! The glass/see through ornaments have been trending hard this season, so if you’ve saved any dried floral bouquets, have some twine, and can make a quick run to Target, you can do this too!
you’ll need:
materials:
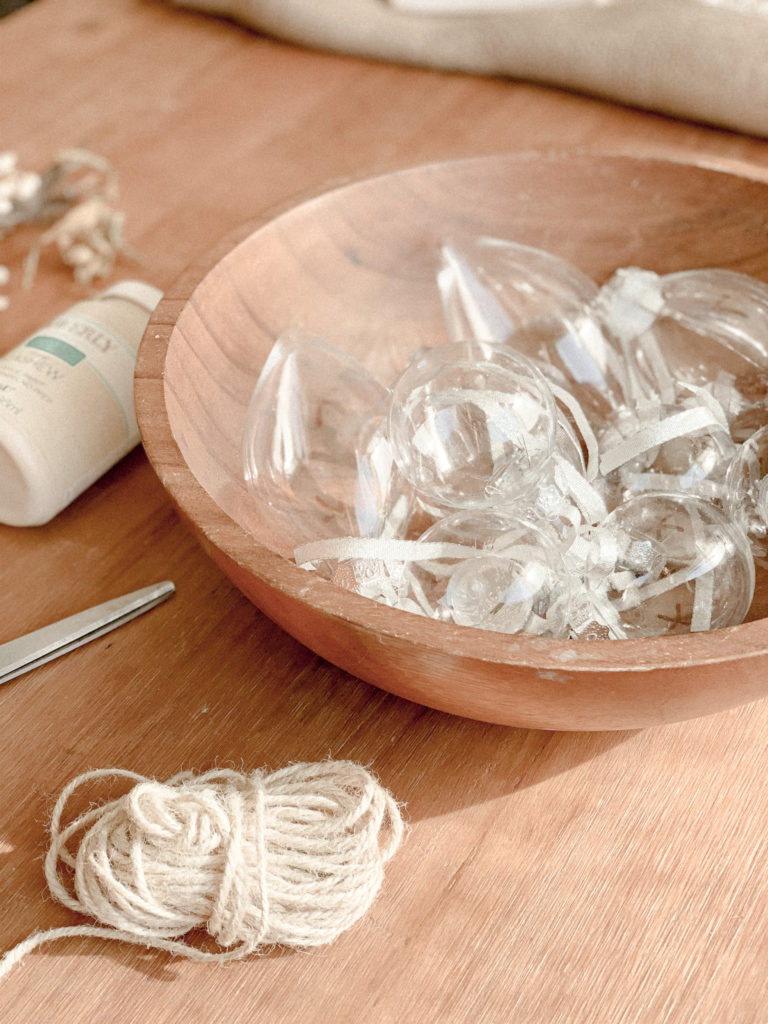
- Glass/plastic clear ornaments
- Dried flowers or leaves
- Chalk or acrylic paint
- Twine
tools:
- Scissors
- Paint brush
1. to start your DIY ornaments, purchase glass (or for a more affordable version, plastic) see-through ornaments.
I got mine from Target. They’re plastic and they do the trick! For a more elegant and elevated look, you can use glass ornaments.
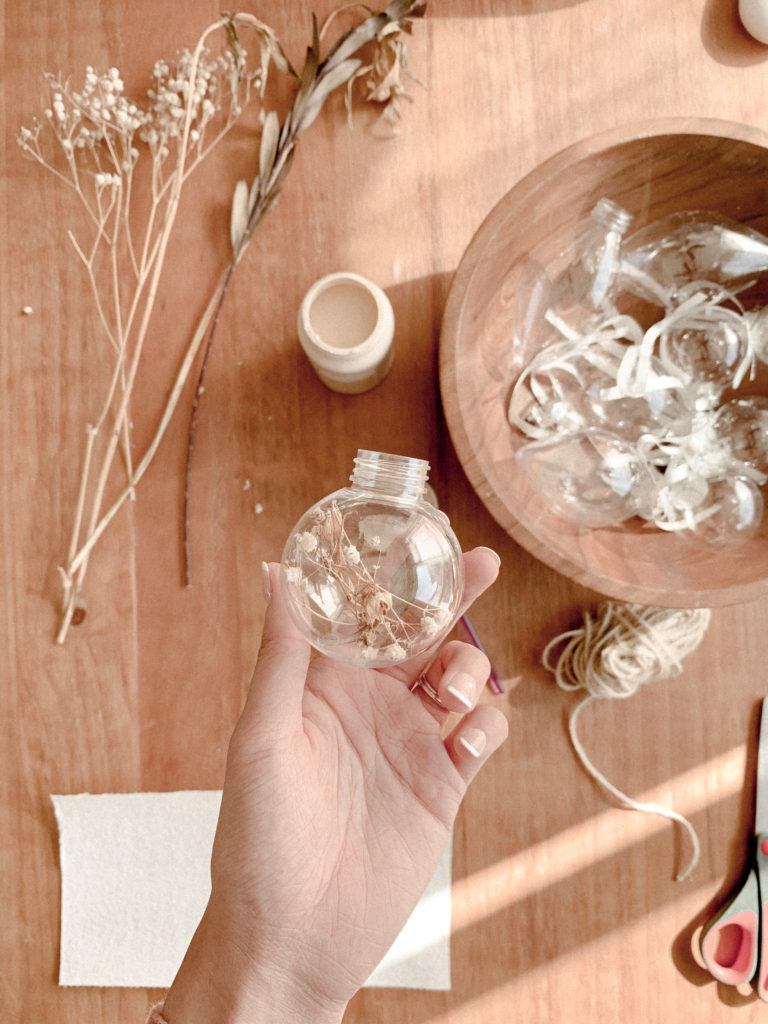
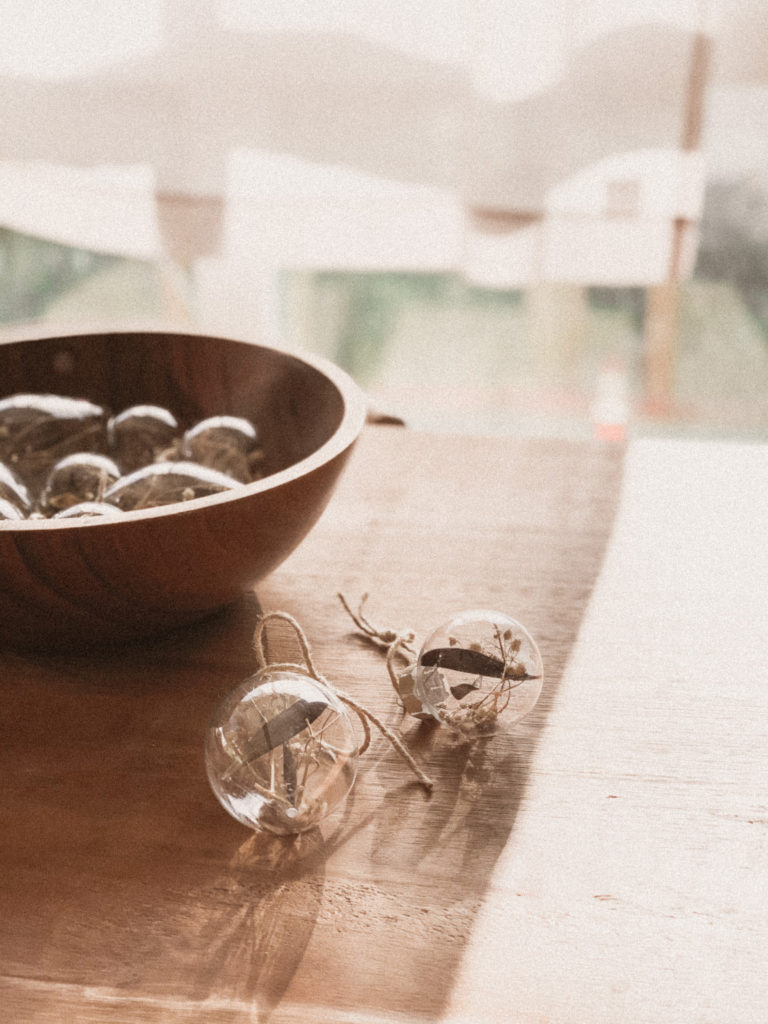
2. cut stems off dried/preserved flowers or leaves and gently stuff into the ornaments.
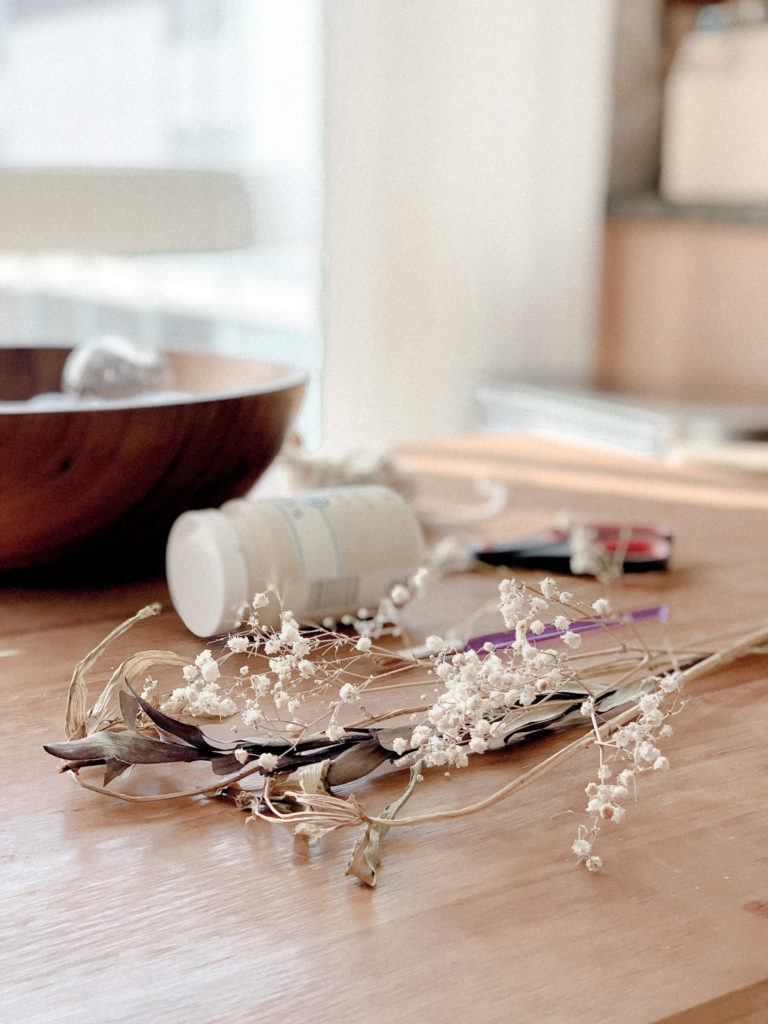
Cut short pieces so that your dried flowers can fit easily. Push gently through the opening. Recommended flowers are baby’s breath, roses, or eucalyptus.
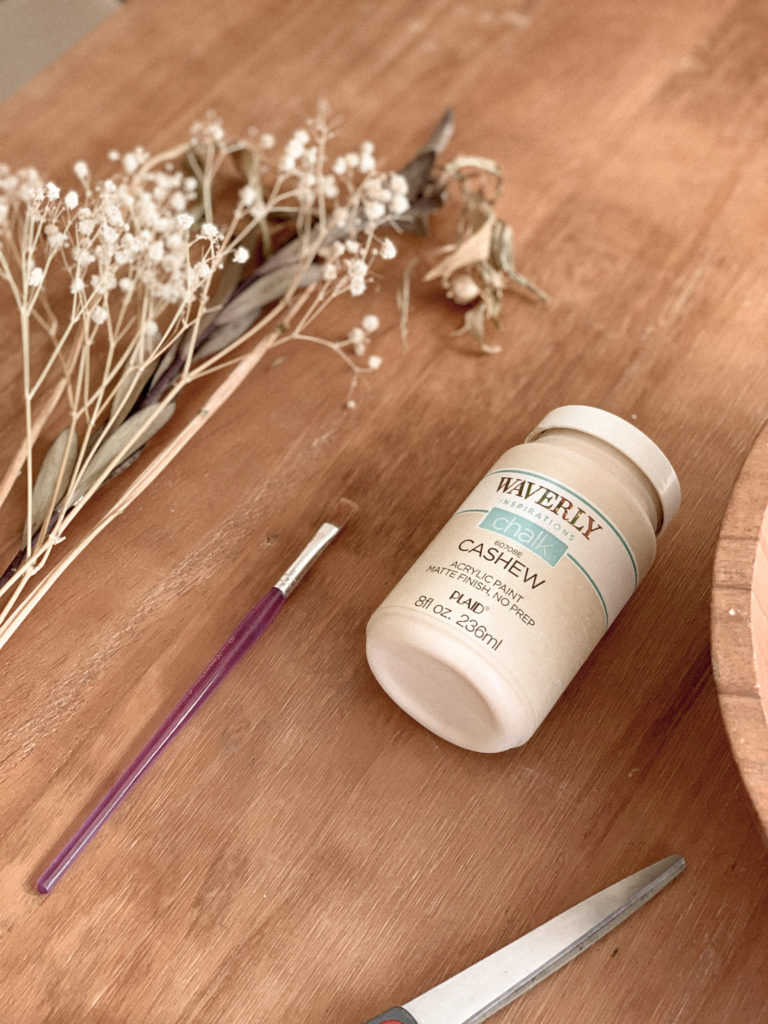
3. remove the tops of your DIY ornaments and paint them to make colors more neutral and cohesive (optional)
Chalk paint works great for this project. I used the color Cashew from Waverly.
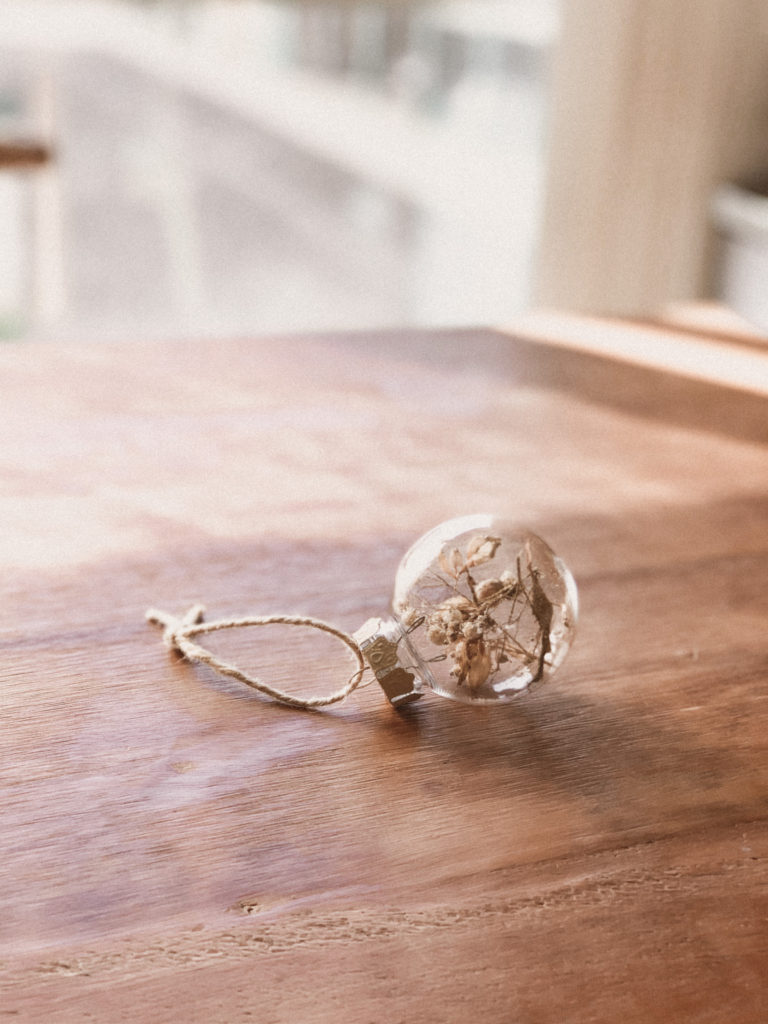
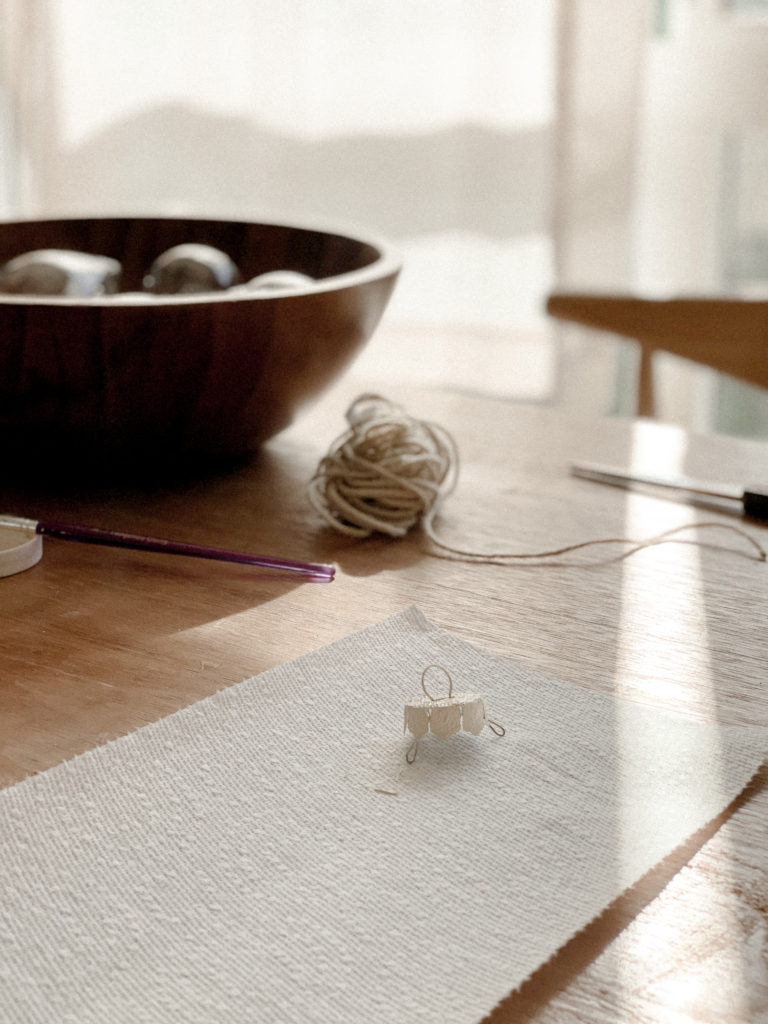
4. finish off your DIY ornaments with twine and hang on your Christmas tree!
The original ornaments come with plastic ribbon –– replacing with twine elevates them to a rustic and still elegant style.

These look so beautiful when the Christmas lights shine through them. They’re so dainty, simple, and elegant! I love simple Christmas –– what about you?
xo, rachlv.
p.s. check out some other DIYs right here on With Rachlv. 🙂 And follow along on my daily home journey on Instagram @rachlvalente.