
DIY cane headboard that you can totally do yourself–– so why not?!
This post may contain affiliate links, which means I’ll receive a commission if you purchase through my link, at no extra cost to you!
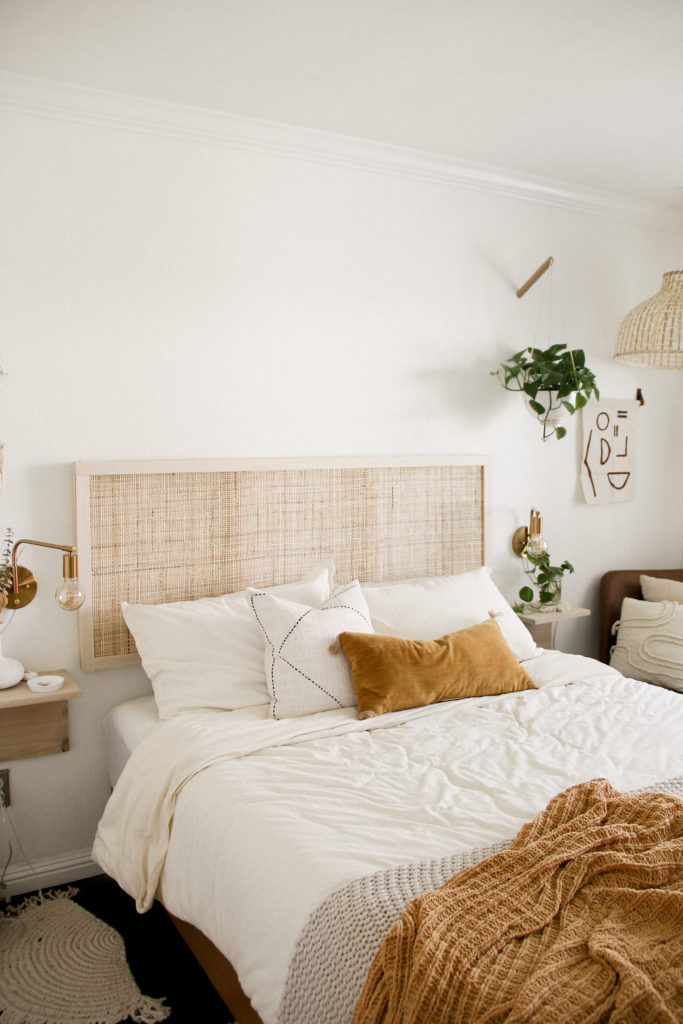
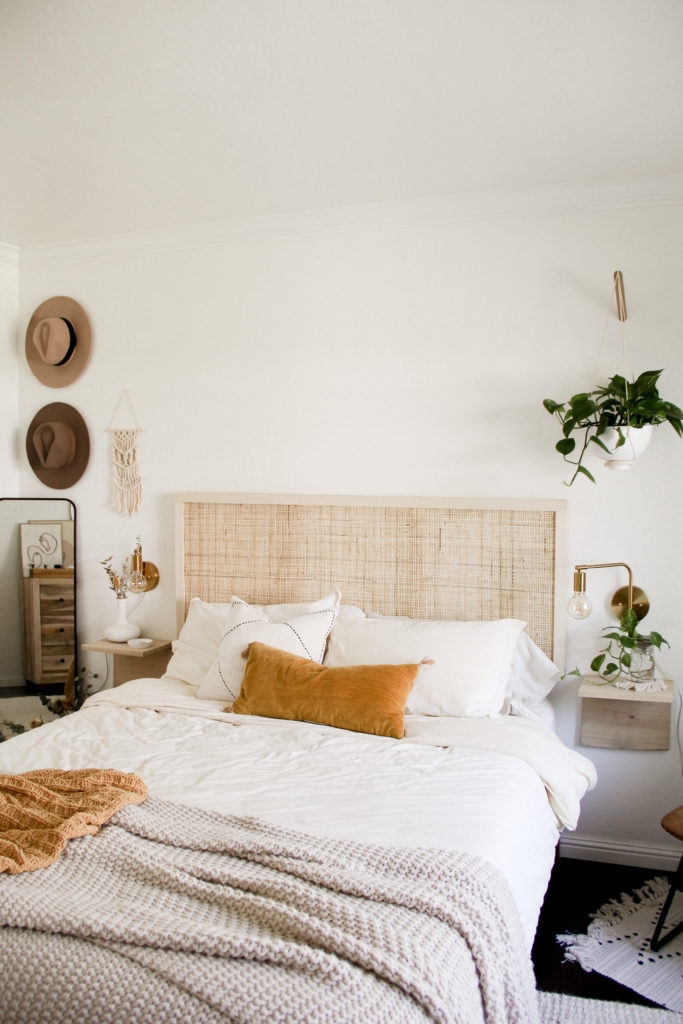
Cane headboards are all the rage these days, but they come at a high cost. This organic and natural material is highly-sought-after, and the boho-inspired style has become a popular trend for modern day homes. I’ve been eyeing cane headboards for a LONG time, and after some research and inspo from both Emily Faith and @helloimaubs, I did it–– I DIYed my own cane headboard! Here’s how you can do it too:
You’ll need:
materials:
- 1.5×1.5 select wood pine (or whatever thickness you’d prefer). Here were our measurements for a queen bed (adjust for your bed size!):
- 5.5′ x2
- 23″ x4
- Wood trim pieces (we used poplar hobby trim boards)
- Sandpaper (if needed)
- Wood glue
- Wood screws
- Picture hanging kits, one for each top corner (here’s the one I used)
- Drywall anchors (if you’re not attaching into wall studs)
- Staple gun staples
- Cane in the weave you prefer (I used this radio weave cane from Etsy)
tools:
- Measuring tape
- Power drill with drill bits
- Leveler
- Staple gun
1. Ask your local hardware store to cut your select pine into your measurements.
This tip is primarily for those who are renting/living in small spaces and don’t have the room or budget for power tools. Home Depot cuts your first couple pieces for free and then only charges $0.25/cut for each additional piece. It is WORTH it. Save yourself the time of manually sawing and getting cuts that are not precise. Know your measurements before you head to the store and ask them to cut it to the exact sizes you need.
Why select pine? Select pine is widely recommended due to its sturdiness (in comparison to typical pine) and because it usually won’t warp like other woods. Plus, the natural, light wood color is perfect if you don’t want to stain (which I didn’t!).
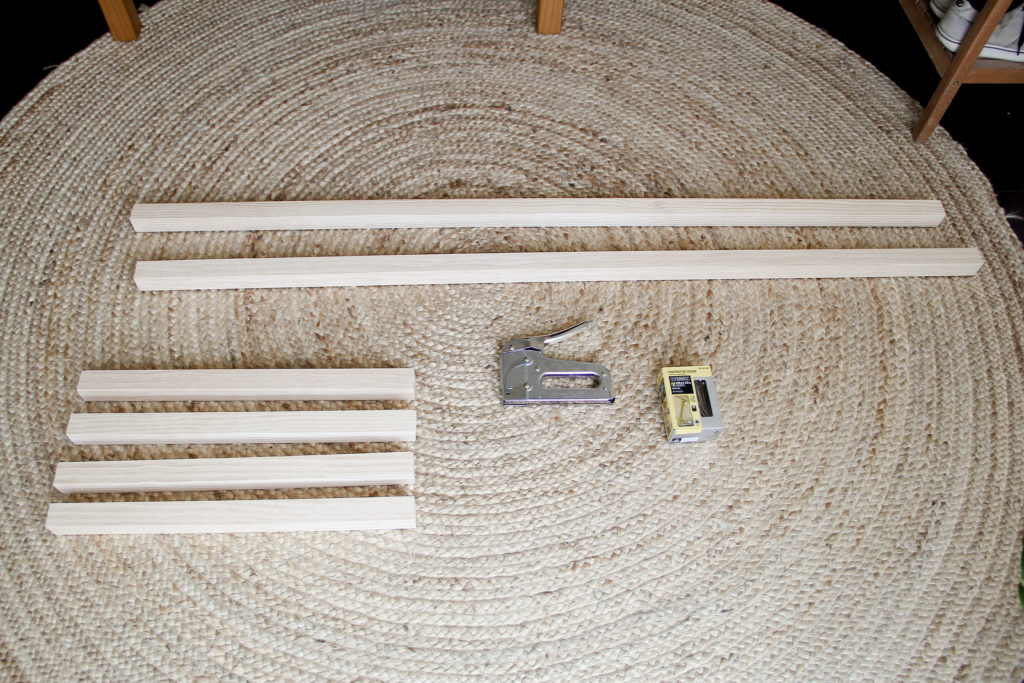
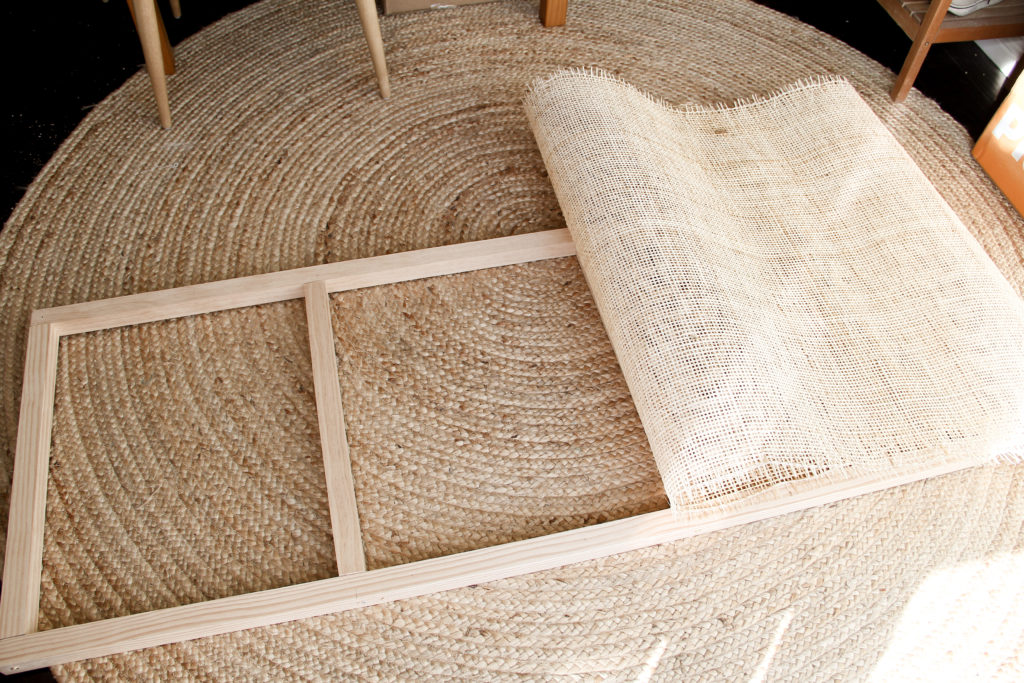
We had our wood cut into two (2) pieces measuring 5.5′ (ft), and four (4) pieces measuring 23″ (in).
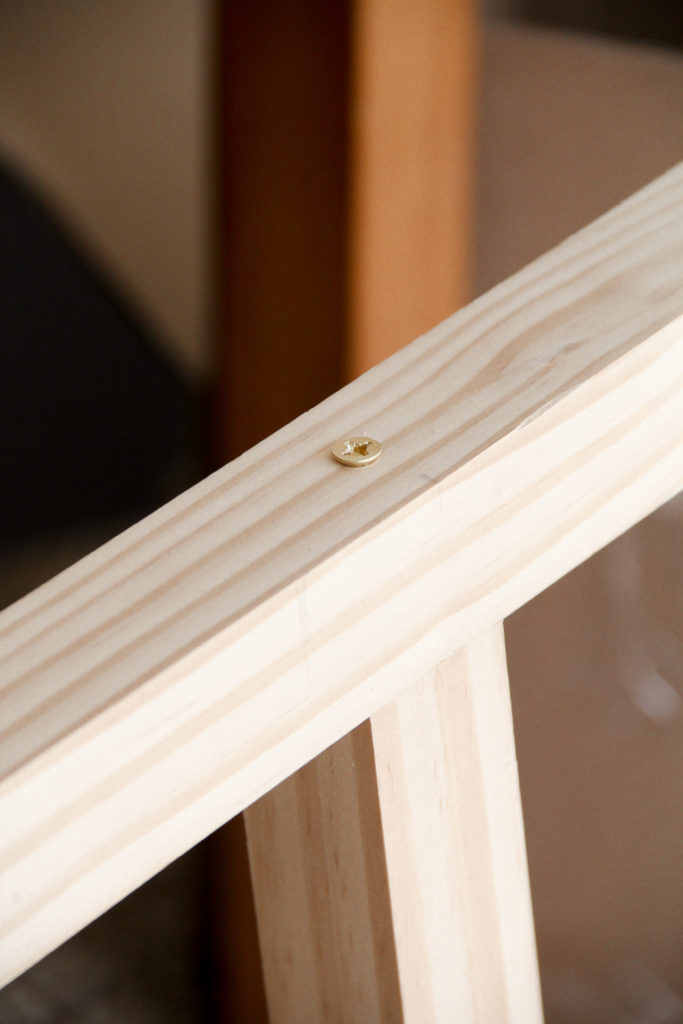
2. Build the frame of your DIY cane headboard.
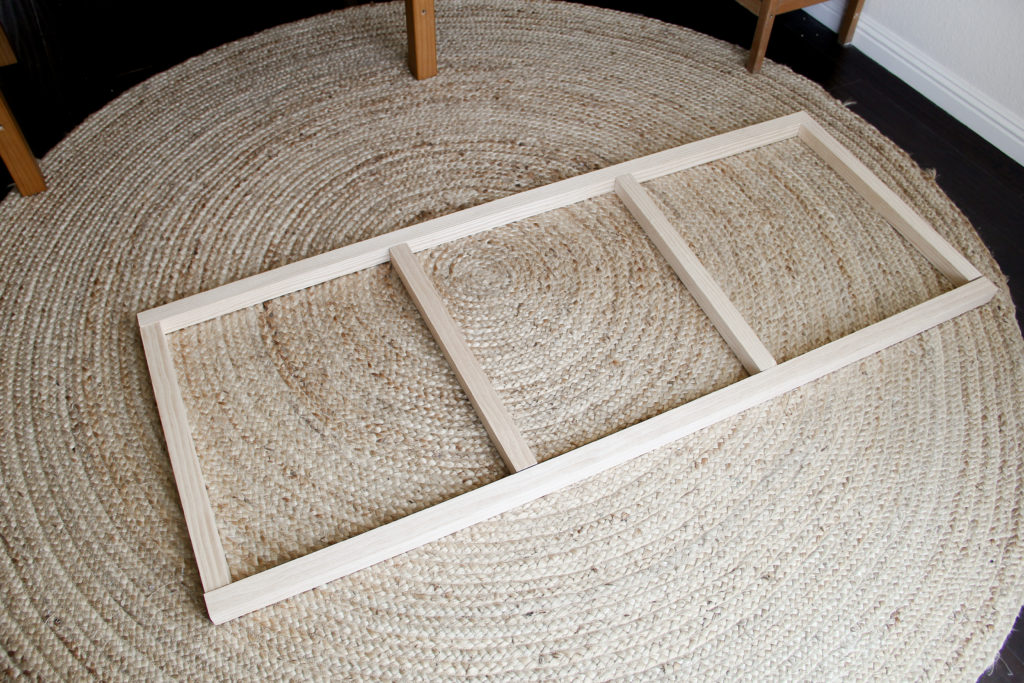
Attach using screws (go slow and pre-drill so that your screws don’t break on the way in–– we had that happen a couple times 😬). You can also use pocket hole screws if you prefer not to see the screws. I don’t really mind that there are a couple that are visible, but if you do, go the pocket hole route!
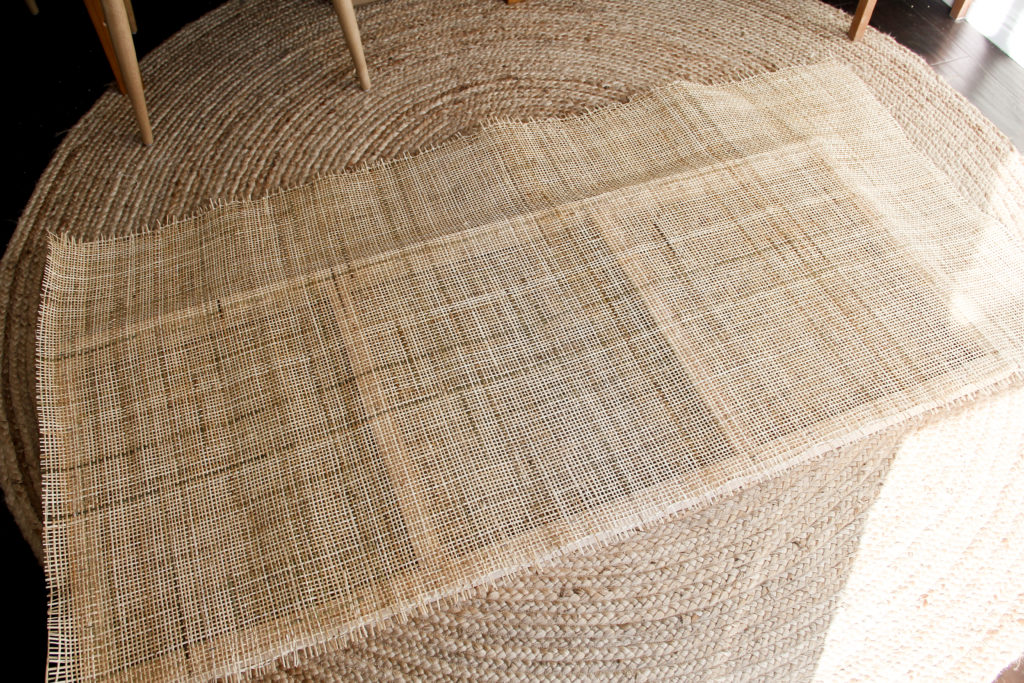
3. Staple your cane over the top of the frame.
Soak your cane in the bathtub (or at least run some water over it) for about an hour or more. This softens the material so that it is more pliable and less likely to snap or break while you work with it. Make sure the cane also has time to dry before you staple it down–– you don’t want it to be too wet.
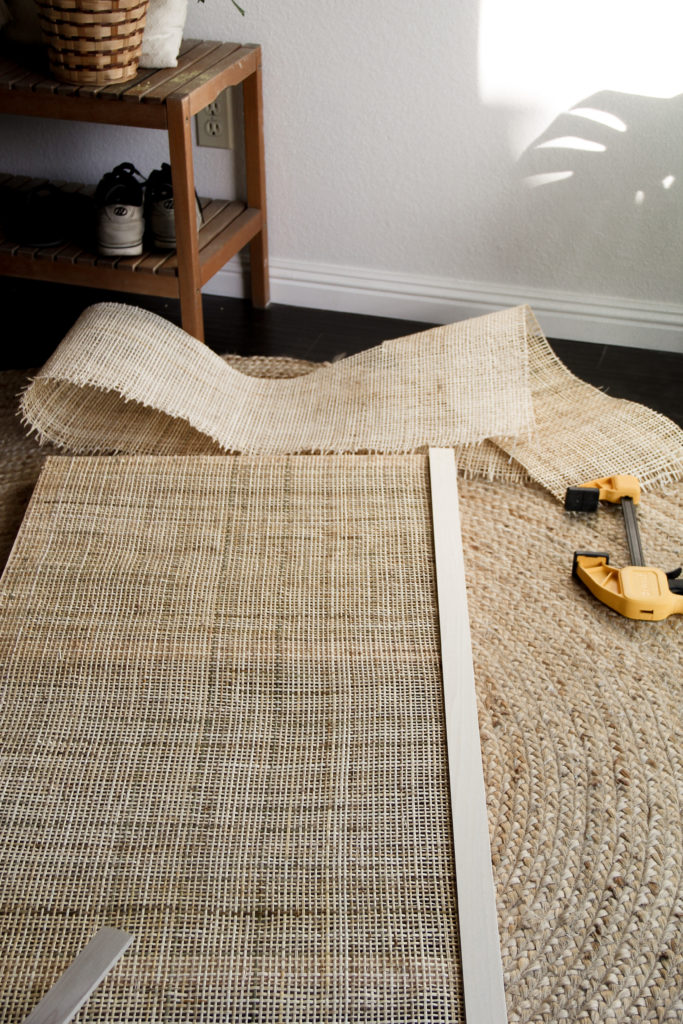
Use a staple gun to secure the cane webbing (making sure you pull taut–– it will tighten more as it dries!), and then trim the excess.
4. No DIY cane headboard is complete without some trim!
Take your poplar hobby wood trim and secure it over the frame and cane. Use wood/hot glue (or a brad nailer, if you’re fancy) to attach.
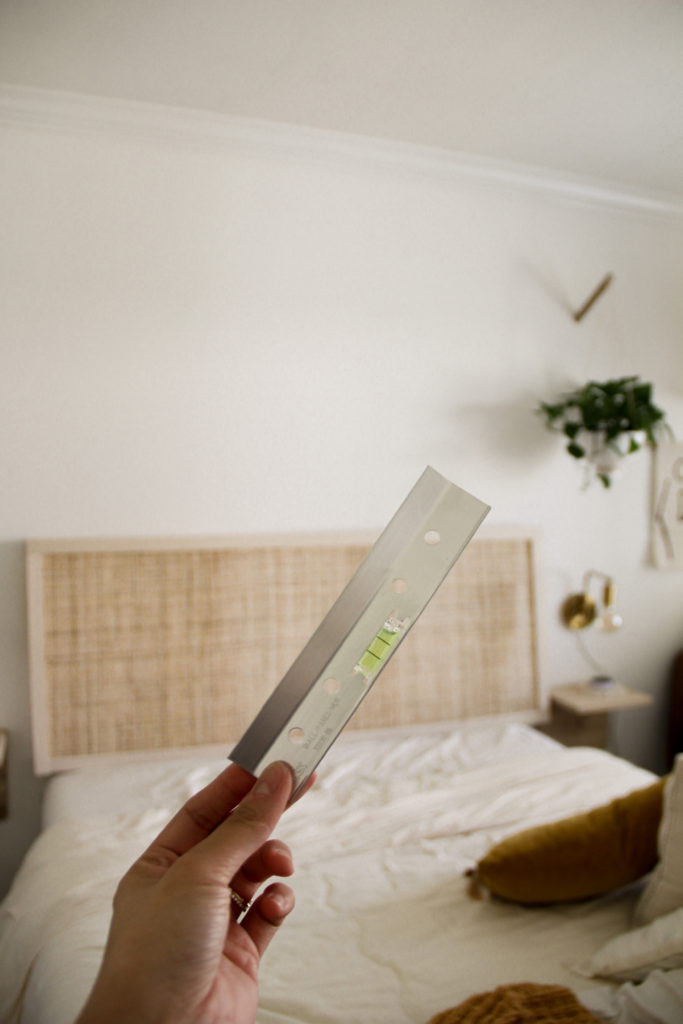
5. Let the DIY cane headboard dry/cure overnight, and then attach to the wall with sturdy picture hanging brackets.
I loved using these picture hanging kits to attach the headboard to the wall. Super simple, affordable, and also really sturdy! The headboard is very lightweight, so it’s a great candidate for a simple hanging system.
And enjoy!
This DIY cane headboard was such a special project to me. First, because I look at it, and I see it as a labor of love, something I made and created and poured myself into. And secondly, because it’s tangible proof that even when you live in a rental space or you’re on a budget or you don’t have the space or the money for power tools like circular saws, etc.–– you can still create something amazing.
I hope this inspires you to go create your own home projects! We can do this!
Want more DIYs? Click here.
xo, rachlv.

Hey Rachel! This is awesome and I totally want to do it in my apartment. Are the measurements for a queen size bed? We have a king so wondering if I should get some longer pieces of wood.
Hi Jamie! So glad you want to try it out! Yes, the measurements are for a queen sized bed. I simply measured my bed and went from there to decide how long and tall I wanted it to be. I recommend putting a measuring tape out across the width of your bed to see what you prefer!
Hi Rachel! What are the dimensions you chose for the cane webbing on Etsy? Did you use 24”x 6ft?
Love this 🙂
Thanks!!
Hi Carley! The dimensions for the cane I bought was 36″ x 6′, but I recommend taking a ruler and seeing how tall you personally want it for your own bedframe 🙂
Hi. I would love to make this headboard but I can’t really make holes on the wall. Should I simply get two longer woods for the both sides to be the legs so It will be standing instead being hung on the wall?
Thank you
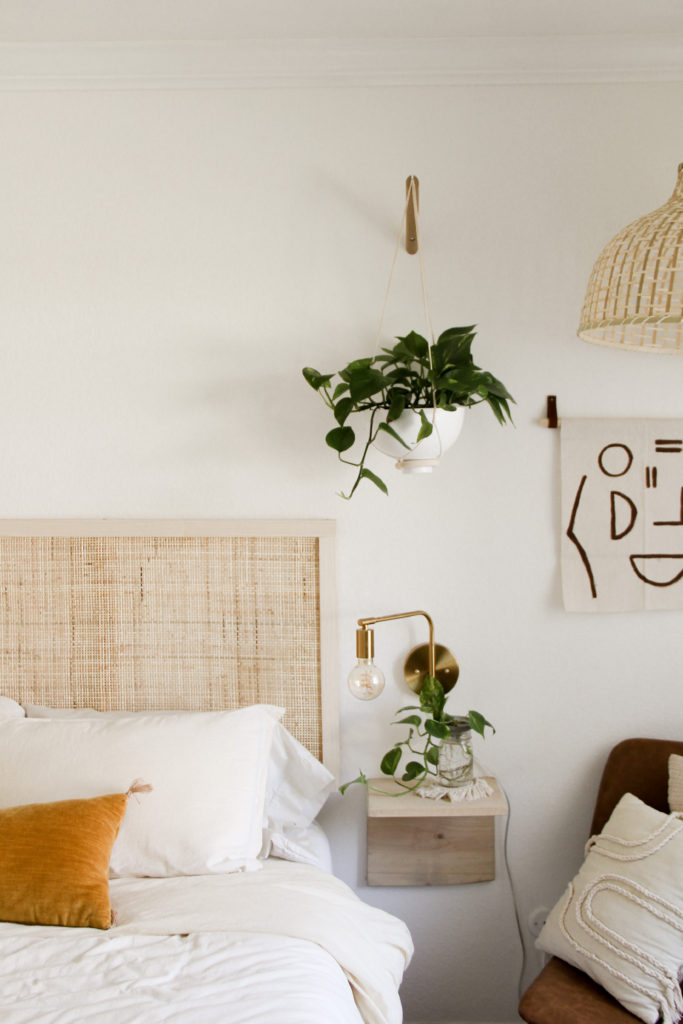
Hey there! Where did you purchase the bedside sconces? We are doing this headboard for my daughters room and love the lights also!
Hi Susanna! Sorry for the late reply! The sconces are from Amazon, here is a link to them: https://rstyle.me/+qg_q26hp7hpA2R27fygRKw
So excited to hear you’re making this headboard!
This headboard is so dreamy. I am dying to try and recreate it! We are having some kitchen cabinet refinishing done this weekend, but this project has to be next on my list! Thanks for sharing!
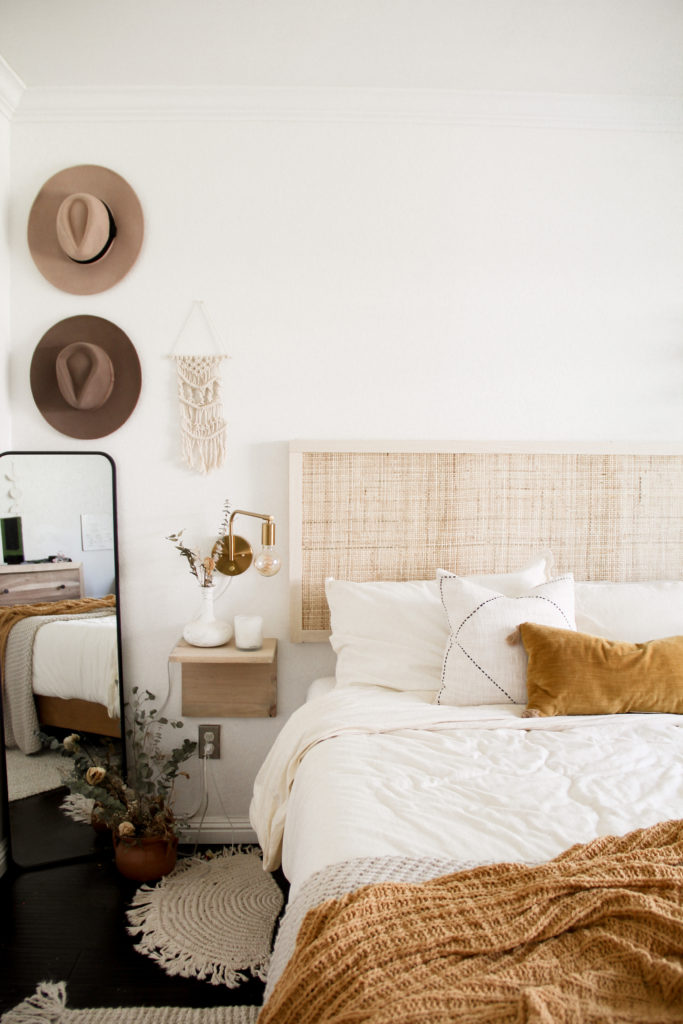
Hi there!! Did you make or buy the bedside tables? They are so cute!
Beautiful room Rachel! I love the simplicity & airy feel. I’m very curious where you found the large, round rug?